
Grass Types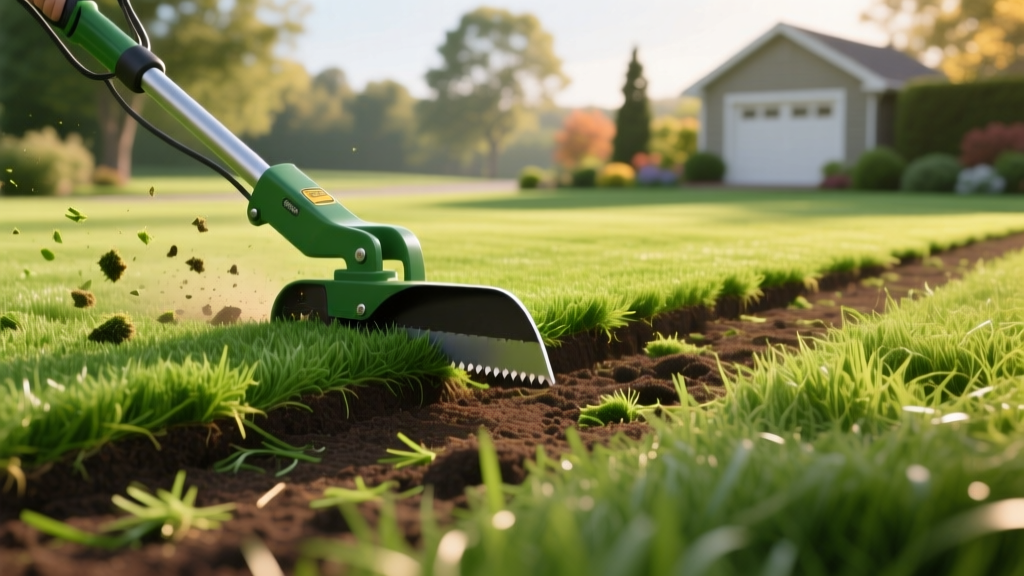
How to Use a Sod Cutter Tool for Lawn Renovation and Seeding
Why a Sod Cutter Tool is Essential for Grass Establishment
When transitioning from a failing lawn to a newly seeded turf, the most critical step is site preparation. Many homeowners default to rototilling, but this approach guarantees future weed problems. Tilling chops up aggressive rhizomes (like Bermuda or quackgrass) and buries dormant weed seeds, bringing them to the surface where they germinate alongside your new grass seed. According to Penn State Extension, complete removal of the existing turf canopy and the top layer of weed-seed-rich soil is the most effective way to ensure a clean slate for establishment.
A sod cutter tool slices horizontally through the root zone, typically 1.5 to 2.5 inches below the surface, allowing you to roll up and remove the existing grass, thatch, and the uppermost weed seed bank. This leaves behind bare, undisturbed subsoil that is primed for grading, amendment, and precise seed-to-soil contact.
⚠️ CRITICAL SAFETY WARNING: Before engaging a sod cutter tool, you must call 811 or visit Call 811 at least 48 hours in advance to have underground utilities marked. Sod cutter blades can easily sever shallow irrigation lines, fiber optic cables, and low-voltage landscape lighting wires, resulting in thousands of dollars in repair costs and severe safety hazards.
Choosing the Right Equipment: Walk-Behind vs. Tractor-Mounted
Selecting the correct machine depends on your lot size, physical capability, and budget. For residential lawns under 10,000 square feet, walk-behind models are the industry standard.
| Model / Type | Cut Width | Drive System | Best Application | Est. Daily Rental (2026) |
|---|---|---|---|---|
| Billy Goat SC182H | 18 inches | Hydrostatic | Large yards, dense thatch, variable speeds | $135 - $160 |
| Ryan SC-48 | 12 inches | Belt-Driven | Small urban lots, tight gate access (under 36") | $95 - $115 |
| Classen SC-18 | 18 inches | Manual Clutch | Budget renovations, standard soil conditions | $110 - $130 |
Expert Insight: If your lawn has a thatch layer exceeding 0.5 inches, opt for a hydrostatic model like the Billy Goat SC182H. Hydrostatic drives allow you to infinitely adjust the forward speed and blade oscillation independently, preventing the engine from bogging down when hitting thick, matted roots.
Step-by-Step Lawn Renovation Using a Sod Cutter
Step 1: Moisture Calibration (48 Hours Prior)
Do not cut dry, baked soil, and never cut saturated mud. Dry soil will shatter the sod into unmanageable chunks, while mud will cause the machine tracks to slip and the sod to tear. Water the lawn deeply to achieve a soil moisture depth of 4 inches. The ideal moisture level yields soil that crumbles slightly when squeezed in your fist, rather than forming a tight, dripping mud ball.
Step 2: Blade Depth Configuration
Set the sod cutter tool blade to a shallow 1.5-inch depth for your test pass. The goal is to remove the grass and roots while leaving as much valuable topsoil in the ground as possible. If the roots of warm-season grasses (like Zoysia or Bermuda) are not fully severed, drop the blade to 2.0 or 2.5 inches. Cutting deeper than 3 inches makes the sod rolls excessively heavy (often exceeding 70 lbs each) and wastes topsoil.
Step 3: Cutting and Rolling
- Perimeter Pass: Run the machine along the edges of driveways and garden beds to establish a clean boundary.
- Parallel Strips: Cut straight, overlapping lines across the yard. Slight overlapping (about 1 inch) ensures no strips of grass are left behind.
- Cross-Cutting: Use a flat spade or a manual kick-plow to slice the long strips into 3-foot to 4-foot manageable sections for rolling.
- Removal: Roll the sections tightly and load them into a wheelbarrow or trailer immediately to prevent them from drying out and becoming brittle.
💡 Pro Tip for Sod Disposal: Do not send healthy, freshly cut sod to the landfill. If removed in the spring or early fall, you can often sell or give away the sod rolls on local community boards to neighbors looking for instant patch repairs. Alternatively, stack the rolls grass-side down in a corner of your property; they will decompose into rich, nitrogen-heavy compost within 8 to 12 months.
Soil Preparation and Grading for Seed Establishment
Once the old turf is removed, you are left with compacted subsoil. According to NC State TurfFiles, proper seedbed preparation requires a loose, well-aerated top 2 inches of soil for optimal seed germination and radicle penetration.
Amending and Tilling
After sod removal, use a rear-tine rototiller to break up the top 3 inches of exposed soil. Because you removed the weed seed bank with the sod cutter tool, tilling at this stage is safe. Spread a 1-inch layer of screened, aged compost over the area before tilling. This integrates organic matter directly into the seed zone, improving moisture retention for vulnerable new seedlings.
Establishing the Grade
Use a heavy landscape rake to level the soil. Ensure the final grade slopes away from your home's foundation at a minimum 2% gradient (a 1/4-inch drop per linear foot). Firm the soil using a water-filled lawn roller (filled to half capacity) to create a firm, even seedbed that prevents seed washout during heavy rains.
Cost Breakdown: DIY Rental vs. Professional Removal
Deciding whether to operate the sod cutter tool yourself or hire a landscape contractor depends on your physical endurance and budget. The table below outlines average 2026 pricing for a standard 5,000-square-foot lawn.
| Expense Category | DIY Approach (5,000 sq ft) | Professional Service (5,000 sq ft) |
|---|---|---|
| Equipment / Labor | $140 (Full-day rental) | $1,250 - $1,750 (Labor & Machine) |
| Haul Away / Disposal | $85 (Dumpster bag / Landfill fee) | Included in quote |
| Fuel / Consumables | $25 (Ethanol-free gas & oil) | Included in quote |
| Total Estimated Cost | $250 | $1,250 - $1,750 |
Frequently Asked Questions About Sod Cutting and Seeding
Can I just kill the old grass with herbicide and seed over it?
While no-till renovation using glyphosate is possible, it leaves a thick layer of dead thatch that acts as a hydrophobic barrier. Grass seed sown over dead thatch will struggle to maintain the constant moisture required for germination and will likely wash away during the first heavy rain. Using a sod cutter tool physically removes this barrier, yielding significantly higher germination rates.
How soon can I plant grass seed after using a sod cutter?
You can plant immediately. Once the sod is removed, the soil is tilled, amended with compost, graded, and rolled, the seedbed is ready. In fact, seeding immediately prevents new windblown weed seeds from settling into the bare soil. Apply a starter fertilizer (such as a 10-18-10 NPK ratio) directly at the time of seeding to promote rapid root development.
Will a sod cutter tool remove shallow tree roots?
No. Sod cutter blades are designed to slice through fibrous turfgrass roots and thin rhizomes. If you attempt to run the machine over shallow, woody tree roots (like those from silver maples or willows), the blade will catch, potentially throwing the machine backward or snapping the drive belt. Hand-dig around large tree root flares before operating the equipment.

