
Grass Types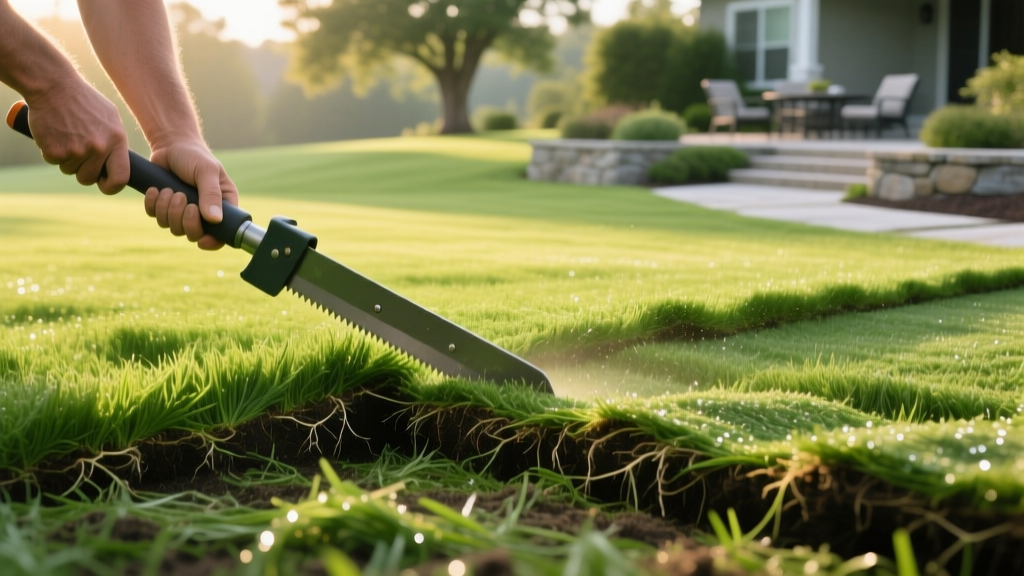
Precision Sod Cutting Techniques for Lawn Establishment and Repair
The Mechanics of Sod Cutting in Turf Establishment
Successful lawn establishment hinges on the physical integration of the sod's root zone with the underlying native soil. Sod cutting—the act of slicing, shaping, and trimming turf rolls—is not merely an aesthetic finishing step; it is a critical biological intervention. A standard roll of sod consists of three distinct layers: the leaf canopy, the thatch layer, and a 1 to 1.5-inch soil matrix holding the root system. When establishing a new lawn or repairing dead patches, improper cutting techniques lead to exposed root margins, desiccation, and seam failure.
According to the University of Minnesota Extension, gaps as small as 1/4 inch between sod pieces can cause the exposed edges to dry out within two hours under direct summer sun, halting rhizome expansion and preventing lateral establishment. Precision sod cutting ensures flush seams, promoting rapid root-to-soil contact and minimizing weed infiltration during the vulnerable first 30 days of establishment.
Establishment Timeline: Seed vs. Sod
While seed establishment requires 8 to 12 weeks for full canopy closure and 6 months for deep root maturity, precision-laid sod provides instant erosion control and achieves functional root anchorage in 14 to 21 days, provided the cut seams are flush and the soil matrix is properly hydrated.
Tool Selection Matrix for Sod Cutting
Selecting the correct cutting implement depends on the scale of your establishment project and the specific turfgrass species. Cool-season grasses like Kentucky Bluegrass possess dense, fibrous rhizome networks that require serrated blades, while warm-season grasses like Bermudagrass have thicker stoloniferous mats that can bind standard utility blades.
| Tool Type | Best Use Case | Cut Depth & Precision | 2026 Cost / Rental Rate |
|---|---|---|---|
| Serrated Sod Knife (e.g., A.M. Leonard) | Curved borders, tight corners, and patch repairs | Full depth (1.5"); clean root slicing | $15 - $28 (Purchase) |
| Heavy-Duty Utility Knife (e.g., Stanley 99E) | Straight cuts, trimming excess on large rolls | Variable; requires frequent blade changes | $10 - $15 (Purchase) |
| Walk-Behind Sod Cutter (e.g., Billy Goat SC18) | Site prep: removing existing turf for new establishment | Adjustable 1" to 3" depth; 12" to 18" width | $110 - $150 / day (Rental) |
| Motorized Edger (e.g., STIHL FC 91) | Trenching perimeter lines before laying sod | Up to 4" depth; vertical cuts only | $350 - $500 (Purchase) |
Precision Cutting for Fitting and Seam Integration
The most common failure point in DIY lawn establishment is the "butt joint," where two pieces of sod are pushed together without overlapping. Soil shrinkage and root contraction inevitably pull these seams apart. Professional turf installers rely on the overlap-and-slice method to guarantee invisible, biologically active seams.
The Overlap-and-Slice Method
- Positioning: Lay the first piece of sod firmly against the hardscape or established border.
- Overlapping: Place the second piece of sod so it overlaps the first piece by 2 to 3 inches.
- The Cut: Using a serrated sod knife or a straight-edge guide with a utility knife, slice vertically through both layers of sod simultaneously. Apply downward pressure to ensure you cut through the entire 1.5-inch soil matrix, not just the thatch.
- Removal and Seating: Remove the two scrap strips. The remaining pieces will now fit together with zero tolerance, creating a perfectly flush seam that prevents moisture loss.
Navigating Curves and Hardscape Borders
When establishing turf around circular garden beds or curved retaining walls, avoid making multiple small, wedge-shaped cuts. Small wedges lack sufficient root mass to survive the transplant shock of establishment. Instead, lay a full piece of sod over the curve, press it firmly into the soil to create a physical crease against the hardscape, and use a half-moon edger or serrated knife to trace the curve from the top down. This preserves the structural integrity of the sod piece while ensuring a tight fit against the border.
Site Preparation: Mechanical Sod Cutting for Turf Removal
When establishing a new lawn over an existing, degraded turf, proper site preparation requires the complete removal of the old grass and its thatch layer. The Penn State Extension emphasizes that simply tilling old grass into the soil creates a thatch barrier that impedes water infiltration and invites fungal pathogens during the establishment of new seed or sod.
Calibrating the Sod Cutter
Renting a walk-behind sod cutter is the most efficient method for clearing a site. The critical variable is blade depth. Set the cutter blade to remove exactly 2 to 2.5 inches of material. This depth captures the primary root zone and the bulk of the thatch layer without removing excessive amounts of valuable topsoil.
Warning: Soil Moisture Calibration
Never operate a mechanical sod cutter on bone-dry soil; the blade will shatter the turf into unusable chunks and stall the engine. Conversely, cutting saturated, muddy soil will cause the machine to trench and rut the subgrade. Water the existing lawn deeply 24 to 48 hours before cutting. The ideal moisture level is when you can form a ball of soil in your hand that holds its shape but crumbles easily when poked.
Post-Cutting Establishment Protocol
Once the sod is cut, fitted, and laid, the establishment phase begins immediately. The physical act of cutting severs peripheral roots and rhizomes, inducing temporary transplant shock. Mitigating this shock requires a strict post-installation protocol:
- Lawn Rolling: Within 2 hours of laying and cutting the sod, use a water-filled lawn roller (weighing approximately 150-200 lbs) to press the cut edges into the soil. This eliminates air pockets beneath the severed margins.
- Initial Hydration: Apply 1/2 inch of water immediately after rolling. For the first 14 days, water 2 to 3 times daily for 10-15 minutes to keep the top 1 inch of soil perpetually moist. The cut seams are the first areas to dry out and require targeted micro-irrigation if your sprinkler system has dry zones.
- Root Tug Test: After 14 to 21 days, gently tug on the grass near the cut seams. Resistance indicates that the severed rhizomes have successfully anchored into the native subgrade, signaling a successful establishment.
Troubleshooting Common Sod Cutting Mistakes
Jagged Seams and Frayed Edges
If your sod edges look frayed or mashed rather than cleanly sliced, your blade is dull. A dull utility knife tears the rhizomes rather than slicing them, delaying root regeneration by up to a week. Swap utility blades every 3 to 4 cuts, or sharpen your serrated sod knife with a round file before starting the project.
Subgrade Trenching During Removal
If your walk-behind sod cutter is leaving deep trenches in the native soil rather than cleanly peeling the turf, your blade angle is set too aggressively, or the soil is too wet. Raise the blade depth by 1/2 inch and reduce your forward travel speed to allow the reciprocating blade to slice the roots cleanly without digging into the subgrade.

