
Grass Types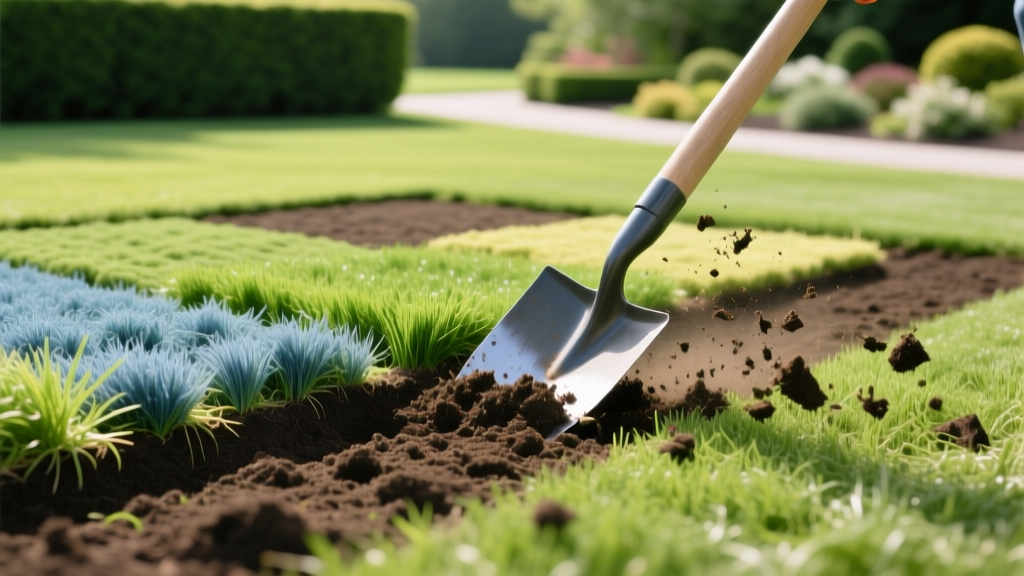
How to Use a Sod Shovel for Perfect Seedbed Preparation
The Critical Role of a Sod Shovel in Lawn Renovation
Establishing a new lawn from seed or laying fresh sod requires a flawless, level seedbed. When renovating an existing lawn, the most labor-intensive and technically demanding step is removing the old turf. While rotary tillers and sod kickers have their place, a professional-grade sod shovel remains the most precise tool for stripping grass without destroying the underlying subsoil structure. Proper use of a sod shovel ensures you remove the thatch and root mat while preserving the vital topsoil layer necessary for deep seed germination and robust root establishment.
According to Penn State Extension's lawn renovation guidelines, failing to completely remove the old turf mat before seeding leads to poor seed-to-soil contact, uneven germination, and severe moisture retention issues. This guide details the exact specifications, techniques, and soil-preparation workflows required to use a sod shovel effectively for premium seedbed preparation.
Anatomy of a Professional Sod Shovel
Do not confuse a sod shovel with a standard trenching spade or a flat-edged nursery spade. A true sod shovel is engineered specifically for horizontal shearing. Here are the non-negotiable features to look for when purchasing a tool for turf removal:
- Flat, Sharpened Leading Edge: Unlike concave digging spades, a sod shovel features a completely flat blade. This allows it to glide horizontally just beneath the soil surface, shearing roots cleanly rather than scooping and tearing.
- Blade Width (9 to 12 inches): A 9-inch blade is ideal for navigating tight spaces and residential DIY projects, while a 12-inch blade covers more square footage per stroke, reducing fatigue on large commercial jobs.
- Oversized Step (Kick Plate): The top of the blade must feature a wide, rolled or flat steel lip. This distributes the force of your boot evenly, allowing you to drive the blade into compacted clay soils without bending the steel or bruising your foot.
- Handle Ergonomics: Fiberglass handles absorb high-frequency shock better than traditional ash wood, reducing forearm fatigue. A D-grip handle provides superior leverage for prying up heavy, clay-bound sod rolls compared to a straight shaft.
Pro-Tip: Blade Maintenance
Sod shovels dull rapidly when cutting through sandy soils or hitting subsurface rocks. Keep a 10-inch bastard mill file in your tool pouch. After every 500 square feet of sod removal, take three passes with the file on the bevel edge to maintain a razor-sharp shearing surface. A dull blade will tear the root zone and leave a ragged, uneven seedbed.
Sod shovels dull rapidly when cutting through sandy soils or hitting subsurface rocks. Keep a 10-inch bastard mill file in your tool pouch. After every 500 square feet of sod removal, take three passes with the file on the bevel edge to maintain a razor-sharp shearing surface. A dull blade will tear the root zone and leave a ragged, uneven seedbed.
2026 Sod Shovel Comparison Matrix
Selecting the right tool depends on your soil composition and the scale of your renovation project. Below is a comparison of the top-performing models currently utilized by landscaping professionals and serious DIYers.
| Brand & Model | Blade Width | Handle Material | Avg. Price | Best Application |
|---|---|---|---|---|
| True Temper 9-Inch Sod Lifter | 9 inches | Ash Wood | $42 | Standard residential loam soils |
| Bulman Heavy Duty 12-Inch | 12 inches | Fiberglass | $78 | Heavy clay and large-scale removal |
| Fiskars Steel Edger/Shovel | 9 inches | Steel D-Grip | $35 | Small patch repairs and edging |
The 'Kick and Slice' Technique for Seedbed Prep
Removing sod is not about digging; it is about horizontal shearing. Follow this precise workflow to strip turf while preserving the nutrient-rich topsoil required for your new grass seed.
- Moisture Calibration (24 Hours Prior): Water the existing lawn deeply 24 hours before starting. The soil moisture content should be roughly 20-25%. If the soil is too dry, the roots will snap and leave fragments behind. If it is too wet, the soil will clump and stick to the blade, ruining the grade.
- Set the Depth Guide: You want to cut exactly 1.5 to 2 inches deep. This removes the entire thatch layer and the crown of the old grass without dipping into the sterile subsoil. Use a piece of bright electrical tape wrapped around the blade exactly 2 inches from the cutting edge as a visual depth stop.
- The Kick and Glide: Place the blade at a shallow 15-degree angle to the ground. Step firmly onto the oversized kick plate to drive the blade under the root mat. Once submerged to your tape line, push the handle forward horizontally to shear the roots. Do not pry upward until the cut is complete.
- Roll and Remove: After slicing a strip roughly 12 inches wide and 24 inches long, use the shovel to pry the edge up, then roll the sod tightly like a carpet. Stack the rolls on a tarp for immediate removal to prevent the roots from re-establishing contact with the soil.
Warning: The Subsoil Trap
Cutting deeper than 2 inches is a critical error. Dipping into the subsoil brings dormant weed seeds (like crabgrass and nutsedge) to the surface. When you subsequently till the seedbed, these weed seeds will be mixed into the germination zone, leading to a massive weed outbreak that will choke out your new grass seedlings.
Cutting deeper than 2 inches is a critical error. Dipping into the subsoil brings dormant weed seeds (like crabgrass and nutsedge) to the surface. When you subsequently till the seedbed, these weed seeds will be mixed into the germination zone, leading to a massive weed outbreak that will choke out your new grass seedlings.
Sod Shovel vs. Sod Kicker vs. Rotary Tiller
Understanding when to deploy a sod shovel versus alternative machinery is crucial for project efficiency and soil health.
- Sod Shovel: Best for precision work, slopes where machinery cannot operate safely, and small-to-medium yards (under 2,000 sq ft). It preserves soil structure and leaves a clean, flat subgrade.
- Sod Kicker (Manual Plow): Ideal for flat, large-scale commercial jobs (5,000+ sq ft). However, kickers struggle in rocky soils and can leave an undulating, uneven subgrade that requires extensive raking to level before seeding.
- Rotary Tiller (Directly on existing grass): Never run a rotary tiller directly over an existing lawn. This chops the old grass and weeds into millions of fragments, effectively planting weed clones throughout your new seedbed. Tillers should only be used after the sod shovel has removed the turf mat.
Post-Removal Soil Grading and Amendment
Once the sod shovel has cleared the area, the exposed soil must be prepped for seed. The NC State University Turfgrass Program emphasizes that seedbed preparation dictates 90% of a lawn's long-term success.
First, run a rear-tine tiller over the exposed soil to a depth of 4 to 6 inches. This breaks up the compaction caused by foot traffic during the sod removal process. Next, conduct a soil test. Most cool-season grasses (Kentucky Bluegrass, Tall Fescue) require a pH between 6.0 and 7.0, while warm-season grasses (Bermuda, Zoysia) prefer 5.5 to 6.5. Apply pelletized lime or elemental sulfur based on your test results.
Finally, spread a 1/4-inch layer of finely screened compost over the tilled area and rake it smooth. This provides the organic matter necessary to retain moisture during the critical 14-to-21-day germination window. Use a heavy lawn roller (filled halfway with water) to firm the seedbed before broadcasting your grass seed. A firm seedbed prevents the seed from washing away during irrigation and ensures the tiny roots can easily penetrate the soil surface.
Frequently Asked Questions
Can I use a standard flat spade instead of a dedicated sod shovel?
While possible, a standard flat spade lacks the wide kick plate and specialized bevel edge required for horizontal shearing. You will experience severe foot fatigue, and the concave shape of a standard spade will tear the soil unevenly, creating a bumpy seedbed that leads to patchy grass growth.
How do I dispose of the removed sod?
Do not bury the removed sod in your yard, as it will decompose anaerobically and create sinkholes. Stack the rolls on a pallet in a sunny area of your property to dry out and die, then break them up for a municipal yard waste bin, or transport them to a local commercial composting facility that accepts turf.
Should I apply a pre-emergent herbicide after using the sod shovel?
No. Pre-emergent herbicides create a chemical barrier that prevents cell division in germinating seeds. If you apply a pre-emergent after stripping the sod, your new grass seed will fail to germinate. Rely on physical removal via the sod shovel and post-emergent spot treatments if necessary after the new grass has been mowed three times.

