
Grass Types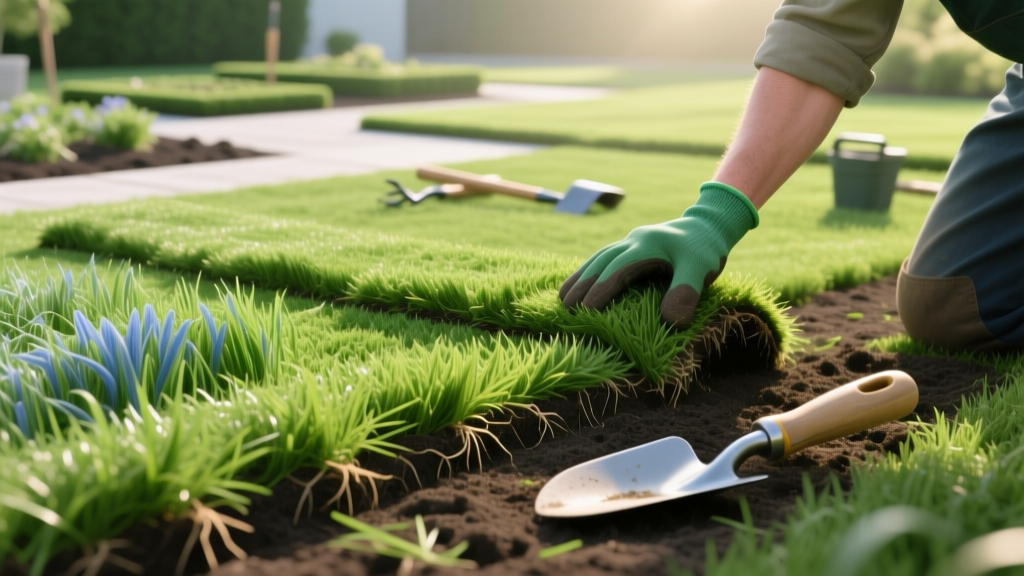
Sodding a Lawn: Step-by-Step Installation and Rooting Guide
Sodding a lawn bypasses the months-long germination and vulnerability phases of seeding, delivering an instant, erosion-resistant turf. However, the success of a sod installation relies entirely on the soil-to-root interface. If the underlying soil is compacted, hydrophobic, or improperly graded, the sod will fail to knit its roots into the native earth, leading to severe shrinkage, disease, and eventual death. This guide details the exact mechanical, biological, and hydrological procedures required to establish a permanent sod lawn.
Selecting the Right Sod Cultivar for Your Climate
Before calculating square footage, you must match the grass species and specific cultivar to your microclimate and usage patterns. Modern turfgrass breeding has produced cultivars with vastly different rooting speeds and stress tolerances. According to Clemson University Home and Garden Information Center, selecting a regionally adapted cultivar is the single most critical factor in long-term lawn survival.
Premium Sod Cultivar Comparison Matrix
| Grass Type | Top Cultivars for Sod | Rooting Speed | Shade Tolerance | Traffic Tolerance |
|---|---|---|---|---|
| Kentucky Bluegrass (Cool) | 'Midnight', 'Award', 'NuGlade' | Moderate (14-21 days) | Poor to Fair | High (Rhizome repair) |
| Tall Fescue (Cool) | 'Titan Ultra', 'Rebel IV' | Fast (10-14 days) | Excellent | Moderate (Bunch-type) |
| Bermudagrass (Warm) | 'TifTuf', 'Celebration' | Very Fast (7-10 days) | Poor | Exceptional |
| Zoysiagrass (Warm) | 'Zeon', 'Geo', 'Empire' | Slow (21-30 days) | Good | High |
| St. Augustine (Warm) | 'CitraBlue', 'Palmetto' | Moderate (14-21 days) | Exceptional | Moderate |
Pre-Installation: Material Costs and Logistics
Budgeting for sod requires looking beyond the price of the grass itself. Soil amendments and specialized fertilizers are non-negotiable for proper rooting. Expect to complete the installation within 24 hours of the sod being harvested and delivered to your driveway.
- Fresh Sod Pallets (450-500 sq. ft.): $180 to $420 per pallet, depending on species and region.
- Screened Topsoil/Compost Blend: $35 to $55 per cubic yard. (Required for grading and organic matter introduction).
- Starter Fertilizer (High Phosphorus): $35 to $50 per 5,000 sq. ft. Look for an N-P-K ratio like 24-25-4 to stimulate rapid root development.
- Manual Sod Roller (Rental): $25 to $40 per day. Essential for eliminating air pockets between the sod and soil.
Phase 1: Site Preparation and Soil Amendment
The most common cause of sod failure is laying turf directly over existing, compacted dirt or dead weeds. The soil bed must be engineered to receive the new roots.
- Clear and Kill Existing Vegetation: Apply a non-selective herbicide (like glyphosate) 14 days prior to installation, or use mechanical solarization with clear plastic sheeting for 3-4 weeks. Rototilling live weeds into the soil will result in immediate regrowth through your new sod.
- Deep Tilling: Use a rear-tine rototiller to break up the native soil to a depth of 4 to 6 inches. This destroys the compaction layer and allows new roots to penetrate deeply.
- Amend and Grade: Spread 1 to 2 inches of organic compost over the tilled area and incorporate it. Rake the surface smooth, ensuring the final grade sits exactly 1 inch below adjacent hardscapes (driveways, sidewalks) so the sod surface will be flush when laid.
The Critical 2% Slope Rule
Never lay sod on a perfectly flat surface. You must engineer a minimum 2% slope (a 1/4-inch drop per horizontal foot) away from your home's foundation. Use a string line and line level to verify the pitch before laying a single piece of sod. Poor drainage will cause water to pool under the sod, rotting the roots and inviting Pythium blight.
Phase 2: Laying the Sod (Installation Mechanics)
Once the soil is prepped, lightly water the bare dirt to settle dust and provide immediate moisture to the sod roots upon contact. Lay a high-phosphorus starter fertilizer over the soil just before unrolling the sod.
- Start at a Straight Edge: Begin laying your first row along a long, straight boundary like a driveway or sidewalk.
- Stagger the Joints: Lay subsequent rows in a brickwork pattern. Offset the seams by at least half the length of a sod piece. This prevents water from channeling down continuous vertical seams and washing away the soil.
- Butt Edges Tightly: Push the edges of the sod pieces firmly together. Do not overlap them, and do not leave gaps. Sod naturally shrinks slightly as it dries; if installed with gaps, the seams will widen and invite weed seeds.
- Cut for Curves: Use a sharp, serrated sod knife or a heavy-duty utility knife to cut pieces to fit around tree rings and curved garden beds. Avoid using small, sliver-like pieces on the outer edges, as they will dry out and die rapidly.
- Roll the Turf: Immediately after laying a section, run a water-filled lawn roller over it. This presses the sod roots firmly into the soil, eliminating air pockets that cause localized drying and root death.
Phase 3: The 21-Day Rooting and Watering Matrix
New sod has a severely truncated root system (usually less than 1/2 inch deep). Watering must be frequent and shallow initially, transitioning to deep and infrequent as roots penetrate the native soil. The University of Minnesota Extension emphasizes that transitioning the watering schedule at the correct time is vital to prevent both drought stress and fungal diseases.
| Timeframe | Watering Frequency | Duration per Zone | Objective & Visual Cues |
|---|---|---|---|
| Days 1 to 7 | 2 to 3 times daily | 10 to 15 minutes | Keep the top 1/2 inch of soil constantly moist. Sod should feel cool and damp to the touch. |
| Days 8 to 14 | 1 time daily | 20 to 25 minutes | Encourage roots to chase moisture downward. Test by gently tugging the grass; you should feel slight resistance. |
| Days 15 to 21 | Every other day | 30 to 40 minutes | Deep soaking. The sod should now be firmly knitted to the soil and resist lifting when pulled. |
| Day 22 and Beyond | 1 to 2 times per week | 45 to 60 minutes | Deliver 1 to 1.5 inches of water per week. Transition to standard deep-root watering protocols. |
Troubleshooting Common Sodding Failures
Even with meticulous preparation, environmental variables can cause issues during the establishment phase. Identify and correct these problems immediately to save the turf.
1. Severe Sod Shrinkage and Gap Formation
The Cause: Underwatering or failing to butt the edges tightly during installation. As the sod dries out, the soil matrix contracts, pulling the pieces apart.
The Fix: You cannot stretch the sod back together. Fill the gaps with a 50/50 mix of fine sand and topsoil to prevent weed germination and protect the exposed lateral roots from drying out. Increase watering frequency immediately.
2. Yellowing or Browning at the Perimeter Edges
The Cause: The outer edges of the sod installation dry out up to three times faster than the interior sections due to wind exposure and heat reflection from adjacent hardscapes.
The Fix: Hand-water the perimeter edges daily with a hose in addition to the automated sprinkler schedule until the roots are fully established.
3. Spongy, Mushy Turf with Dark Lesions
The Cause: Chronic overwatering combined with high humidity, leading to Pythium blight or brown patch fungus. The soil is saturated, depriving roots of oxygen.
The Fix: Halt watering immediately and allow the top layer of soil to dry out. Apply a systemic fungicide containing Azoxystrobin or Propiconazole (e.g., Scotts DiseaseEX or BioAdvanced Fungicide) according to label rates. Aerate the area lightly with a pitchfork to introduce oxygen to the root zone.
First Mow and Transition to Standard Care
Do not mow the lawn until the sod is firmly rooted—typically around day 14 to 18. Test this by grabbing a handful of grass and pulling upward; if the soil lifts with it, wait a few more days. When you do mow, ensure the mower blades are freshly sharpened to prevent tearing the young grass. Set the deck to the highest recommended setting for your specific grass type (usually 2.5 to 3.5 inches for cool-season grasses, 1.5 to 2.5 inches for warm-season). Never remove more than one-third of the grass blade in a single pass. Once the first mow is complete and the 21-day watering matrix is finished, your sodded lawn is officially established and ready for standard seasonal maintenance.

