
Grass Types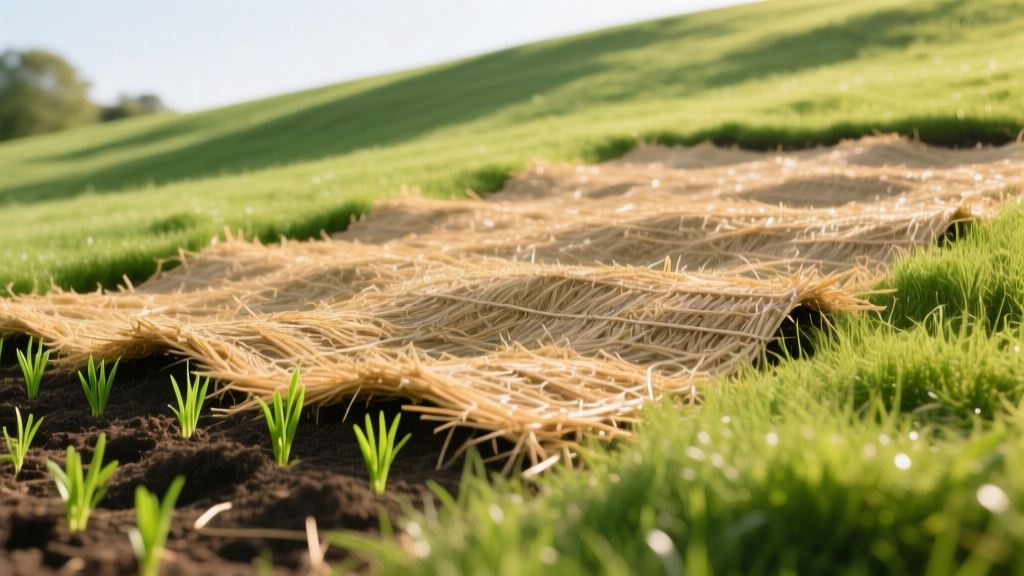
Straw Matting for Grass Seeding: Slopes & Erosion Guide
The Physics of Seed Washout on Slopes
Establishing turf on inclines presents a unique hydrological challenge. When rain impacts bare soil on a slope greater than 15% (a 3:1 gradient), the kinetic energy of the waterdrops detaches soil particles, and the resulting surface runoff transports both soil and grass seed down the hill. Standard loose straw mulch, which works perfectly on flat terrain, fails on slopes because it lacks tensile strength. The mulch layer slides, taking your seed with it.
Straw matting for grass seeding—technically classified as rolled erosion control products (RECPs)—solves this by binding the straw fibers between structural netting. This creates a continuous, flexible blanket that absorbs raindrop impact, slows water velocity, and physically pins the seed and soil in place until the root system anchors the turf. According to University of Minnesota Extension guidelines, mechanical stabilization like matting is mandatory for slopes where water velocity exceeds the shear strength of loose mulch.
Selecting the Correct Matting Grade
Not all straw mats are engineered for the same gradient. Choosing the wrong grade results in either wasted budget on over-engineered materials or catastrophic washouts from under-engineered ones. Below is the specification matrix for residential lawn establishment.
| Mat Type | Netting Configuration | Max Slope Gradient | Expected Lifespan | Best Use Case |
|---|---|---|---|---|
| Single-Net Straw | Photodegradable plastic on top | Up to 15% (5:1) | 90 Days | Gentle swales, minor grading transitions |
| Double-Net Straw | Biodegradable jute on top/bottom | Up to 33% (3:1) | 12-24 Months | Steep residential hillsides, ditch banks |
| Coir/Excelsior Blend | Biodegradable jute netting | Up to 50% (2:1) | 24-36 Months | Extreme slopes, shaded areas (slow decay) |
Critical Specification Note: Always opt for biodegradable jute netting over photodegradable plastic netting for residential lawns. Plastic netting degrades into microplastics and frequently tangles in rotary mower blades during the first year of mowing, causing severe equipment damage and turf tearing.
⚠️ The "Hay vs. Straw" Contamination Warning
Never substitute agricultural hay for straw matting or loose straw mulch. Hay is harvested as animal feed and contains the seed heads of the crop, introducing up to 10,000 weed seeds per square bale into your lawn. Straw is the hollow stalk left behind after grain (wheat, oats, barley) is harvested and threshed, meaning it is virtually weed-free. Inspect the product labeling to ensure it specifies weed-free wheat straw.
Step-by-Step Installation Protocol
Proper installation dictates whether the matting performs as engineered or peels away during the first heavy storm. Follow this sequence to ensure structural integrity.
1. Soil Preparation and Seeding
Grade the slope to remove debris and large clods. Apply your starter fertilizer and broadcast your grass seed. For slopes, University of Nebraska-Lincoln Turfgrass Science recommends deep-rooted species like Tall Fescue or Creeping Red Fescue, which anchor soil faster than Kentucky Bluegrass. Rake the seed lightly into the top 1/8 inch of soil before unrolling the mat.
2. Digging the Anchor Trench
At the very top of the slope, dig a continuous trench measuring 4 inches deep by 4 inches wide. This trench prevents water from flowing underneath the mat, which is the primary cause of catastrophic blanket failure.
3. Unrolling and Trenching
Place the leading edge of the straw mat into the anchor trench. Backfill the trench with soil and tamp it down firmly. Unroll the mat straight down the slope, following the natural contour. Do not unroll horizontally across the slope; water will pool at the horizontal seams and cause blowouts.
4. Seaming and Overlapping
When adjacent rolls meet side-by-side, overlap the edges by a minimum of 4 inches. When rolls meet end-to-end (rolling down a long hill), overlap the upper roll over the lower roll by 12 inches, shingle-style, so water flows over the seam rather than into it.
5. Stapling Specifications
Use 11-gauge galvanized steel U-shaped sod staples (minimum 6 inches long). Biodegradable wood staples are insufficient for slopes exceeding 10% due to lower pull-out resistance.
- Anchor Trench: Place staples every 1 foot along the top trench.
- Perimeter Edges: Place staples every 3 feet along all outer edges and overlaps.
- Interior Field: Place staples every 5 feet in a staggered grid pattern across the center of the mat.
- High-Velocity Zones: Double the staple density at the bottom of the slope where water accumulates and exits.
2026 Material Cost and Yield Breakdown
Budgeting for erosion control requires calculating both the material coverage and the ancillary hardware costs. Prices reflect early 2026 landscaping supply averages.
| Material Component | Standard Unit Size | Coverage Area | Estimated Cost (2026) |
|---|---|---|---|
| Single-Net Straw Roll | 4 ft x 50 ft | 200 sq ft | $38.00 - $45.00 |
| Double-Net Straw Roll | 4 ft x 112.5 ft | 450 sq ft | $65.00 - $82.00 |
| 11-Gauge Steel Staples | Box of 100 | N/A | $24.00 - $30.00 |
| Biodegradable Jute Net | 4 ft x 225 ft | 900 sq ft | $110.00 - $135.00 |
Pro Tip: Calculate your total square footage and add 10% to account for mandatory overlaps and trenching waste. A 1,000 sq ft slope requires approximately 1,100 sq ft of matting material.
Troubleshooting Establishment Failures
Even with matting installed, specific micro-climates and application errors can stall germination. Address these edge cases immediately upon inspection.
Symptom: Matting Lifts and Billows in Wind
Cause: Insufficient interior stapling or failure to press the mat flush against the soil. Wind gets trapped in the air pockets beneath the blanket, creating an uplift force that pulls the staples out.
Fix: Walk the entire slope and press the mat flat against the soil. Add supplementary staples in a 3-foot grid pattern in any area where the mat does not maintain direct soil contact.
Symptom: White Fungal Growth Under the Mat
Cause: Beneficial saprophytic fungi breaking down the straw, exacerbated by excessive shade and poor air circulation. This is generally harmless to grass seed but can indicate overly wet conditions that might lead to Pythium blight.
Fix: Do not apply fungicides, as they will not stop saprophytic decay. Instead, ensure you are not overwatering. Water the slope deeply but less frequently, allowing the top layer of straw to dry out between irrigation cycles.
Symptom: Seed Germinates but Dies at 1 Inch
Cause: The matting was installed too loosely, or the soil was not properly firmed before seeding. The grass roots cannot penetrate the air gap between the soil and the mat to access moisture.
Fix: This is a fatal installation error for that specific section. You must pull back the mat, re-rake the soil to ensure firmness, re-seed, and re-pin the mat with tighter staple spacing to guarantee soil-to-seed-to-mat contact.
Frequently Asked Questions
Can I mow over straw matting?
Yes, but only if you used biodegradable jute netting. Wait until the grass reaches 3.5 inches and the roots have firmly anchored the soil. Set your mower deck to the highest setting (3 inches) for the first three cuts to avoid catching the netting. If you used plastic photodegradable netting, you must manually cut and remove the plastic mesh before the first mow to prevent severe mower damage.
How long does it take for straw matting to decompose?
Double-net straw mats with jute netting typically decompose within 12 to 24 months, depending on local moisture and microbial soil activity. By the time the jute breaks down, a properly selected cool-season or warm-season turfgrass will have developed a dense root mat capable of handling slope erosion independently.

