
Grass Types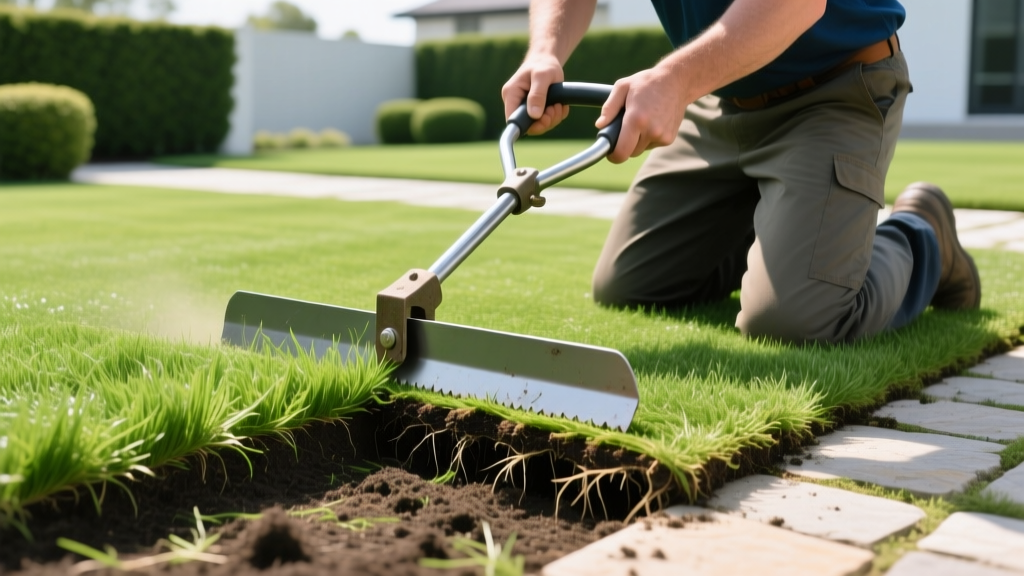
How to Use a Turf Remover: Step-by-Step Sod Stripping Guide
Removing an existing lawn is the most physically demanding phase of any landscape renovation. Whether you are preparing a seedbed for a new cool-season fescue blend, installing warm-season Bermuda sod, or converting grass to a permeable hardscape, a motorized turf remover (commonly called a sod cutter) is the only tool that efficiently separates the root zone from the subsoil. Attempting to strip a lawn with a manual spade or a rototiller results in uneven grading, destroyed soil structure, and massive regrowth issues. This guide details the exact operational parameters, depth settings, and logistical calculations required to operate a walk-behind turf remover successfully.
Turf Remover vs. Rototiller: Why Cutting Beats Churning
A common mistake in lawn renovation is using a rear-tine rototiller to destroy existing grass. Tilling live turf chops the root systems and rhizomes into thousands of fragments, mixing them deep into the soil profile. For warm-season grasses with aggressive rhizomes (like Bermuda or Zoysia), this guarantees severe regrowth. A turf remover slices horizontally beneath the thatch and root mat, allowing you to roll up and remove the biological mass entirely.
Expert Insight: Never rototill a live lawn. According to the University of Minnesota Extension, completely removing the existing sod layer before amending the soil prevents the introduction of deep-rooted perennial weeds and invasive grass rhizomes into your newly prepared seedbed.
Equipment Selection Matrix
| Tool Type | Best For | Avg. Rental Cost (2026) | Weight / Transport |
|---|---|---|---|
| Manual Kick-Plow | Areas under 200 sq. ft., tight garden beds | $25 - $40 / day | 15 lbs (Car trunk) |
| Walk-Behind Turf Remover (e.g., Billy Goat SC181) | Standard residential lawns (1,000 - 5,000 sq. ft.) | $95 - $140 / 4 hours | 280 lbs (Pickup truck + ramp) |
| Tractor-Mounted Sod Cutter | Commercial properties, athletic fields, 1+ acres | $250+ / day (plus tractor) | 600+ lbs (Trailer required) |
Pre-Removal Checklist and Site Preparation
Operating a 280-pound machine with a vibrating steel blade requires specific site conditions. Failing to prep the soil correctly will result in blade stalling, torn sod strips, and machine damage.
- Call 811 (Utility Locate): Turf remover blades cut up to 3 inches deep. This is deep enough to sever shallow irrigation lines, fiber optic cables, and invisible dog fence wires. Mark all utilities before cutting.
- Moisture Calibration: The soil must be moist but not saturated. Water the lawn to a depth of 2 inches exactly 48 hours before cutting. If the soil is too dry, the blade will bounce off compacted clay; if it is too wet, the sod will tear into unusable, muddy chunks.
- Clear the Surface: Remove all rocks, branches, and hidden debris. A single buried landscaping timber or large piece of concrete will chip the carbide-tipped blade and halt the machine instantly.
- Mow Low: Scalp the existing lawn to the lowest possible setting on your mower (approx. 1 inch). This reduces the volume of the rolled sod and makes the strips significantly lighter to carry.
Step-by-Step Guide to Operating a Walk-Behind Turf Remover
Modern walk-behind models, such as the Classen SC-18 or Billy Goat SC181, feature vibration-dampening handles and adjustable pitch controls. Follow this sequence for clean, continuous strips.
1. Set the Initial Blade Depth
Do not guess the root depth. Cool-season grasses (Kentucky Bluegrass, Tall Fescue) typically have root masses that extend 1.5 to 2 inches into the soil. Warm-season grasses (Bermuda, Zoysia) have deeper rhizome networks requiring a 2.5-inch cut. Start with the blade set to 1.5 inches. Make a 3-foot test pass. Inspect the underside of the cut strip. If you see white roots remaining in the soil trench, drop the blade by 0.25 inches and test again. Your goal is to capture 95% of the root mass while leaving as much valuable topsoil behind as possible.
2. Establish a Straight Reference Line
Drive a stake at the far end of the lawn and tie a mason's line to your starting point. Align the left edge of the turf remover's skid plate with the string for your first pass. Free-handing the first cut almost always results in a curved line, which forces you to overlap excessively and waste time on subsequent passes.
3. Execute the Cutting Pass
Engage the blade clutch and walk at a steady, moderate pace (about 2 miles per hour). Let the machine's weight and the blade's oscillation do the work. Do not push down on the handles; pressing down lifts the front skid plate and causes the blade to dive too deep into the subsoil. Overlap each subsequent pass by exactly 1.5 to 2 inches to ensure no thin ribbons of grass are left behind.
4. Roll and Section the Sod
As the machine ejects the strip, use a flat spade to cut the continuous ribbon into manageable 3-foot to 4-foot lengths. A standard 18-inch wide strip cut at 2 inches deep and 4 feet long weighs approximately 45 to 55 pounds. Roll these sections tightly with the grass facing inward to preserve moisture if you plan to transplant them elsewhere.
Troubleshooting Common Turf Removal Failures
Symptom: The blade stalls or the engine bogs down.
Cause: The soil is too dry, or you have struck a dense mat of tree roots or buried construction debris.
Fix: Disengage the blade immediately. Back the machine up 2 feet. Check the trench for rocks or roots. If the soil is simply hardpan clay, water the area and wait 24 hours before resuming.
Symptom: The sod strip tears apart and won't roll.
Cause: The soil is oversaturated, destroying the tensile strength of the root mat, or the blade is dull.
Fix: Stop cutting and allow the lawn to dry for 48 hours. If the soil moisture is correct but tearing persists, the rental machine's blade needs to be replaced or sharpened. A dull blade shreds roots rather than slicing them.
The Logistics of Sod Disposal: Weight and Volume Calculations
The most overlooked aspect of using a turf remover is waste logistics. Sod is incredibly dense. Understanding the exact volume and weight of your removed turf is critical for arranging disposal.
The Math for 1,000 Square Feet:
- Area: 1,000 sq. ft.
- Cut Depth: 2 inches (0.166 feet)
- Volume: 166 cubic feet (approx. 6.1 cubic yards)
- Weight: Moist sod and soil weigh roughly 1,400 to 1,600 lbs per cubic yard.
- Total Weight: 8,500 to 9,700 lbs (4.2 to 4.8 tons).
You cannot load 4.8 tons of sod into a standard half-ton pickup truck (like a Ford F-150 or Chevy Silverado 1500), which typically has a payload capacity of 1,500 to 2,000 lbs. For a 1,000 sq. ft. lawn, you will need to rent a 14-foot dump trailer, hire a junk removal service with a heavy-duty truck, or make 5 to 6 separate trips using a loaded trailer.
Post-Removal Soil Prep for New Grass Establishment
Once the turf is removed, you are left with exposed subsoil. Do not immediately seed or lay new sod on this surface. The Environmental Protection Agency (EPA) recommends thorough soil amendment to ensure deep root penetration and reduce the need for future chemical fertilizers.
- Test the Exposed Soil: Use a core soil sampler to pull 6-inch plugs from the exposed dirt. Send these to a local university extension lab to determine pH and organic matter deficits.
- De-compact the Subsoil: Now that the root mat is gone, use a rear-tine rototiller to fracture the top 4 to 6 inches of the exposed soil. This relieves the compaction caused by years of foot traffic and mowing.
- Amend with Organic Matter: Spread 1 to 2 cubic yards of screened, high-quality compost per 1,000 square feet. Till this compost into the top 3 inches of soil. This creates the ideal loamy texture required for rapid seed germination or sod rooting.
- Final Grading: Use a heavy landscaping rake to level the soil, ensuring a 1% to 2% slope away from your home's foundation to prevent water intrusion.
By utilizing a turf remover to cleanly extract the old lawn and properly calculating the disposal logistics, you create a pristine, biologically active seedbed. This foundational work is the single most important factor in achieving a dense, drought-tolerant lawn that will thrive for decades.

