
Grass Types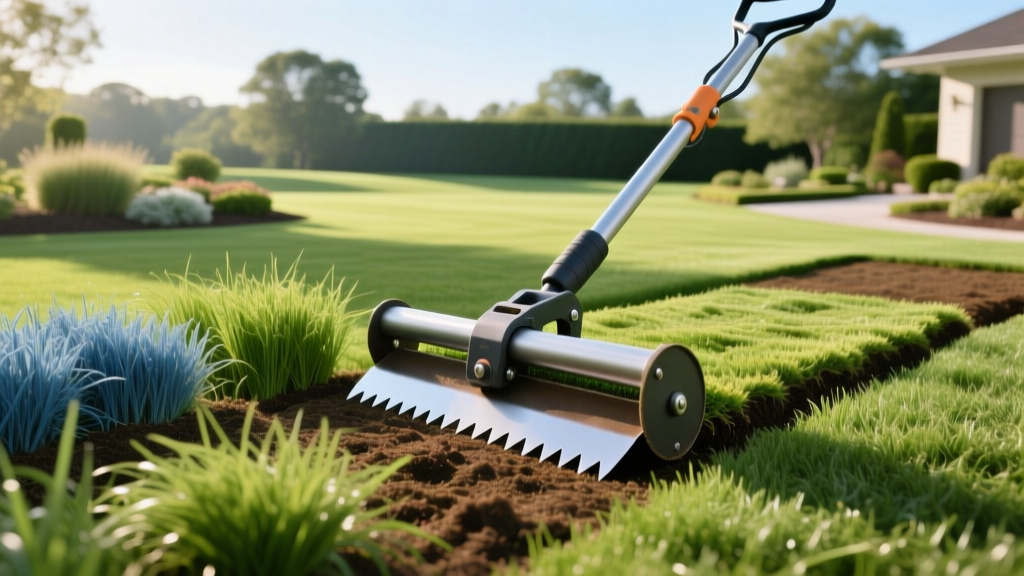
The Ultimate Weed Eradication Playbook: Choosing the Right Sod Removal Tool
The 'Nuclear Option': When Herbicides Fail
When a lawn is compromised by aggressive, rhizomatous weeds like quackgrass, torpedograss, or invasive Bermudagrass, selective herbicides often fall short. These pests spread via deep underground stolons and tubers that easily survive chemical applications, especially when intermingled with desirable cool-season grasses. Similarly, lawns devastated by severe chinch bug or grub infestations may suffer root destruction so total that the turf cannot recover. In these scenarios, mechanical extraction using a dedicated sod removal tool is the only 100% effective playbook. By physically stripping the top layer of soil and the weed root matrix, you reset the ecosystem and prepare a clean slate for new, resistant grass cultivars.
According to University of Minnesota Extension turf specialists, complete lawn renovation via sod cutting is recommended when more than 50% of the turf is comprised of undesirable weeds or pest-damaged dead zones. However, success hinges entirely on selecting the correct equipment and calibrating the cutting depth to extract weed rhizomes without destroying your valuable topsoil profile.
Choosing Your Weapon: Sod Removal Tool Comparison
Not all sod cutters are built for weed eradication. The goal here is precision depth control to sever weed crowns while minimizing soil disruption. Below is a decision matrix to help you select the right tool based on your lawn's square footage and the severity of the weed infestation.
| Tool Type | Power Source | Ideal Area | Depth Control | 2026 Avg Cost / Rental |
|---|---|---|---|---|
| Manual Kick Sod Cutter (e.g., Truper 30-inch) | Human / Kinetic | Under 500 sq ft | Fixed / Manual Pressure | $60 - $95 (Purchase) |
| Walk-Behind Gas Cutter (e.g., Billy Goat SC18H) | 4-Stroke Gas Engine | 500 - 5,000 sq ft | 0.5" - 3.0" Dial | $140 - $185 / Day |
| Skid-Steer / Tractor PTO Cutter | Hydraulic / PTO | Over 10,000 sq ft | Hydraulic Joystick | $2,800+ (Purchase/Attachment) |
⚠️ Critical Safety Protocol: Before operating any motorized sod removal tool, you must call 811 to have underground utilities marked. Sod cutter blades vibrate aggressively and can easily slice through shallow-buried fiber optic cables, irrigation lines, or gas lines, resulting in catastrophic damage and severe liability.
The 14-Day Eradication & Prep Protocol
Renting the machine is only 10% of the battle. The execution of the cut dictates whether you successfully remove the weed matrix or simply chop it into pieces that will aggressively resprout.
Phase 1: Hydration and Blade Calibration (Days 1-2)
Never attempt to cut dry, compacted soil. The blade will bounce, leaving patches of weed roots behind. Two days before cutting, irrigate the lawn deeply to achieve a soil moisture level that is damp but not saturated. If the soil is muddy, the machine's tracks will sink, tearing the soil structure and creating a muddy trench rather than a clean slice.
Calibrate your blade depth to exactly 1.5 to 2.0 inches. Most invasive weed rhizomes, including bermudagrass and nutsedge tubers, reside in the top two inches of the soil profile. Cutting deeper than 2 inches extracts heavy, nutrient-rich subsoil, making the sod rolls impossibly heavy to lift (a 2-inch deep, 18-inch wide, 5-foot long strip of wet soil can weigh over 75 lbs) and wastes your topsoil.
Phase 2: The Cutting Pass (Day 3)
When using a walk-behind gas sod removal tool, let the machine's forward momentum and blade vibration do the work. Do not push down on the handles to force depth; this causes the blade to dip and gouge the soil. Overlap your cutting passes by about 1 inch to ensure no narrow strips of weed-infested turf are left uncut between the tracks.
Phase 3: Rolling and Extraction (Days 4-5)
Once cut, use a flat spade to sever the long strips into manageable 4-foot sections. Roll them up tightly with the grass facing inward. This traps the weed foliage inside the roll, preventing any exposed stolons from catching sunlight and photosynthesizing while waiting for disposal. Dispose of the sod at a municipal green waste facility; do not compost invasive weeds like torpedograss, as home compost piles rarely reach the 140°F required to kill their seeds.
Edge Cases: Troubleshooting the Cut
Real-world lawns are rarely perfectly flat, empty rectangles. Here is how to handle common obstacles during the removal process:
- Rocky or Gravelly Soil: If the blade strikes rocks, it will dull rapidly or bend. If your soil is heavily compacted with gravel, switch to a heavy-duty carbide-tipped blade, or use a manual kick plow for small sections to navigate around large stones without damaging a motorized gearbox.
- Slopes Greater than 15%: Walk-behind sod cutters are extremely front-heavy. Never operate them horizontally across a steep slope, as they can tip and cause severe injury. Cut vertically up and down the slope, or rely on a manual sod kicker for steep inclines.
- Tree Root Zones: Avoid cutting within the drip line of mature trees. Slicing 2 inches deep will sever critical feeder roots, stressing the tree and making it susceptible to borers and fungal pathogens.
Post-Removal: The Solarization Follow-Up Playbook
Even with a perfectly calibrated sod removal tool, microscopic weed seeds and deep taproots (like dandelions or dock) will remain in the exposed subsoil. According to NC State TurfFiles, laying new sod or seed immediately over this exposed soil will result in a rapid weed resurgence.
To complete the eradication playbook, implement soil solarization. After removing the sod, water the bare soil deeply and cover it with 4-mil to 6-mil clear polyethylene sheeting. Bury the edges to create an airtight seal. Leave this in place for 4 to 6 weeks during the hottest months of the year. The clear plastic traps solar radiation, baking the top 2 inches of soil to temperatures between 120°F and 140°F. This thermal shock effectively pasteurizes the soil, destroying remaining weed seeds, nematodes, and soil-borne fungal pathogens.
Expert Insight: Do not use black plastic for solarization. Black plastic absorbs heat on its surface but blocks light, preventing the heat from penetrating deep into the soil profile. Clear plastic allows light to pass through, heating the soil mass directly and providing the deep thermal penetration required to kill resilient nutsedge tubers.
By combining mechanical extraction via a precision sod removal tool with thermal solarization, you achieve a truly sterile seedbed. This rigorous approach guarantees that when you finally lay down your new, pest-resistant grass cultivar, it will establish without fighting a losing battle against the ghosts of the previous lawn. For more information on handling chemical alternatives safely, always consult the EPA Safe Pest Control guidelines before resorting to heavy herbicide use.

