
Home & Garden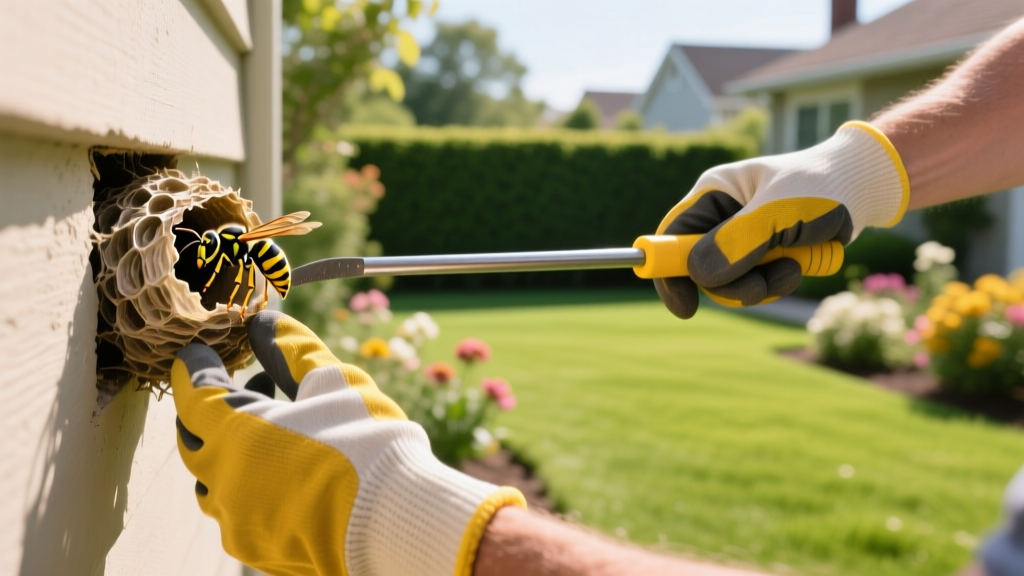
How to Diagnose and Kill Yellow Jacket Nests Safely
Symptom Diagnosis: Identifying the Threat
Before attempting to kill yellow jacket colonies, accurate symptom diagnosis is critical. Misidentifying the insect or the nest structure often leads to ineffective treatments and severe stinging incidents. Yellow jackets (Vespula and Dolichovespula species) exhibit distinct behavioral symptoms compared to other stinging insects, particularly in late summer and early fall when colony populations peak between 3,000 and 5,000 workers.
According to the University of California Agriculture and Natural Resources (UC ANR), yellow jackets are highly defensive of their nest radius. If you observe rapid, aggressive flight patterns originating from a small hole in the soil, a gap in your siding, or the eaves of your roof, you are likely dealing with a yellow jacket infestation rather than solitary bees or docile honeybees.
Insect Identification Matrix
| Feature | Yellow Jackets | Honeybees | Bald-Faced Hornets |
|---|---|---|---|
| Body Appearance | Bright yellow/black, smooth, distinct narrow waist | Fuzzy, golden-brown/black, robust body | Larger, black and white/ivory markings |
| Nest Location | Subterranean holes, wall voids, occasionally aerial | Aerial (tree cavities) or managed wooden hives | Aerial (shrubs, trees, eaves), enclosed paper envelope |
| Aggression Level | Extremely high; will pursue threats for several yards | Low; only defensive if hive is directly threatened | Moderate; mostly defensive near the immediate nest |
| Stinger | Smooth; can sting repeatedly without dying | Barbed; stings once and dies (leaves stinger sac) | Smooth; can sting repeatedly |
Threat Triage: DIY Rescue vs. Professional Extermination
Not every yellow jacket nest should be treated by a homeowner. Use this decision framework to determine your rescue protocol. Professional extermination typically costs between $150 and $300 per nest in 2026, while DIY material costs range from $15 to $35.
⚠️ Call a Licensed Professional If:
- The nest is located inside a wall void, attic, or structural cavity.
- The nest is aerial and located higher than 12 feet off the ground.
- You or any household member has a known anaphylactic allergy to insect venom.
- The colony footprint spans multiple entry points along a foundation.
If the nest is subterranean (ground-level), located at least 20 feet away from high-traffic patio areas, and you possess basic protective gear, a DIY rescue fix is highly effective and cost-efficient.
Rescue Fix Protocol A: Subterranean Nest Drench
The most common failure mode in DIY yellow jacket eradication is using liquid aerosol sprays on ground nests. Liquid sprays flood the top inch of the gallery, causing the colony to panic and chew secondary exit holes several feet away. To effectively kill yellow jacket ground nests, you must use a residual insecticidal dust that the foragers track deep into the subterranean chambers.
Required Materials
- Insecticide Dust: Delta Dust (0.05% Deltamethrin) or Tempo Dust (1% Cyfluthrin). Expect to pay $20–$28 for an 8 oz shaker bottle.
- Application Tool: A handheld bulb duster (e.g., JT Eaton Red Duster, ~$8). This allows you to inject the dust deep into the hole without kneeling directly over the entrance.
- Protective Gear: Thick leather gloves, long sleeves, and a head net.
- Lighting: A flashlight equipped with a red cellophane filter. Yellow jackets cannot perceive red light wavelengths, preventing them from targeting the beam.
Step-by-Step Execution
- Timing is Critical: Wait until at least two hours after sunset. Ambient temperatures must be below 65°F. At this time, all foraging workers have returned to the nest, and their metabolic rate is lowered, reducing aggression.
- Locate the Entrance: During the day, mark the exact entrance hole with a small landscaping flag or a rock placed a few feet away. Do not block the hole.
- Load the Duster: Fill the bulb duster no more than one-third full with Delta Dust. The air space is required to create a billowing cloud of dust rather than a solid clump.
- Approach and Inject: Approach the nest slowly from the side, not directly over the hole. Insert the duster nozzle into the entrance and squeeze the bulb firmly 3 to 4 times.
- Retreat Immediately: Leave the area instantly. Do not linger to observe. The dust will coat the exiting guards, who will carry the lethal Deltamethrin deep into the queen's chamber.
- Wait 48 Hours: Do not disturb the soil. The colony will typically collapse within 24 to 48 hours as the dust spreads through trophallaxis (food sharing) and physical contact.
Rescue Fix Protocol B: Aerial Nest Knockdown
For small, exposed aerial nests (under the size of a basketball) hanging from eaves or low branches, a rapid-knockdown liquid spray is the appropriate rescue fix. The University of Minnesota Extension recommends using products containing Prallethrin, which provides an immediate neurotoxic shock to the insects.
Execution Parameters
- Product Selection: Use a jet-stream spray specifically labeled for wasps and hornets, such as Spectracide Wasp & Hornet Killer or Wasp-Freeze. These products shoot a concentrated stream up to 20 feet.
- The 'Puff and Run' Technique: Stand at the maximum effective range of the spray nozzle. Saturate the nest entrance and the outer paper envelope for 10 to 15 seconds until the nest is visibly dripping.
- Drop and Leave: The nest will likely detach or drop swarming, dying insects. Turn and walk away rapidly. Do not run, as rapid movement and vibrations trigger a stronger pursuit response from any surviving guards.
- Removal: Wait 24 hours. Once all activity has ceased, knock the nest down with a long pole and dispose of it in a sealed outdoor trash receptacle.
Edge Cases and Critical Mistakes
Expert Insight: Never seal a yellow jacket entry hole in a wall void or soffit before the colony is dead. If you trap them inside, the workers will simply chew through the drywall and emerge directly into your living space, creating a severe indoor hazard.
The Wall Void Dilemma
If yellow jackets are entering through a crack in your brickwork or a gap in your vinyl siding, treat it exactly like a ground nest using a bulb duster and Delta Dust. Puff the dust into the crack at night. Leave the crack open for at least 72 hours to allow foragers to track the dust inside. Only after you have observed zero activity for three consecutive days should you caulk or seal the structural gap.
Why Flooding with Water Fails
A common internet myth suggests flooding ground nests with a garden hose and dish soap. This is highly dangerous and largely ineffective. Subterranean yellow jacket galleries are complex, multi-chambered structures that can extend up to four feet deep and several feet laterally. Flooding rarely reaches the queen's chamber; instead, it angers the colony, forcing thousands of wet, aggressive wasps to the surface where they will defend the ruined entrance for days.
Post-Eradication Prevention
Once you successfully kill yellow jacket colonies on your property, implement immediate preventive measures to deter new queens from establishing nests the following spring.
- Fill Ground Cavities: Use topsoil to fill in any abandoned rodent burrows, hollow tree roots, or depressions in your lawn where ground nests previously existed.
- Manage Protein Sources: In late summer, yellow jackets scavenge for protein to feed larvae. Ensure outdoor trash cans have tight-fitting lids, and keep pet food indoors.
- Deploy Decoy Nests: Yellow jackets are highly territorial. Hanging artificial decoy nests (available for $10–$15 at garden centers) in early spring can deter scouting queens from building within 200 feet of the decoy, as they assume the territory is already claimed.

