
Home & Garden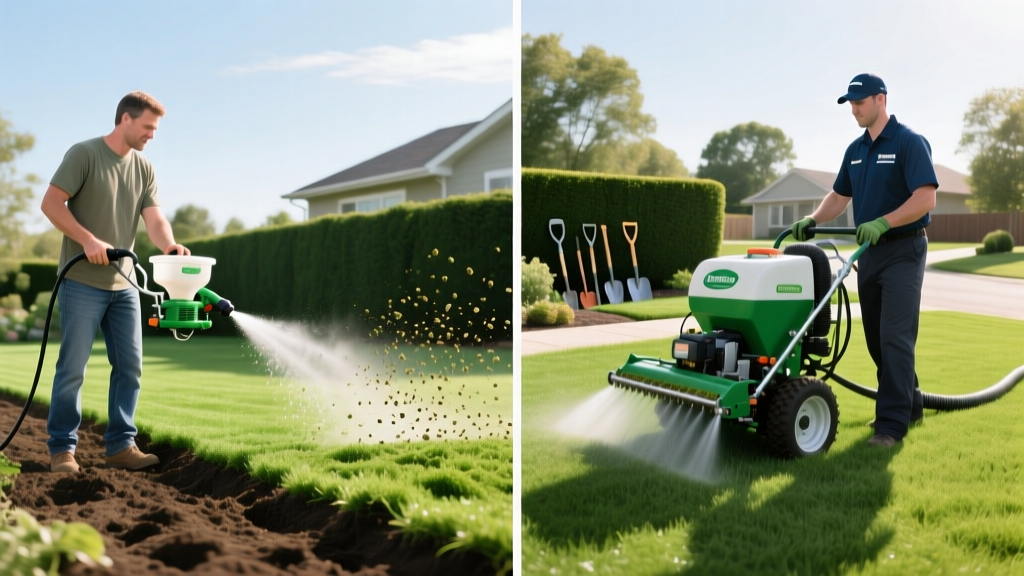
DIY Hydroseed Kits vs Professional Application: Costs & Results
Hydroseeding—often called hydraulic mulching—suspends grass seed, fertilizer, and a binding tackifier in a water-based mulch slurry. When sprayed over bare soil, the mixture forms a protective microclimate that accelerates germination and prevents erosion. While commercial landscapers have used truck-mounted hydroseeders for decades, the consumer market has recently been flooded with DIY hose-end hydroseed kits. Understanding the mechanical and chemical differences between DIY formulations and professional applications is critical before committing to either method.
The Anatomy of a Hydroseed Slurry
A successful hydroseed application relies on four distinct components working in unison. According to the University of Minnesota Extension, the physical barrier created by the slurry is just as important as the seed viability itself.
- Cellulose Mulch: Typically recycled paper or wood fiber. It retains up to 10 times its weight in water, keeping the seedbed consistently moist.
- Tackifier: A natural polysaccharide (like guar gum) or synthetic polymer that acts as a glue. It binds the mulch fibers to the soil, preventing wind and water displacement.
- Starter Fertilizer: A high-phosphorus blend (usually 10-18-10 NPK) that stimulates rapid root development rather than immediate blade growth.
- Seed Blend: Professional mixes often include a "nurse crop" like perennial ryegrass (germinates in 5-7 days) to anchor the soil while slower-establishing Kentucky Bluegrass (14-21 days) takes root.
DIY Hose-End Kits vs. Professional Hydroseeding
The primary divergence between consumer kits and professional services lies in tank agitation, slurry density, and application uniformity. Professional trucks utilize 500-to-1,000-gallon tanks with mechanical paddle agitators that keep heavy wood fibers and seed perfectly suspended. Consumer hose-end kits rely on water pressure to draw a concentrated liquid or powder from a small plastic canister, which inherently limits the amount of physical mulch and tackifier that can be delivered.
| Feature | DIY Hose-End Kit (e.g., Hydro Mousse) | Rented DIY Tank Sprayer (100-Gallon) | Professional Truck-Mounted Service |
|---|---|---|---|
| Slurry Density | Low (mostly liquid dye and seed) | Medium (paper/cellulose mulch) | High (heavy wood fiber matrix) |
| Erosion Control | Minimal (best for flat lawns) | Moderate (handles 2:1 slopes) | Maximum (handles 1:1 steep slopes) |
| Agitation Method | Water pressure suction | Manual stirring or small gas motor | Mechanical paddle/jet agitation |
| Visual Tracking | Green dye fades in 24-48 hours | Green dye lasts 3-5 days | Premium UV-resistant dye lasts 7+ days |
The True Cost to Hydroseed 5,000 Square Feet
Pricing fluctuates based on regional labor rates and seed cultivars, but the structural cost differences remain consistent. For a standard 5,000-square-foot suburban lawn:
Professional Hydroseeding: $500 to $750
Contractors typically charge between $0.10 and $0.15 per square foot. This price includes soil testing, site grading, premium turf-type tall fescue or Kentucky bluegrass seed, and a heavy-duty wood fiber mulch application. The higher end of the spectrum includes post-emergent weed control and a follow-up inspection.
DIY Hose-End Kits: $120 to $160
A standard hose-end kit covers approximately 2,500 square feet per $35 to $45 bottle. To cover 5,000 square feet, you will need two to three refill bottles ($105-$135) plus the initial sprayer head attachment ($15-$25). While cheap, the lack of heavy mulch means you must water more frequently to prevent seed desiccation.
Rented 100-Gallon Tank Sprayer: $200 to $280
Renting a tow-behind hydroseeder from a local equipment yard costs roughly $125 to $150 per day. You must separately purchase bulk cellulose mulch ($40), powdered tackifier ($20), and 50 lbs of premium seed ($60). This is the most labor-intensive option but yields results closest to professional applications for flat terrain.
DIY Application Protocol: Soil Prep to Spraying
Hydroseed will not germinate successfully if applied over compacted clay or existing weeds. The UC Davis Integrated Pest Management program emphasizes that seed-to-soil contact is the primary driver of establishment success.
- Kill Existing Vegetation: Apply a non-selective herbicide (like glyphosate) 14 days prior, or use solarization with clear plastic for 3 weeks. Do not skip this step; hydroseed slurry cannot smother established crabgrass or bermudagrass.
- Grade and Rake: Establish a 1% to 2% slope away from your home's foundation. Use a steel landscape rake to remove rocks larger than 1 inch and break up the top 2 inches of soil.
- Amend the Soil: Spread a 1/4-inch layer of screened compost. Avoid peat moss; when peat moss dries, it becomes hydrophobic and repels water, which will starve the hydroseed slurry above it.
- Mix and Spray: If using a hose-end kit, shake the canister vigorously every 60 seconds during application to prevent seed from settling at the bottom. Walk at a steady pace of 3 feet per second, overlapping your spray passes by 50% to ensure uniform coverage.
Water Pressure Warning: Hose-end hydroseed kits require a minimum of 40 PSI (pounds per square inch) at the spigot to properly siphon the slurry. If you are on a well system with low pressure, the sprayer will spit air and unevenly distribute the seed. Test your pressure with a standard gauge before purchasing a kit.
Germination Timeline and the 21-Day Watering Matrix
The tackifier in hydroseed creates a crust as it dries. If this crust dries out completely before the seed germinates, it forms a hard physical barrier that emerging shoots cannot penetrate. Maintaining the moisture matrix is non-negotiable.
- Days 1 to 14 (Germination Phase): Water for 10 to 15 minutes, 3 to 4 times per day. The goal is to keep the top 1 inch of soil constantly damp, not saturated. Use a fine-mist sprinkler head; heavy droplets will break the tackifier bond and cause washouts.
- Days 15 to 21 (Establishment Phase): Reduce frequency to once daily, but increase the duration to 25 minutes. This forces the new root systems to stretch deeper into the soil profile to chase the moisture.
- Days 22+ (Maturation Phase): Transition to standard deep-watering protocols: 1 inch of water per week, delivered in two heavy sessions to encourage drought-tolerant deep rooting.
Troubleshooting: 3 Common Hydroseed Failure Modes
Even with perfect soil prep, environmental variables can derail establishment. Recognizing these failure modes early allows for immediate intervention.
1. Tackifier Crusting
Symptom: The green mulch turns pale and forms a hard, cracked shell. Seeds are visible underneath but cannot push through.
Cause: Applying too much tackifier (common in DIY tank mixes) or allowing the slurry to dry out completely on hot, windy days.
Fix: Lightly mist the area with a hose nozzle set to "shower" to soften the crust. Do not use a jet stream, which will tear the mulch mat.
2. Sprinkler Washout
Symptom: Bare patches appear where mulch has pooled at the bottom of slight inclines.
Cause: Using an impact sprinkler that delivers large, heavy water droplets, effectively destroying the polysaccharide glue before it fully cures.
Fix: Switch to an oscillating sprinkler with fine mist nozzles for the first 14 days. For severe washouts, manually re-seed the bare spots and cover them with a thin layer of straw.
3. Fungal Damping Off
Symptom: Grass sprouts emerge but quickly turn brown, thin out, and die in circular patches.
Cause: Overwatering combined with high ambient temperatures (above 80°F), creating a breeding ground for Pythium fungus.
Fix: Reduce watering frequency immediately. Allow the top layer of mulch to dry slightly between sessions. If the fungus spreads, apply a preventative fungicide containing Azoxystrobin.
"The biggest mistake homeowners make with hydroseed is treating it like traditional broadcast seed. Once the slurry hits the dirt, it becomes a living, breathing membrane. You aren't just watering the seed; you are managing the moisture retention of the mulch matrix above it."

