
Home & Garden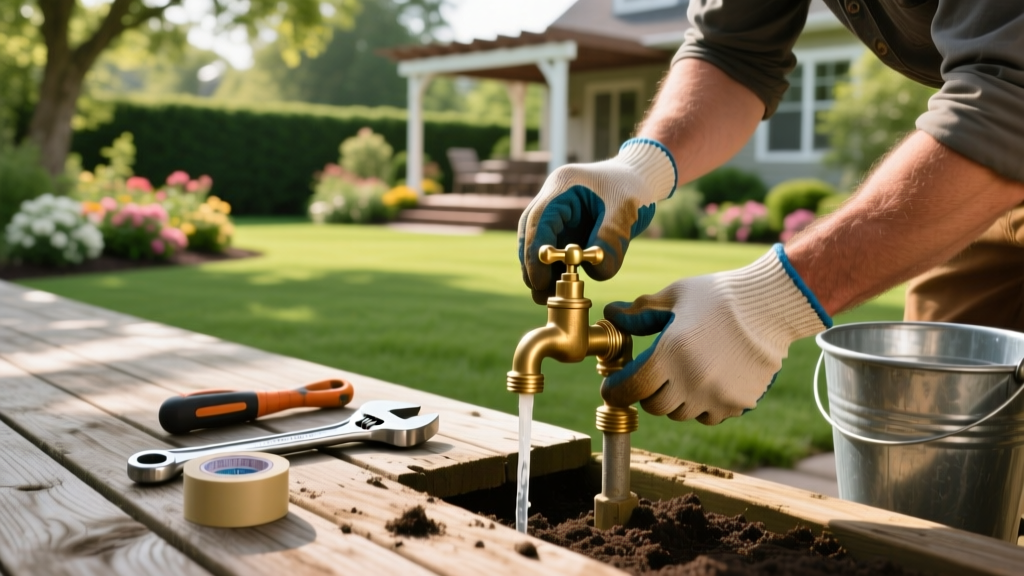
Outdoor Water Faucet Replacement: A Beginner's DIY Guide
A dripping or cracked hose bib is more than a minor annoyance. According to the EPA WaterSense program, a single outdoor leak dripping at one drop per second can waste over 3,000 gallons of water annually. When winter approaches, a compromised faucet can lead to catastrophic freeze damage inside your home's walls. Fortunately, an outdoor water faucet replacement is a highly manageable DIY project that requires minimal plumbing experience and under $100 in materials.
Diagnosing the Issue: Repair vs. Replace
Before buying new parts, determine if your current setup needs a full outdoor water faucet replacement or just a simple washer swap. Stripped threads, cracked brass housings, or persistent leaks around the stem base dictate a full replacement.
| Symptom | Likely Cause | Solution | Estimated Cost |
|---|---|---|---|
| Drip from the spout when turned off | Worn rubber stem washer | Replace washer (Repair) | $2 - $5 |
| Leak around the handle stem | Degraded packing nut or O-ring | Tighten nut or replace O-ring (Repair) | $3 - $8 |
| Leak at the wall connection | Failed pipe thread sealant or cracked housing | Full outdoor water faucet replacement | $25 - $65 |
| Visible cracks in the brass body | Previous freeze damage | Full outdoor water faucet replacement | $25 - $65 |
Tools and Materials Checklist
Outdoor plumbing typically utilizes 1/2-inch or 3/4-inch National Pipe Taper (NPT) threads. Gather the following tools before starting:
- Two Pipe Wrenches: A 10-inch and a 14-inch model. Using two wrenches prevents twisting and breaking the copper or PEX supply pipe inside the wall.
- PTFE Thread Seal Tape: Use standard white tape (not yellow gas tape) for water lines.
- Pipe Thread Sealant (Pipe Dope): A brush-on paste like Oatey Great White for extra insurance on threaded connections.
- The Replacement Faucet: A standard brass hose bib ($15-$25) or a frost-free sillcock like the Woodford Model 17 ($55-$65).
- Bucket and Towels: For catching residual water pressure.
Beginner Pro-Tip: Push-to-Connect Fittings
If your existing faucet is soldered to copper pipe and you lack torch-soldering skills, cut the copper pipe cleanly with a tubing cutter and use a push-to-connect (SharkBite) hose bib. A 1/2-inch SharkBite brass hose bib costs around $32 and requires zero soldering, threading, or glue. Just push it onto the deburred copper pipe until it clicks.
If your existing faucet is soldered to copper pipe and you lack torch-soldering skills, cut the copper pipe cleanly with a tubing cutter and use a push-to-connect (SharkBite) hose bib. A 1/2-inch SharkBite brass hose bib costs around $32 and requires zero soldering, threading, or glue. Just push it onto the deburred copper pipe until it clicks.
Step-by-Step Outdoor Water Faucet Replacement
Step 1: Shut Off and Drain the Supply Line
Locate the interior shutoff valve for the outdoor line. This is typically found in the basement or crawlspace directly opposite the exterior faucet. Turn the valve clockwise to close it. Open the exterior faucet to drain residual water and relieve pressure. Leave the exterior handle in the open position during the removal process.
Step 2: Remove the Old Faucet
Place your bucket under the faucet. Grip the base of the old faucet with the 14-inch wrench (turning counter-clockwise). If the faucet is threaded into a galvanized steel drop ear elbow, use the 10-inch wrench to hold the interior fitting steady so you do not twist the pipe inside the wall.
Warning: Stuck Fittings
If the brass refuses to budge, do not apply excessive brute force, which can snap the pipe behind the siding. Apply penetrating oil (like PB Blaster) to the joint and wait 15 minutes. Alternatively, use a heat gun on the metal fitting for 60 seconds to expand the brass and break the old thread sealant bond.
If the brass refuses to budge, do not apply excessive brute force, which can snap the pipe behind the siding. Apply penetrating oil (like PB Blaster) to the joint and wait 15 minutes. Alternatively, use a heat gun on the metal fitting for 60 seconds to expand the brass and break the old thread sealant bond.
Step 3: Prep the Threads
Clean the male or female threads of the supply pipe with a wire brush to remove old tape and debris. Wrap the male threads of your new faucet with PTFE tape. Wrap exactly three to four layers in a clockwise direction. Wrapping counter-clockwise will cause the tape to unravel when you screw the faucet in. Follow the tape with a thin coat of pipe thread sealant.
Step 4: Install the New Faucet
Thread the new faucet into the supply fitting by hand to ensure you do not cross-thread the connection. Once hand-tight, use your wrench to tighten it an additional one to two turns. The faucet should point straight down. Do not overtighten; brass is a soft metal and over-torquing can crack the housing or strip the NPT threads.
Upgrading to a Frost-Free Sillcock
If you live in a climate where temperatures drop below freezing, a standard hose bib is a liability. Standard bibs shut off the water right at the handle, leaving water trapped in the spout where it can freeze, expand, and crack the brass.
A frost-free sillcock (like the Woodford Model 17) features an extra-long stem that pushes the actual shutoff valve 6 to 12 inches inside the heated envelope of your home. When you turn off the handle outside, the water stops inside the warm house, and the exterior spout drains completely.
| Feature | Standard Hose Bib | Frost-Free Sillcock |
|---|---|---|
| Shutoff Location | At the exterior handle | 6-12 inches inside the wall |
| Freeze Risk | High (if hose is left attached) | Low (if installed with proper slope) |
| Installation Depth | Surface mount | Requires drilling through rim joist |
| Average 2026 Price | $18 - $25 | $55 - $75 |
The Critical Frost-Free Slope Rule
The most common mistake beginners make during a frost-free outdoor water faucet replacement is installing the sillcock perfectly level. According to plumbing best practices and guidelines referenced by the University of Minnesota Extension, a frost-free sillcock must be sloped downward toward the exterior at a rate of 1/4 inch per foot of length. This downward pitch ensures that when the valve closes inside the house, gravity pulls all residual water out of the long stem and out the spout. If installed level or sloping upward, water pools inside the stem, freezes, and bursts the copper tube inside your wall cavity.
Testing and Final Inspection
Close the exterior faucet handle. Slowly open the interior shutoff valve to restore water pressure. Check the connection at the wall for any weeping or drips. If a leak appears, turn the water back off, relieve pressure, and tighten the connection by a quarter turn.
Once confirmed dry, open the exterior handle to flush out any debris or pipe dope that entered the line during installation. Let the water run for 30 seconds into your bucket, then shut it off. Your outdoor water faucet replacement is complete, securing your home's exterior plumbing against water waste and winter freeze damage.

