
Home & Garden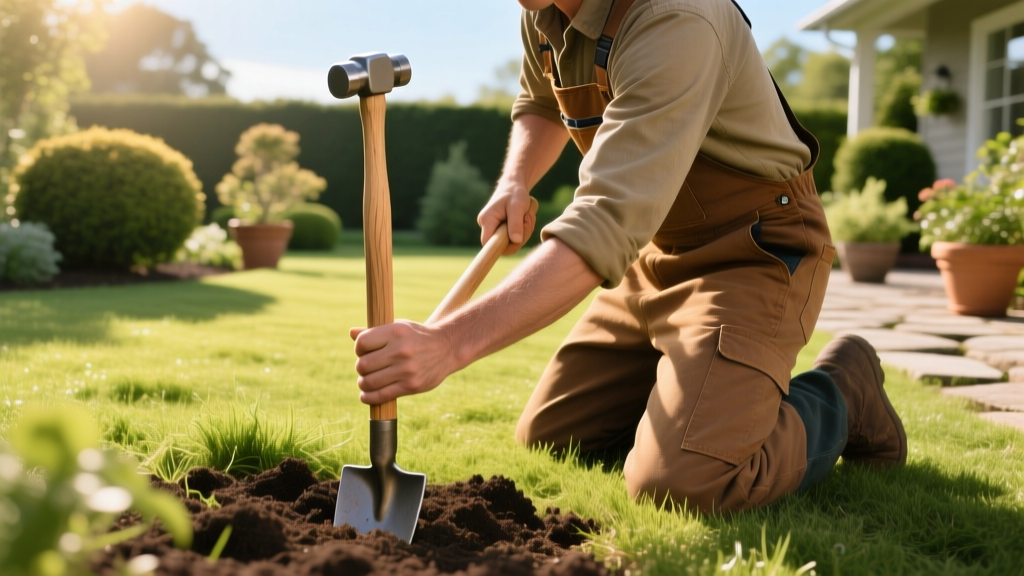
How to Drive Stakes in the Ground for Garden and Yard Projects
Driving stakes into the ground seems like a brute-force task, but improper technique leads to bent steel, shattered wood, and structural failures. Whether you are securing a young tree, anchoring a shade sail, setting fence T-posts, or pitching a heavy-duty canopy, the physics of soil displacement dictate your success. This guide breaks down the exact tools, angles, and soil-preparation methods required to drive stakes cleanly and safely in 2026.
The Physics of Staking: Depth, Angle, and Soil Mechanics
Before picking up a hammer, you must match the stake's installation geometry to the type of force it will endure. There are two primary load types in yard staking: vertical shear (supporting weight) and lateral tension (resisting pulling forces).
The 1/3 Depth Rule for Vertical Loads: For stakes bearing downward weight or acting as rigid uprights (like tree stakes or light fencing), exactly one-third of the stake's total length must be buried. A 6-foot stake requires a 2-foot embedment depth to prevent the soil from pivoting the stake outward under wind load.
For lateral tension—such as tent guylines, shade sails, or tarp tie-downs—the angle matters more than pure depth. Drive these stakes at a strict 45-degree angle pointing away from the load. This aligns the pulling force with the stake's shaft, utilizing the sheer mass of the soil wedge in front of the stake rather than relying solely on surface friction.
How Soil Type Dictates Your Approach
- Heavy Clay: High shear strength but prone to severe compaction. Driving stakes directly into dry clay will bend most standard steel stakes. Clay requires pre-drilling or heavy hydration 24 hours before installation.
- Sandy Loam: Low cohesion. Stakes pull out easily under tension. Increase the embedment depth to 50% of the stake length or use wider-diameter stakes (like 1.5-inch wooden dowels instead of 3/8-inch rebar) to increase surface area friction.
- Rocky Glacial Till: Common in northern climates. You will hit obstructions. Never force a stake through a rock layer; you will shatter the stake or the tool. Use a rock bar to pivot or relocate the hole.
Tool Matrix: Choosing the Right Driver for the Job
Using a standard 16-ounce claw hammer to drive a 24-inch steel stake is a guaranteed way to ruin the stake's head and risk severe hand injuries. Match the tool mass to the stake material.
| Tool Type | Best Application | Recommended Model (2026) | Avg. Cost |
|---|---|---|---|
| 3 to 4-lb Drilling Hammer | Rebar, small wooden stakes, tent pins | Estwing MRW4 (Solid Steel) | $20 - $28 |
| Fencing Post Driver (Pounder) | Steel T-posts, round pipe stakes | Fiskars 5 lb. Post Driver | $45 - $60 |
| 8 to 10-lb Sledgehammer | Large timber stakes, landscape timbers | Wilton 10 lb BFB Sledge | $55 - $75 |
| Rotary Hammer with Earth Auger | Pre-drilling holes in hardpan/clay | Bosch Bulldog Xtreme 24" Bit | $40 - $90 |
Step-by-Step: Driving Stakes in Hard or Compacted Soil
If you are working in late summer or in arid regions, the ground may be too hard for direct driving. Follow this sequence to preserve your tools and your stakes.
- Clear and Call: Before driving any stake deeper than 12 inches, contact your local utility locating service via Call811.com. Hitting a buried irrigation wire or gas line is a catastrophic beginner mistake.
- Hydrate the Zone: If time permits, soak the target area with a soaker hose for 4 to 6 hours the day before. Water acts as a temporary lubricant and softens the clay matrix, reducing driving resistance by up to 60%.
- Pre-Drill a Pilot Hole: For extreme hardpan, use a rotary hammer with a 1/2-inch masonry bit or a manual soil auger to drill a pilot hole exactly two-thirds the depth of your intended embedment. This guides the stake and removes the densest soil layer.
- Crown Protection: Place a heavy-duty plastic or steel stake cap over the top of the stake. If using raw rebar, a $3 Vestil RBC-1 Rebar Cap is mandatory. It distributes the hammer's impact force evenly, preventing the steel from "mushrooming" into razor-sharp, jagged edges.
- The Strike Technique: Grip the drilling hammer near the base of the handle, not the neck. Let the weight of the 4-lb head do the work. Strike squarely in the center of the cap. Choking up on the handle reduces kinetic energy and causes erratic, bending strikes.
Specialized Application: Staking Young Trees
Tree staking requires a completely different philosophy than structural fencing. According to the University of Minnesota Extension, most trees do not require staking at all. However, if you are planting in high-wind areas or dealing with top-heavy container-grown stock, proper staking is vital for root establishment.
Expert Insight: "Stakes should be driven 18 inches into the soil outside the root ball. The critical error beginners make is tying the trunk rigidly to the stake. The tree must be allowed to sway slightly in the wind; this mechanical stress triggers the production of reaction wood, which thickens the trunk and builds a resilient root system."
Use two 4-foot wooden or fiberglass stakes placed on opposite sides of the prevailing wind. Drive them 18 inches deep. Use wide, flexible canvas tree ties (never wire or narrow nylon rope, which will girdle and kill the bark) and secure them at the lowest point on the trunk that still keeps the tree upright.
Troubleshooting Common Staking Failures
The Stake is Bending Sideways
Cause: You hit a subsurface rock, or your strike angle is off-axis.
Fix: Stop immediately. Do not try to hammer it straight, as this will weaken the steel's crystalline structure and cause a subterranean snap. Pull the stake using a fencing post puller or a heavy pry bar, relocate the position by 4 inches, and pre-drill a pilot hole.
The Stake Sinks, but Pulls Right Back Out
Cause: You are driving into loose, dry sand or heavily tilled garden bed soil with zero cohesion.
Fix: Switch to a "deadman" anchor system. Instead of a single vertical stake, bury a horizontal piece of timber or a sand-filled bag 18 inches deep, and run your tie-line to that buried anchor. Alternatively, use helical earth anchors (like the AB Earth Anchor 30-inch model) which screw into the soil and use spiral blades to grip loose earth.
The Top of the Wooden Stake is Splintering
Cause: Striking end-grain wood directly with a steel hammer.
Fix: Always cut the stake at a 45-degree angle at the bottom (the driving end) to help it slice through soil roots. For the top, place a scrap block of 2x4 wood over the stake head as a "beater block" to absorb the hammer shock, or wrap the top tightly with 2 inches of heavy duct tape to bind the wood fibers together during impact.
Safety Protocols for Yard Staking
Driving steel into the ground generates high-velocity debris and extreme acoustic shock. Adhere to these non-negotiable safety standards:
- Eye Protection: Always wear ANSI Z87.1-rated safety glasses. Steel stakes can spall (chip off tiny, needle-like shards of metal) upon impact, which are a leading cause of yard-work eye injuries.
- Hand Protection: Wear heavy leather-palm work gloves to prevent blistering and absorb vibration shock, which can lead to hand-arm vibration syndrome (HAVS) during prolonged fencing projects.
- Impalement Hazards: Never leave uncapped rebar or steel stakes protruding at waist or eye level in a garden bed. If a stake must remain exposed, cap it with a high-visibility plastic safety cover or bend the top into a U-shape using a heavy rebar bender.
Mastering the installation of stakes in the ground is a foundational yard skill. By respecting soil mechanics, utilizing the correct mass-to-tool ratio, and prioritizing safety, you ensure that your trees, tents, and fences remain securely anchored through every season.

