
Home & Garden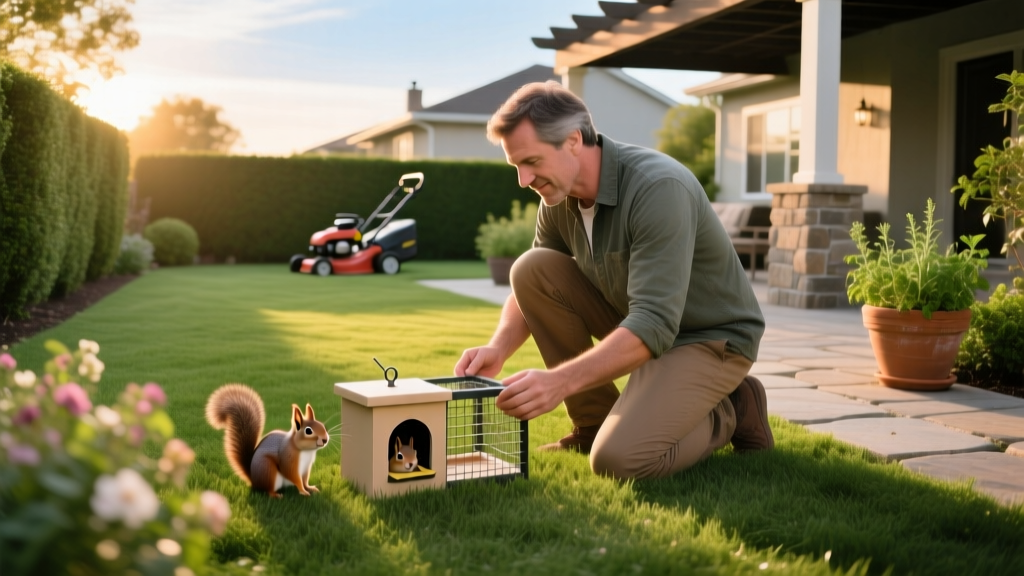
How to Remove Chipmunks From Yard: A Humane Eviction Playbook
Eastern chipmunks (Tamias striatus) are undeniably charismatic, but their burrowing habits can wreak havoc on residential landscapes. A single chipmunk can excavate a burrow system spanning 20 to 30 feet, undermining concrete patios, cracking retaining walls, and devouring expensive spring-flowering bulbs. When their population density peaks, the resulting subsidence can cause thousands of dollars in structural damage to home foundations.
This playbook provides a phased, humane approach to eviction. By combining habitat modification, sensory deterrents, and strategic live-trapping, you can reclaim your landscape without resorting to lethal poisons that risk secondary poisoning to local raptors and pets.
Damage Assessment: Chipmunks vs. Other Burrowers
Before deploying removal tactics, confirm the culprit. Misidentifying the pest leads to wasted effort and ineffective exclusion strategies. Use this diagnostic matrix to verify chipmunk activity against other common yard excavators.
| Pest Species | Entrance Hole Size | Soil Mounding | Tunnel Characteristics |
|---|---|---|---|
| Chipmunk | 1.5 to 2 inches wide | None (soil is carried away in cheek pouches) | Shallow drop-offs leading to extensive horizontal chambers |
| Vole | 1 to 1.5 inches wide | None | Surface runways through grass, shallow root-level tunnels |
| Mole | Rarely open holes | Large, symmetrical volcanic mounds | Raised surface ridges, deep vertical shafts |
| Ground Squirrel | 3 to 4 inches wide | Large, irregular soil fan around entrance | Deep, aggressive burrows often near large tree roots |
Phase 1: Habitat Modification and Exclusion
Chipmunks select burrow sites based on cover and food availability. Altering the micro-habitat makes your yard uninviting and physically blocks access to critical infrastructure.
The L-Footer Trenching Technique
To protect sheds, decks, and concrete slabs, install an "L-footer" barrier. This prevents chipmunks from digging directly under the structure.
- Dig a Trench: Excavate a trench 12 inches deep and 4 inches wide along the vulnerable foundation.
- Select the Mesh: Use 19-gauge, 1/2-inch galvanized hardware cloth. Avoid chicken wire, as chipmunks can easily squeeze through the 1-inch hexagonal gaps or chew through the thin gauge.
- Form the L-Shape: Bend the bottom 6 inches of the hardware cloth outward at a 90-degree angle, pointing away from the structure.
- Install and Backfill: Place the mesh in the trench so the vertical section rests against the foundation and the horizontal section rests on the trench floor. Backfill with soil and tamp down.
Gravel Perimeters and Bulb Defense
Chipmunks despise digging through coarse, heavy materials. Create a 2-foot-wide perimeter of 3/4-inch crushed gravel around garden beds and foundations. For planted bulbs (especially tulips and crocuses, which are primary targets), lay a sheet of 1/2-inch hardware cloth directly over the planted area before covering with 2 inches of mulch. This allows shoots to penetrate but blocks excavation from above.
Phase 2: Sensory Deterrents and Botanical Repellents
When physical exclusion is impractical for large acreage, sensory deterrents disrupt the chipmunks' foraging patterns and trigger their flight responses.
Motion-Activated Hydro-Deterrents
The Orbit 62100 Yard Enforcer motion-activated sprinkler remains the most effective non-lethal area denial tool. Priced around $65 to $75, it features a 35-foot detection range and an infrared sensor that differentiates between heat and motion, reducing false triggers from wind-blown branches. Set the device to "Day and Night" mode and position it to cover primary runways leading to bird feeders or garden beds. The sudden burst of water and the mechanical clicking noise condition chipmunks to avoid the zone within 48 hours.
Botanical and Chemical Repellents
For localized plant protection, apply repellents containing putrescent whole egg solids or capsaicin. Liquid Fence animal repellent relies on putrescent egg solids, which trigger a predator-proximity instinct in herbivores and omnivores. For a DIY alternative, create a capsaicin spray:
Capsaicin Bulb-Soak Recipe:
Blend 2 tablespoons of crushed red pepper flakes, 1 teaspoon of dish soap (as a surfactant), and 1 quart of water. Let it steep for 24 hours, strain through cheesecloth, and soak bare bulbs in the solution for 15 minutes before planting. The soap ensures the capsaicin adheres to the bulb's waxy exterior.
Blend 2 tablespoons of crushed red pepper flakes, 1 teaspoon of dish soap (as a surfactant), and 1 quart of water. Let it steep for 24 hours, strain through cheesecloth, and soak bare bulbs in the solution for 15 minutes before planting. The soap ensures the capsaicin adheres to the bulb's waxy exterior.
Phase 3: Humane Trapping and Relocation Protocols
If habitat modification and deterrents fail to reduce the population to tolerable levels, live trapping is the next step. According to Penn State Extension, trapping is most effective in early spring or late fall when natural food sources are scarce and chipmunks are highly motivated by bait.
Trap Selection and Baiting Strategy
Use a single-door live trap, such as the Havahart 1025 (10" x 4" x 10"), which is perfectly sized for chipmunks and prevents larger animals like raccoons from triggering the mechanism.
The Baiting Protocol: Chipmunks are notoriously trap-shy and will often steal bait without tripping the pan. To force the trigger mechanism, tie a small piece of apple or a dab of peanut butter directly to the back of the trigger pan using dental floss. Alternatively, place a trail of sunflower seeds leading into the trap, with a dense pile of seeds wedged behind the trigger plate, forcing the chipmunk to step fully onto the pan to reach the food.
Warning: Relocation Laws and Survival Rates
Before relocating, check your state's wildlife regulations. Many states prohibit relocating wildlife more than 10 miles from the capture site to prevent the spread of disease. Furthermore, relocating a chipmunk to an unfamiliar wooded area without immediate ground cover results in a high mortality rate from predation. Always release trapped chipmunks near dense brush piles or fallen logs, and ensure the trap door is opened in the early morning to give them a full day to find shelter.
Before relocating, check your state's wildlife regulations. Many states prohibit relocating wildlife more than 10 miles from the capture site to prevent the spread of disease. Furthermore, relocating a chipmunk to an unfamiliar wooded area without immediate ground cover results in a high mortality rate from predation. Always release trapped chipmunks near dense brush piles or fallen logs, and ensure the trap door is opened in the early morning to give them a full day to find shelter.
Cost Breakdown: DIY Eviction vs. Professional Wildlife Control
Understanding the financial commitment helps homeowners decide whether to tackle the infestation independently or hire a licensed nuisance wildlife control operator (NWCO).
- DIY Exclusion (Hardware Cloth & Gravel): $150 - $300 (Depends on linear footage of foundation; 19-gauge mesh costs ~$1.50 per linear foot).
- DIY Trapping & Deterrents: $80 - $120 (Includes one Havahart trap, Orbit sprinkler, and botanical repellents).
- Professional Wildlife Removal: $250 - $600 (Includes initial inspection, setting 3-5 traps, daily monitoring, and basic exclusion patching. Extensive trenching is billed separately at $10-$15 per linear foot).
Frequently Asked Questions
Will filling chipmunk holes with dirt or gravel work?
Simply pouring dirt or gravel into an active hole is ineffective. Chipmunks will either excavate a new entrance a few feet away or push the filler material out of their existing tunnel network. You must use physical barriers like the L-footer trench or wait until the chipmunk is trapped and removed before backfilling the void with compacted gravel.
Do ultrasonic pest repellers work on chipmunks?
Independent studies, including research highlighted by the Humane Society of the United States, consistently show that commercial ultrasonic devices have little to no long-term efficacy against burrowing rodents. Chipmunks quickly habituate to the high-frequency noise, especially outdoors where sound waves are dispersed by wind, foliage, and topography. Motion-activated water sprinklers remain a vastly superior sensory deterrent.
How deep do chipmunk burrows go?
While the entrance tunnels are relatively shallow (dropping 12 to 18 inches), the main chambers and hibernation nests can extend 3 to 4 feet below the frost line. This depth protects them from freezing temperatures and makes fumigation or flooding tactics entirely impractical for residential properties.

