
Home & Garden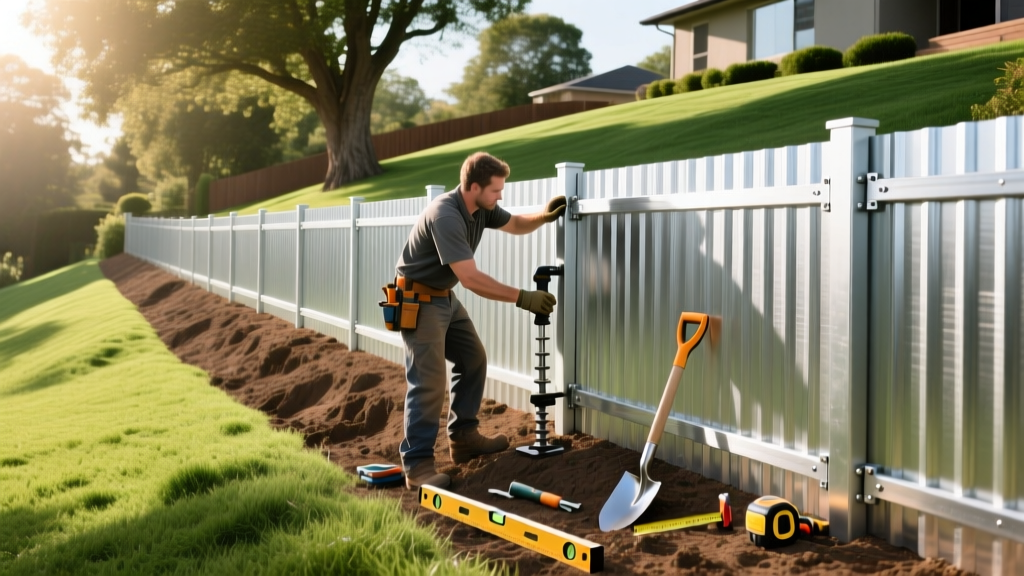
How to Install Metal Fences on Sloped Terrain: DIY Guide
The Physics of Sloped Metal Fences: Racking vs. Stepping
Installing metal fences on uneven ground requires a fundamental understanding of panel geometry. Unlike wood or vinyl, which can be custom-cut on-site to follow a contour, prefabricated metal fences rely on factory-engineered joints. When dealing with slopes, you have two primary installation methods: racking and stepping. For 90% of residential DIY projects using aluminum or tubular steel, racking is the only viable approach.
Racking allows the horizontal rails of the metal fence to pivot within the post brackets, following the natural grade of the hill while keeping the vertical pickets perfectly plumb. Stepping, conversely, keeps the panels level but drops each subsequent panel down the hill, creating a stair-step effect that leaves triangular gaps at the bottom—requiring custom masonry or landscaping to fill.
Material Science Warning: Most DIY-friendly metal fences are extruded from 6063-T5 aluminum alloy. While highly resistant to rust, bare aluminum is vulnerable to galvanic corrosion when exposed to the high alkalinity of wet concrete (pH 12-13). Always use posts with a factory-applied powder coating that extends below grade, or wrap the subterranean portion of the post in a bituminous sleeve before pouring concrete.
Decision Matrix: Racking vs. Stepping
| Feature | Racking Method | Stepping Method |
|---|---|---|
| Best Material | Assembled Aluminum / Steel | Welded Wrought Iron / Custom Steel |
| Max Slope Capacity | Up to 15 degrees (approx. 16" drop per 6ft) | Unlimited (custom drop per panel) |
| Bottom Gap | Uniform clearance follows grade | Large triangular gaps require filling |
| DYI Difficulty | Moderate | High (requires masonry/welding) |
Pre-Installation: Mapping the Grade and Frost Line
Before digging a single hole, you must calculate your exact rise-over-run. Drive a stake at the highest point of your fence line and another at the lowest. Tie a mason's string between them, using a line level to ensure it is perfectly horizontal. Measure the distance from the string down to the ground at the lowest stake. If the drop is 18 inches over a 6-foot span, your slope is roughly 16.5 degrees. This exceeds the standard 15-degree racking limit of most 6-foot aluminum panels.
The Solution: If your slope exceeds 15 degrees, you must switch to 4-foot wide metal fence panels. Shorter panels reduce the horizontal distance, thereby reducing the total vertical drop per panel and keeping the rack angle within the manufacturer's safe tolerance.
Code Compliance Alert: According to the American Fence Association and International Residential Code (IRC) guidelines, fence posts must be embedded below the local frost line to prevent frost heave. In northern climates, this often means digging 36 to 42 inches deep. Always check your municipal building department for exact local depth requirements before excavation.
Step-by-Step Installation Using the Racking Method
Follow this precise sequence to ensure structural integrity and a clean visual line along your sloped terrain.
Step 1: Excavation and Gravel Base
Dig your post holes using a 10-inch diameter auger or clamshell digger. The depth must be 1/3 the height of the above-ground post plus 6 inches. For a standard 6-foot tall fence, you need a 30-inch deep hole (assuming a 24-inch frost line). Pour exactly 6 inches of 3/4-inch crushed gravel into the bottom of each hole and tamp it down. This creates a permeable drainage base that prevents water from pooling under the metal post.
Step 2: Setting the Terminal Posts
Terminal posts (corners, ends, and gate posts) bear 80% of the structural tension. Use 3" x 3" or 4" x 4" heavy-wall aluminum or galvanized steel posts for these locations. Brace the post perfectly plumb using 2x4s staked into the ground. Mix fast-setting concrete according to the manufacturer's ratio—typically 1.5 bags of 50-lb mix per 10-inch hole. Pour the concrete, slope the top away from the post to shed water, and let it cure for a minimum of 4 hours before applying lateral pressure.
Step 3: Racking the Line Panels
Once terminal posts are set, run a string line from the top of the first post to the top of the last post, keeping the string exactly 2 inches below the post cap. This string represents your top rail line. As you attach the racking brackets to the intermediate 2.5" x 2.5" line posts, use the string to ensure a smooth, continuous visual flow that mimics the hill's contour. Insert the horizontal rails into the brackets, loosen the pivot screws, and let gravity naturally rack the panel to match the slope. Tighten the self-tapping Tek screws only after the entire run is assembled.
Step 4: Hanging Gates on a Slope
Gates cannot rack; they must remain perfectly square to function. If your gate is located on a slope, you must install the gate posts plumb, but the gate itself will need a custom beveled bottom edge. Measure the gap between the bottom of the square gate and the ground at the lowest point, and cut an angled wedge off the bottom of the gate pickets using a metal-cutting abrasive blade on an angle grinder. File the cut edges smooth and apply a cold-galvanizing compound or touch-up paint to prevent oxidation.
Hardware and Material Cost Breakdown (2026 Estimates)
Budgeting for a sloped installation requires accounting for heavier posts and specialized racking brackets. Below is the current average pricing for a 100-linear-foot DIY aluminum metal fence project.
| Component | Specification | Unit Cost | Total (100 LF) |
|---|---|---|---|
| 6ft Aluminum Panels | 6063-T5 Alloy, Matte Black | $115.00 | $1,916 (17 panels) |
| Line Posts (2.5" x 2.5") | 72" length, powder-coated | $55.00 | $880 (16 posts) |
| Terminal Posts (4" x 4") | Heavy-wall, gate/end load | $95.00 | $380 (4 posts) |
| Fast-Setting Concrete | 50-lb bags (1.5 per hole) | $6.50 | $195 (30 bags) |
| Racking Brackets & Screws | Stainless steel pivot mounts | $8.00/set | $136 (17 sets) |
| Estimated Total DIY Material Cost | $3,507 ($35.07 / LF) | ||
Troubleshooting Common Slope Installation Failures
- Picket Binding: If the vertical pickets scrape against the horizontal rails when racking, your slope exceeds the panel's design tolerance. Fix: Swap to narrower 4-foot panels or use a panel style with wider rail slots (often marketed as 'adjustable rack' or 'slope-pro' series).
- Post Twisting: On steep grades, the lateral weight of the racked panels can twist intermediate posts before the concrete fully cures. Fix: Use temporary aluminum fencing clamps to lock adjacent panels together, distributing the lateral load across three posts instead of one while the concrete sets.
- Bottom Rail Ground Contact: In areas where the slope dips sharply, the bottom rail may dig into the soil. Fix: Maintain a strict 2-inch minimum clearance at the lowest point of the dip. If the terrain fluctuates, grade the soil down rather than raising the entire fence line, which compromises security and aesthetics.

