
Home & Garden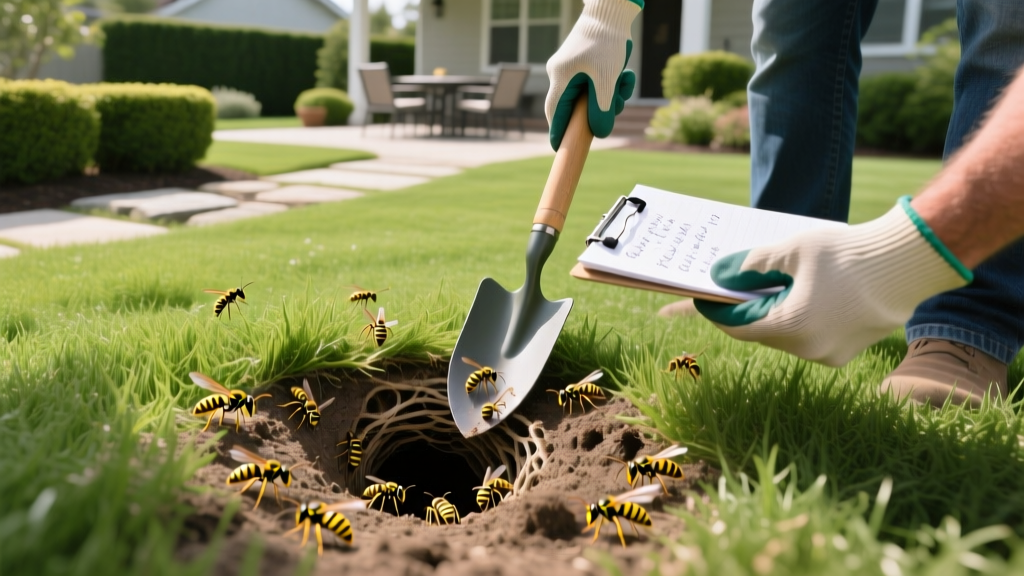
Yellow Jacket Ground Nests: Diagnosis and Safe Rescue Fixes
The Symptom: Identifying a Yellow Jacket Ground Nest
Spotting a small, bare patch of soil with a distinct, nickel-sized hole in your lawn is the primary visual symptom of a subterranean wasp colony. Before initiating any rescue fix, you must confirm the inhabitants are actually yellow jackets (Vespula or Dolichovespula species) rather than beneficial ground-nesting insects. Misdiagnosis leads to unnecessary pesticide use and the destruction of vital pollinators.
Quick Diagnostic Checklist: Yellow Jackets vs. Miner Bees
- Flight Pattern: Yellow jackets exhibit rapid, erratic, and aggressive flight paths directly in and out of the hole. Miner bees hover gently and move slowly.
- Traffic Volume: A mature yellow jacket ground nest will show a continuous, high-volume stream of workers (dozens per minute) during peak daylight. Solitary miner bees have sparse, intermittent traffic.
- Nest Mound: Yellow jackets typically keep the entrance completely clear of dirt mounds, creating a clean, punched-hole look. Cicada killers and some solitary bees push small mounds of loose soil around the perimeter.
- Physical Appearance: Yellow jackets are hairless, bright yellow and black, and roughly 0.5 inches long. Ground bees are often fuzzy, brownish, and slightly larger.
According to the University of California Integrated Pest Management (UC IPM) program, yellow jacket colonies reach their peak population in late summer and early fall, often harboring 4,000 to 5,000 workers. This massive population density makes ground nests exceptionally dangerous, as disturbing the entrance triggers a mass defensive swarm that can pursue a threat for up to 50 yards.
The Most Common Eradication Failure: Using Liquid Sprays
The most frequent mistake homeowners make when attempting a rescue fix is spraying an aerosol liquid (like standard Raid Wasp & Hornet) directly into the ground hole. This almost always fails and escalates the danger.
Subterranean nests consist of a complex network of paper combs suspended in an underground cavity that can be the size of a basketball or larger. When you inject liquid spray, it pools at the bottom of the cavity. The guards at the entrance are not killed; instead, they are highly agitated by the chemical fumes and moisture. In response, the colony will rapidly chew secondary exit holes through the soil, emerging unpredictably across your lawn right where you are standing. Liquid sprays are engineered for aerial nests where the envelope traps the chemical; they are entirely counterproductive for ground nests.
The Rescue Fix: Step-by-Step Dust Eradication Protocol
To successfully eliminate a yellow jacket ground nest, you must use an insecticidal dust. Dust particles cling to the legs and bodies of the foraging workers, who then carry the toxicant deep into the cavity, distributing it to the queen and the brood through trophallaxis (food sharing) and physical contact.
Phase 1: Daytime Reconnaissance
- Locate and Mark: Observe the lawn during mid-day to locate the exact entrance. Place a small wire flag or a brightly colored stone 10 feet away from the hole to mark it. Do not approach closer than 5 feet without protective gear.
- Clear the Perimeter: Ensure no children, pets, or outdoor food sources (like open trash cans or hummingbird feeders) are within a 50-foot radius.
Phase 2: Nighttime Application
Treatment must occur at least two hours after dusk. Yellow jackets are diurnal; at night, all foragers have returned, and their metabolic rate and aggression levels drop significantly. Furthermore, they cannot see red light.
Pro-Tip: The Red Light Hack
Wrap your flashlight lens in red cellophane or use a headlamp with a dedicated red LED mode. Standard white light will instantly trigger a defensive swarm, but yellow jackets are virtually blind to the red light spectrum, allowing you to illuminate the nest entrance safely.
Wrap your flashlight lens in red cellophane or use a headlamp with a dedicated red LED mode. Standard white light will instantly trigger a defensive swarm, but yellow jackets are virtually blind to the red light spectrum, allowing you to illuminate the nest entrance safely.
Phase 3: Dust Injection
- Load the Duster: Fill a bellow hand duster (such as the JT Eaton or Harris Red Bellow Duster, typically $12-$18) halfway with a desiccant or pyrethroid dust. Leaving air space in the bellow is critical for creating the proper puffing action.
- Apply the Dust: Insert the duster's metal wand directly into the hole. Puff 3 to 4 generous clouds of dust into the entrance. Do not plug the hole with dirt afterward; the workers need to walk through the dust layer as they exit and enter the next morning.
- Retreat and Wait: Leave the area immediately. The colony will track the dust inward over the next 24 to 48 hours. Avoid mowing the lawn or disturbing the soil in this area for at least three days.
Insecticide Formulation Matrix for Ground Nests
Selecting the correct active ingredient is vital for a clean kill without excessive environmental persistence. Below is a comparison of the most effective formulations available to homeowners in 2026.
| Product Type | Active Ingredient | Mechanism of Action | Avg. Cost (2026) |
|---|---|---|---|
| Tempo 1% Dust | Cyfluthrin | Fast-acting synthetic pyrethroid; excellent tracking. | $22 - $28 |
| Delta Dust | Deltamethrin (0.06%) | Waterproof formulation; ideal for damp soil conditions. | $24 - $32 |
| Drione Dust | Silica Aerogel + Pyrethrins | Desiccant (dries out exoskeleton) plus contact poison. | $35 - $45 |
| Sevin Dust | Zeta-Cypermethrin | Broad-spectrum nerve toxin; widely available at retail. | $10 - $15 |
Note: The University of Minnesota Extension advises against using older Carbaryl-based dusts due to high mammalian toxicity and severe impacts on non-target soil organisms. Stick to targeted pyrethroids or silica-based desiccants for modern lawn care.
Post-Treatment Lawn Recovery
Once 72 hours have passed and you observe zero traffic at the entrance, the colony is neutralized. The remaining cavity underground will eventually collapse, but leaving the bare dirt patch invites weeds and soil erosion.
Reseeding the Patch
- Fill the Void: Use a hand trowel to gently push a mix of screened topsoil and compost into the entrance hole until it is level with the surrounding grade. Do not pack it tightly; you want good seed-to-soil contact without creating a hardpan layer.
- Overseed: Apply a fast-germinating patch seed. For cool-season lawns (fescue, bluegrass), use a perennial ryegrass blend, which germinates in 5-7 days. For warm-season lawns (Bermuda, Zoysia), use a sand-based topdressing and plug the area with matching sod if the nest was larger than 6 inches in diameter.
- Hydrate: Water the patch lightly twice daily for the first week to keep the top 1/4 inch of soil moist.
When to Call a Professional Exterminator
While the dust protocol is highly effective for standard nests, certain edge cases require professional intervention. If the nest is located within 3 feet of your home's foundation, under a concrete driveway slab, or inside a retaining wall, the colony may have multiple hidden exit points that you cannot access.
"Structural-adjacent yellow jacket nests often require pressurized micro-injection equipment to push dust through weep holes and foundation cracks. Attempting to treat a foundation nest from the outside frequently drives the colony indoors through gaps in the sill plate."
In 2026, professional pest control services charge between $175 and $300 for a single ground-nest eradication visit, which typically includes a follow-up inspection and minor structural exclusion work. If you have a known allergy to Hymenoptera venom, bypass the DIY rescue fix entirely and hire a licensed operator.

