
Landscaping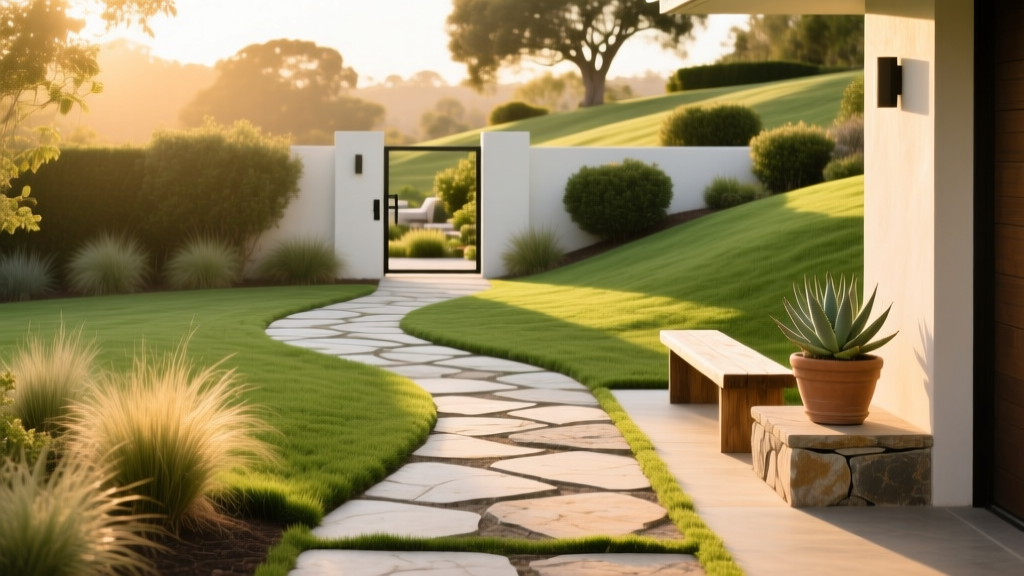
Top Front Walkway Ideas for Beginners: Costs & Materials
Designing and building a front walkway is one of the highest-ROI landscaping projects a homeowner can tackle. A well-constructed path directs foot traffic, prevents lawn compaction, and dramatically elevates curb appeal. However, beginners often underestimate the importance of base preparation and drainage, leading to heaving, pooling, and weed infestations within a single season.
This guide breaks down the most practical front walkway ideas for DIY beginners, complete with exact 2026 material costs, structural dimensions, and a foolproof installation framework.
The Golden Rules of Walkway Dimensions and Slope
Before selecting materials, you must establish the physical footprint of your path. Ignoring standard dimensions results in awkward, unusable spaces. According to University of Minnesota Extension landscape guidelines, proper scaling is critical for both accessibility and aesthetics.
- Primary Width: 48 inches (4 feet). This allows two adults to walk side-by-side comfortably.
- Secondary Width: 36 inches (3 feet). The absolute minimum for single-file traffic; anything narrower feels claustrophobic and violates most municipal accessibility codes.
- Longitudinal Slope: Maximum 5% grade (a 6-inch drop over 10 feet) to prevent slipping and ensure ADA compliance.
- Cross-Slope: 2% grade (a 1/4-inch drop per foot of width) to shed rainwater off the sides rather than letting it pool in the center.
5 Beginner-Friendly Front Walkway Ideas
Not all hardscape materials are created equal. Below are the top five options ranked by DIY feasibility, longevity, and budget.
1. Decomposed Granite (DG) with Steel Edging
DG is crushed stone that compacts into a firm, permeable surface resembling natural dirt paths but with superior stability. It is the most forgiving material for beginners working on curved walkways.
- Cost: $2.00 - $4.50 per square foot (materials only).
- DIY Difficulty: Low. Requires basic excavation and a hand tamper or rented plate compactor.
- Crucial Detail: You must install 4-inch galvanized steel edging secured with 12-inch spikes every 18 inches. Without rigid steel edging, the DG will migrate into your lawn beds within months.
2. Interlocking Concrete Pavers
Pavers offer the best balance of durability, aesthetics, and DIY friendliness. Because they are modular, mistakes are easily corrected by pulling up a section and re-screeding the sand base.
- Cost: $8.00 - $15.00 per square foot.
- DIY Difficulty: Medium. Requires precise base preparation and a wet saw for edge cuts.
- Crucial Detail: Always use coarse concrete sand for the bedding layer. Never use masonry sand, which is too fine and will trap water, causing freeze-thaw heaving in colder climates.
3. Permeable Grid Pavers (Eco-Friendly)
These are plastic or concrete honeycomb grids filled with gravel or soil and grass seed. They are ideal for homeowners dealing with heavy clay soil and strict municipal stormwater runoff regulations.
- Cost: $6.00 - $10.00 per square foot.
- DIY Difficulty: Low to Medium. The grid system snaps together, eliminating the need for complex edge restraints.
4. Natural Flagstone on Sand
For a rustic, organic look, irregular flagstone pieces laid over a sand bed provide a beautiful, old-world aesthetic.
- Cost: $15.00 - $25.00 per square foot.
- DIY Difficulty: High. Fitting irregular shapes together like a puzzle requires patience and a heavy-duty chisel.
5. Stamped Concrete
While it mimics the look of stone or brick at a lower material cost, stamped concrete is strictly a professional job. Beginners should avoid pouring and stamping concrete themselves, as the working time is incredibly short and errors are permanent.
- Cost: $12.00 - $18.00 per square foot (installed).
- DIY Difficulty: Extreme (Not recommended for beginners).
Material Comparison Matrix
| Material | Cost (per sq ft) | DIY Difficulty | Lifespan | Permeability |
|---|---|---|---|---|
| Decomposed Granite | $2.00 - $4.50 | Beginner | 10-15 Years | High |
| Concrete Pavers | $8.00 - $15.00 | Intermediate | 25-50 Years | Moderate |
| Permeable Grids | $6.00 - $10.00 | Beginner | 20-30 Years | Very High |
| Natural Flagstone | $15.00 - $25.00 | Advanced | 50+ Years | Moderate |
| Stamped Concrete | $12.00 - $18.00 | Pro Only | 25-30 Years | None |
Step-by-Step: Installing an Interlocking Paver Walkway
The Interlocking Concrete Pavement Institute (ICPI) sets the industry standard for paver installation. Follow this exact sequence to prevent settling and weed growth.
⚠️ CRITICAL SAFETY WARNING: Before digging more than 12 inches into your yard, you must call 811 or visit call811.com to have local utility companies mark underground gas, water, and electrical lines. This service is free and legally required in most jurisdictions.
- Excavation: Dig out the walkway area to a depth of 9 inches below your desired final grade. Use a string line and line level to ensure your 2% cross-slope is maintained during digging.
- Geotextile Fabric: Lay a non-woven geotextile landscape fabric over the bare soil. This prevents the gravel base from sinking into the native clay over time (a process called base migration).
- Base Layer: Add 6 inches of 3/4-inch minus crushed angular gravel. Do not use round river rock. Angular stones lock together. Compact this layer using a vibratory plate compactor in 2-inch lifts (layers).
- Bedding Sand: Spread exactly 1 inch of coarse concrete sand over the compacted base. Use two 1-inch PVC pipes as screed rails and pull a 2x4 piece of lumber across them to create a perfectly flat surface.
- Laying Pavers: Place the pavers tightly together on the sand. Do not drag them; set them straight down. Start from a fixed corner (like your porch) and work outward.
- Cutting and Edging: Cut border pavers with a diamond-blade wet saw. Install snap-edge or aluminum L-channel perimeter restraints, securing them with 10-inch galvanized landscaping spikes driven every 12 inches.
- Jointing Sand: Sweep polymeric sand over the entire surface, forcing it into the joints. Run the plate compactor over the pavers with a protective urethane pad to vibrate the sand deep into the gaps. Mist lightly with a garden hose to activate the polymers.
4 Fatal Beginner Mistakes (And How to Fix Them)
Mistake 1: Skipping the Geotextile Fabric
Many beginners assume weed barrier fabric and structural geotextile fabric are the same. They are not. Woven weed barrier will tear under the weight of a compacted gravel base. You must use heavy-duty, non-woven geotextile fabric (minimum 4 oz per square yard) to separate the subgrade soil from your aggregate base.
Mistake 2: Using the Wrong Sand
Using play sand or masonry sand for the bedding layer is a guaranteed way to ruin your walkway. These sands lack the angularity required for drainage and will wash out or hold moisture, leading to frost heave in winter. Always specify "ASTM C33 concrete sand" at your landscape supply yard.
Mistake 3: Ignoring the Subgrade Compaction
If you lay gravel over fluffy, undisturbed topsoil, the base will sink. Always scarify (scratch up) the bottom 2 inches of your excavated soil and run the plate compactor directly over the dirt before laying your geotextile fabric.
Mistake 4: Poor Polymeric Sand Activation
Polymeric sand requires a very specific amount of water to activate the binding agents. If you use a high-pressure nozzle, you will wash the sand out of the joints. If you don't use enough water, the sand will never harden and will blow away. Use a shower-nozzle attachment and mist the area until you see a slight sheen, then stop immediately.
Expert Insight: "The longevity of a paver walkway is 10% about the pavers themselves and 90% about the base preparation. If you spend $1,000 on pavers, be prepared to spend $400 on high-quality aggregate base materials and rental equipment for the compactor."
Budgeting and Curb Appeal ROI
According to real estate landscaping data, upgrading a dirt or cracked concrete path to a structured paver or stone walkway yields an average return on investment of 70% to 80% upon home sale. For a standard 4-foot by 30-foot walkway (120 square feet), a DIY concrete paver installation will cost roughly $1,200 to $1,800 in materials and equipment rentals. Hiring a professional hardscape contractor for the same footprint will range from $2,400 to $3,600 in 2026.
By adhering to strict dimensional guidelines, selecting the right permeable materials, and refusing to cut corners on base compaction, beginners can build a front walkway that looks professional and survives decades of weather and foot traffic.

