
Landscaping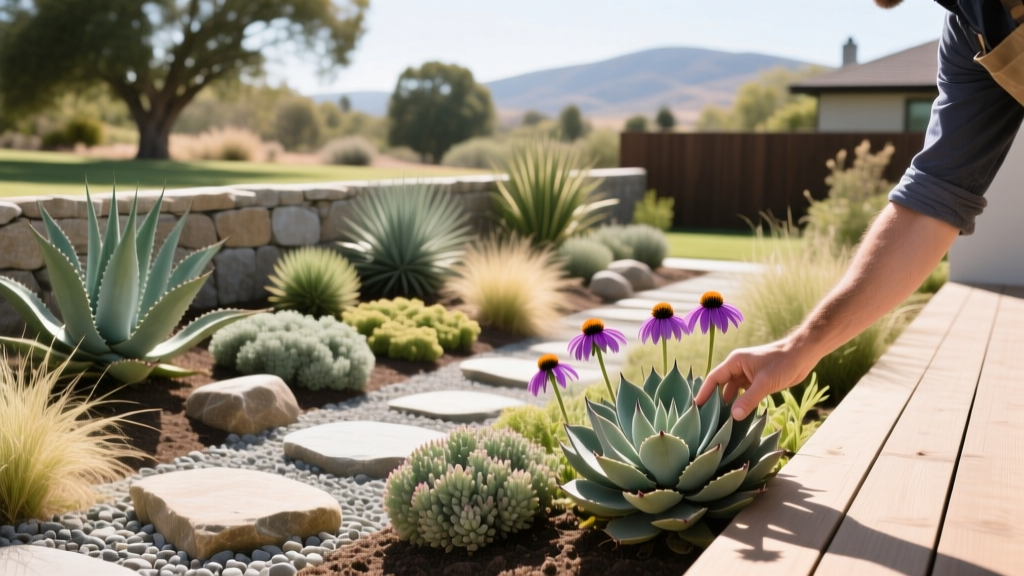
How to Convert a Turf Lawn to a Xeriscape Garden: Step-by-Step
The Economics and Ecology of Xeriscape Conversion
Outdoor water use accounts for 30% to 60% of total household water consumption in the United States, according to the Environmental Protection Agency (EPA). Converting a traditional turf lawn to a xeriscape garden reduces landscape water use by 50% to 75% while eliminating the need for weekly mowing, synthetic fertilizers, and broadleaf herbicides. This guide provides a technical, step-by-step framework for executing a turf-to-xeriscape conversion, focusing on soil biology, hydrozoning, and precision drip irrigation.
Phase 1: Turf Removal and Site Preparation
Removing existing turf is the most labor-intensive phase of the conversion. You have three primary methods, each with distinct cost and timeline profiles.
Method A: Mechanical Sod Cutting (Fastest)
Renting a gas-powered sod cutter allows you to slice beneath the root zone and roll up the turf. This method is ideal if you need immediate site access.
- Cost: $1.50 to $2.50 per square foot (including equipment rental and disposal fees).
- Timeline: 1 to 2 days for a 1,000 sq. ft. yard.
- Drawback: Removes the top 1-2 inches of valuable topsoil along with the grass roots.
Method B: Soil Solarization (Most Cost-Effective)
Soil solarization uses the sun's radiant heat to kill grass, weeds, and soil-borne pathogens. This is the preferred method for preserving topsoil biology.
- Mow the existing turf as short as possible (under 1 inch).
- Water the area deeply to a depth of 12 inches; moist soil conducts heat better than dry soil.
- Cover the lawn with 6-mil clear polyethylene plastic sheeting (not black plastic, which blocks light and prevents the greenhouse effect).
- Bury the edges of the plastic in a 6-inch trench to create an airtight seal.
- Leave in place for 4 to 6 weeks during peak summer heat.
For a comprehensive breakdown of soil solarization temperatures and pathogen eradication, refer to the Colorado State University Extension guidelines on xeriscape site preparation.
Method C: Sheet Mulching (Best for Soil Health)
Smother the grass with overlapping layers of uncoated cardboard, followed by 3 to 4 inches of arborist wood chips. This takes 3 to 6 months but builds incredible soil structure as the turf decomposes in place.
Phase 2: Soil Amendment and Hydrozoning
A common failure in xeriscape design is treating the entire yard as a single hydrozone. Xeriscaping requires dividing your landscape into distinct watering zones based on plant evapotranspiration rates and microclimates.
The Three Hydrozones
| Zone Type | Location | Watering Frequency (Established) | Plant Examples |
|---|---|---|---|
| Oasis Zone | Near patios, downspouts, or entryways | 1-2 times per week | Texas Ranger, Desert Willow |
| Transition Zone | Mid-yard areas with partial shade | 2-3 times per month | Autumn Sage, Red Yucca |
| Arid Zone | Property edges, full sun, sloped areas | 1-2 times per month (or rainfall only) | Agave, Prickly Pear, Lantana |
Soil Preparation: Unlike traditional gardens that require heavy nitrogen fertilizers, xeriscape plants thrive in lean, well-draining soil. Till the top 6 inches of native soil and incorporate 2 inches of coarse, low-nitrogen compost. Avoid adding peat moss, which retains too much moisture and promotes root rot in drought-adapted species.
Phase 3: Hardscape and Precision Irrigation
Overhead spray heads are highly inefficient in a xeriscape, losing up to 50% of water to wind drift and evaporation. You must install a sub-surface or point-source drip irrigation system.
Designing the Drip Layout
Use pressure-compensating (PC) drip lines, such as Netafim Techline CV or Rain Bird XFS. PC emitters maintain a constant flow rate (typically 0.9 to 1.6 Gallons Per Hour) regardless of elevation changes or fluctuations in line pressure.
- Mainline: Run 1/2-inch polyethylene tubing from the valve manifold through the hardscape zones.
- Laterals: Use 1/4-inch micro-tubing to route water from the mainline to individual plant root balls.
- Emitters: Install two 1.0 GPH emitters per shrub, placed 12 inches from the trunk on opposite sides. As the plant matures, add more emitters at the drip line.
Critical Warning: Always install a 200-mesh Y-filter and a 30 PSI pressure regulator at the head of your drip system. Municipal water pressure often exceeds 60 PSI, which will blow out drip fittings and cause catastrophic line failures if not regulated.
Phase 4: Selecting and Planting Drought-Tolerant Species
When purchasing plants, prioritize 1-gallon or 5-gallon sizes. Smaller root balls establish faster and experience less transplant shock than 15-gallon specimens. Dig the planting hole exactly the same depth as the root ball, but twice as wide. Do not amend the backfill soil with compost; using native backfill forces the roots to adapt to the surrounding soil conditions immediately.
High-Performance Xeriscape Plant Matrix
| Botanical Name | Common Name | Mature Size | USDA Zones | Spacing |
|---|---|---|---|---|
| Muhlenbergia capillaris | Pink Muhly Grass | 3' x 3' | 6-9 | 36 inches |
| Salvia greggii | Autumn Sage | 2' x 2' | 7-9 | 24 inches |
| Agave parryi | Parry's Agave | 2' x 3' | 7-10 | 48 inches |
| Leucophyllum frutescens | Texas Ranger | 6' x 6' | 8-10 | 72 inches |
Phase 5: Mulch Application and Establishment Watering
Mulch is the final protective layer that moderates soil temperature and prevents evaporation. The type of mulch you choose must match the plant material.
Inorganic vs. Organic Mulch
Use decomposed granite (DG) or crushed gravel (3/8-inch minus) for succulents, agaves, and cacti. Apply to a depth of 2 inches. Gravel allows water to penetrate instantly and prevents the crown rot that occurs when moisture-trapping wood chips touch the base of desert plants.
Use shredded arborist wood chips for woody shrubs, ornamental grasses, and the Oasis/Transition zones. Apply to a depth of 3 to 4 inches, keeping the mulch 3 inches away from the main trunk of the plants to prevent fungal collar rot.
The Establishment Watering Schedule
A critical misconception about xeriscaping is that plants require zero water immediately after planting. Drought tolerance is a developed trait, not an innate one. You must grow the root system before the plant can survive on minimal water.
- Weeks 1-4: Water deeply every 3 days to keep the root ball moist.
- Months 2-3: Reduce watering to once per week, increasing the run time to encourage deep root growth.
- Months 4-12: Water twice a month. By the end of the first year, the root system should be expansive enough to rely primarily on seasonal rainfall, requiring supplemental drip irrigation only during extreme summer heat waves.
By following this precise methodology, you will establish a resilient, low-maintenance landscape that conserves municipal water resources while providing year-round structural beauty. For ongoing regional plant recommendations and local water rebate programs, consult your local municipal water authority or the Water Use It Wisely conservation campaign.

