
Landscaping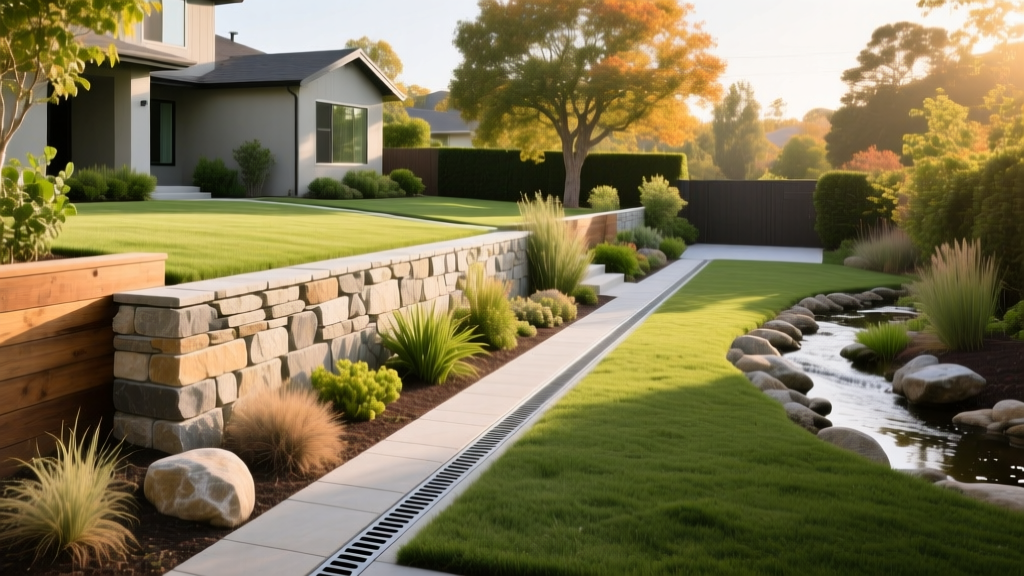
Stop Yard Erosion: Landscaping Ideas for Retaining Walls & Drainage
Diagnosing the Root Cause of Retaining Wall Failures
A retaining wall is not just a decorative landscape feature; it is a structural earth-retaining system. When homeowners notice bulging blocks, leaning timbers, or washed-out mulch beds at the base of their walls, the immediate instinct is often to add more soil or replace the visible facade. However, 80% of retaining wall failures are not caused by the weight of the soil itself, but by hydrostatic pressure—the immense lateral force exerted by water trapped in saturated soil.
Water weighs 62.4 pounds per cubic foot. When heavy rains saturate the backfill behind a wall that lacks proper drainage, the lateral load can easily exceed the structural capacity of a standard gravity wall, leading to three primary failure modes:
- Overturning: The wall tips forward at the base due to pressure concentrated at the top half.
- Sliding: The entire wall shifts horizontally forward because the friction at the base trench is overcome by lateral water pressure.
- Toe Kick-out: The bottom course of blocks is pushed outward, often caused by frost heave or soil erosion washing away the foundational support.
⚠️ Warning Signs of Imminent Collapse:
If you observe stair-step cracking in masonry walls, a forward lean exceeding 2 degrees, or water seeping through the face of the blocks rather than exiting through designated weep holes, the structural integrity is already compromised. Evacuate the area below the wall and consult a structural landscape engineer immediately.
Structural Solutions: Fixing the Foundation and Drainage
Before implementing any aesthetic landscaping ideas for retaining walls, you must solve the underlying drainage and foundation issues. A beautiful terraced garden will quickly collapse if the skeletal structure is flawed. According to engineering guidelines published by the National Concrete Masonry Association (NCMA), proper backfill and base preparation are non-negotiable for walls exceeding 3 feet in height.
The Anatomy of a High-Performance Drainage System
To eliminate hydrostatic pressure, you must create a preferential pathway for water to exit the soil mass. This requires a multi-layered approach:
- The Base Trench: Excavate a trench 6 to 8 inches deep and twice the width of the wall block. Fill this with 3/4-inch clear crushed stone and compact it using a mechanical plate compactor to achieve a minimum 95% Proctor density.
- Perforated Drain Pipe: Lay a 4-inch SDR 35 or Schedule 40 PVC perforated pipe at the base of the wall, behind the first course. Ensure the pipe has a minimum 1% slope (1/8-inch drop per foot) to daylight or a dry well. Never use corrugated flexible black pipe, as it crushes under soil load and clogs easily.
- Geotextile Separation: Line the excavated trench with a non-woven geotextile fabric (minimum 4 oz/sq yd weight). This prevents fine clay particles from migrating into the gravel and clogging the drain pipe over time.
- Clear Stone Backfill: Fill the space immediately behind the wall (at least 12 inches wide) with 3/4-inch clear crushed stone. Do not use pea gravel, which lacks angularity and fails to interlock, or crushed limestone with fines, which will compact and block water flow.
Material Specifications and Cost Matrix
Budgeting for a retaining wall repair or new installation requires understanding the true cost of structural materials versus aesthetic facades. Below is a breakdown of current market rates for essential drainage and base materials.
| Material | Specification | Primary Function | Estimated Cost (2026) |
|---|---|---|---|
| Clear Crushed Stone | 3/4-inch angular, washed | Backfill drainage & base | $35 - $55 per ton |
| Geotextile Fabric | Non-woven, 4 oz/sq yd | Soil separation & filtration | $0.40 - $0.75 per sq ft |
| Drain Pipe | 4-inch rigid PVC (SDR 35) | Water evacuation | $12 - $18 per linear ft |
| Uniaxial Geogrid | Polyester/Polypropylene | Soil reinforcement (walls >4ft) | $1.50 - $3.00 per sq ft |
Landscaping Ideas for Retaining Walls: Planting for Stability
Once the structural drainage is secured, the right plantings act as a secondary biological reinforcement system. The USDA Natural Resources Conservation Service (NRCS) emphasizes the use of deep-rooted native vegetation to increase soil shear strength and mitigate surface erosion on slopes above and below retaining structures.
What to Plant (and What to Avoid)
The golden rule of retaining wall landscaping is to manage root behavior. Aggressive taproots can exert enough radial pressure to crack concrete blocks or dislodge mortar, while shallow-rooted plants offer zero slope stabilization.
✅ Top 4 Erosion-Control Plants for Wall Integration:
- Juniperus horizontalis (Creeping Juniper): Provides a dense, drought-tolerant mat with a fibrous root system that binds surface soil without threatening the wall structure.
- Panicum virgatum (Switchgrass): Features roots that can extend up to 10 feet deep, acting as living soil nails to stabilize the slope above the wall.
- Hemerocallis (Daylilies): Excellent for the toe of the wall. Their dense, fleshy tubers absorb excess surface runoff and hide the concrete base trench.
- Festuca glauca (Blue Fescue): A low-maintenance ornamental grass that thrives in the well-drained, high-heat microclimate created by the stone wall's thermal mass.
When selecting specific cultivars for your local hardiness zone, consult regional botanical databases such as the NC State Extension Plant Database to verify mature root depths and drought tolerance. Avoid planting Salix (Willow), Populus (Poplar), or large Oak species within a distance equal to their mature canopy height, as their hydrotropic roots will actively seek out and destroy your French drain system.
Hardscape Integration: Caps, Steps, and Lighting
A retaining wall should seamlessly transition from a structural necessity to a focal point of your outdoor living space. Integrating hardscape elements not only improves aesthetics but also protects the wall from top-down water infiltration.
Sealing the Top Course
Always install a solid, mortared, or adhesively bonded capstone. Segmental wall blocks have hollow cores; if left exposed, rainwater and snowmelt will drop directly into the gravel backfill, overwhelming the drainage system during freeze-thaw cycles. Use a high-strength polyurethane construction adhesive (like SRW Products NP1) to secure natural stone or concrete capstones, ensuring a watertight seal at the wall's crest.
Low-Voltage Hardscape Lighting
To highlight the texture of natural stone or the clean lines of architectural concrete blocks, integrate low-voltage LED lighting directly into the hardscape. Rather than using stake-mounted spotlights that get lost in overgrown garden beds, opt for hardscape fixture integration:
- Under-Cap Lighting: Install 12V LED linear strip lights (e.g., WAC Lighting Hardscape series) directly beneath the lip of the capstone. This creates a dramatic down-washing effect that grazes the wall face, emphasizing the stone's natural cleft and shadow lines.
- Step Risers: If your retaining wall incorporates integrated staircases, embed louvered brass or stainless-steel step lights into the concrete risers to provide safe navigation while maintaining a clean, uncluttered landscape profile.
Troubleshooting Matrix: Quick Fixes for Common Wall Issues
Use this diagnostic matrix to identify minor retaining wall issues before they escalate into catastrophic structural failures.
| Observed Symptom | Probable Cause | Targeted Solution |
|---|---|---|
| White, crusty deposits (efflorescence) on block faces | Water is migrating through the blocks rather than exiting the weep holes, leaching calcium from the concrete. | Clear blocked weep holes with a wire brush. Install a waterproofing membrane on the soil-side of the blocks. |
| Mulch and soil washing out from behind the top course | Surface runoff is flowing over the wall instead of being diverted, or the backfill lacks geotextile separation. | Regrade the slope above the wall to divert water. Install a trench drain at the top of the slope. |
| Bottom blocks shifting forward after winter | Frost heave in the base trench due to poor drainage or insufficient burial depth below the frost line. | Excavate the toe, deepen the base trench below the local frost line, and replace base material with compacted clear stone. |
Successfully merging structural engineering with aesthetic landscape design requires a methodical approach. By prioritizing subsurface drainage, selecting biologically compatible vegetation, and integrating architectural hardscape elements, you transform a failing dirt barrier into a permanent, high-value landscape asset.

