
Landscaping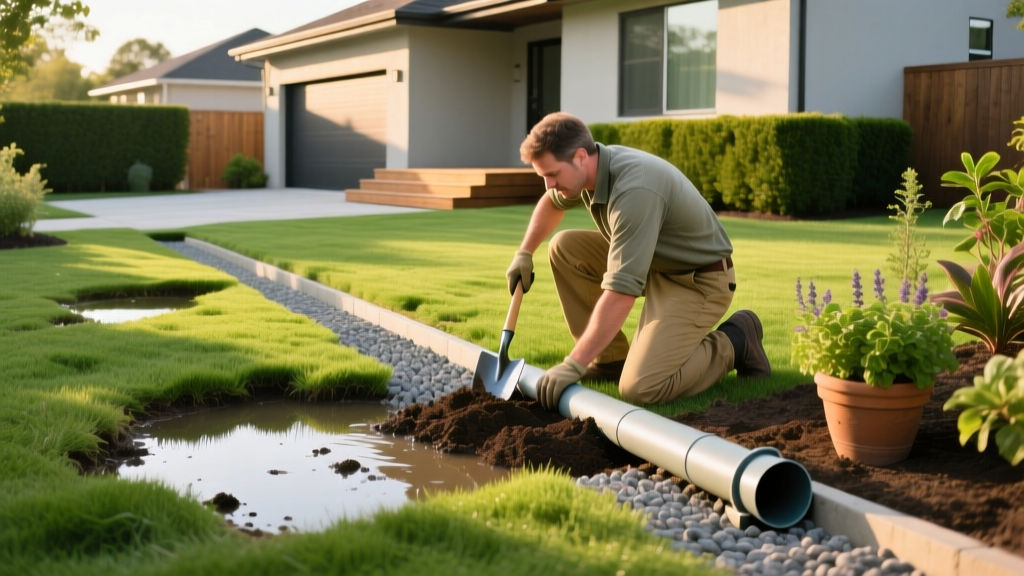
Beginner Guide to Fixing Poor Drainage in Backyard Yards
The True Cost of Ignoring Yard Drainage
Standing water is more than a mosquito breeding ground. Chronic moisture degrades soil structure, suffocates turfgrass roots, and can cause hydrostatic pressure against your home's foundation, leading to basement leaks and structural settling. According to Penn State Extension, improper yard grading and compacted soils are the primary culprits behind residential water pooling. Fixing poor drainage in backyard areas requires moving beyond temporary patches and implementing engineered water management systems.
This guide provides a structural, engineering-based approach to diagnosing and solving backyard water issues, complete with specific material grades, slope calculations, and 2026 pricing estimates.
Step 1: Diagnose Your Soil and Slope (The 1% Rule)
Before buying a single pipe, you must understand how water moves across and through your property. Water follows the path of least resistance, dictated by gravity and soil permeability.
The Percolation Test
Dig a 12-inch by 12-inch hole, 12 inches deep. Fill it with water and let it drain completely to saturate the surrounding soil. Refill it to the top and measure the water level drop every hour.
- Over 2 inches per hour: Sandy soil. Excellent drainage; pooling is likely a grading issue.
- 1 to 2 inches per hour: Loam. Ideal for most landscaping.
- Under 1 inch per hour: Heavy clay. Water cannot percolate fast enough, requiring mechanical drainage solutions like French drains or dry wells.
Calculating the 1% Grade
The EPA Green Infrastructure guidelines recommend a minimum 1% slope away from foundations and toward discharge points. A 1% grade equals a 1/8-inch drop per linear foot. Over a 40-foot backyard run, your drainage trench must drop exactly 5 inches from start to finish. Use a transit laser level or a taut string line with a line level to map this drop before digging.
Pro Tip: Never rely on visual estimation for slope. A 40-foot trench that is off by just two inches will result in standing water inside the pipe, leading to sediment buildup and eventual system failure.
Top 4 Beginner-Friendly Drainage Solutions
Choosing the right intervention depends on your soil type, budget, and the volume of water you need to manage.
| Solution | Best For | DIY Cost Estimate | Difficulty |
|---|---|---|---|
| French Drain | Subsurface water & heavy clay soils | $12 - $18 per linear ft | Moderate |
| Dry Well | Downspout runoff & localized pooling | $150 - $300 per unit | Easy |
| Regrading | Shallow surface puddling near foundations | $10 - $20 per cubic yard (topsoil) | Hard (Labor intensive) |
| Rain Garden | Eco-friendly runoff management in loam soils | $5 - $10 per sq ft | Moderate |
Deep Dive: The French Drain System
A French drain is a gravel-filled trench containing a perforated pipe that intercepts subsurface water and redirects it to a safe discharge point (like a municipal storm drain, dry creek bed, or pop-up emitter).
The Ultimate Material Shopping List
Beginners often fail because they buy the cheapest materials available at big-box hardware stores. The following specifications ensure your system lasts decades, not just a few seasons.
- The Pipe: Avoid cheap, black corrugated ADS pipe. It crushes under soil load and the ridges trap sediment. Buy SDR 35 PVC or Schedule 40 PVC with pre-drilled perforations. SDR 35 costs roughly $35-$42 per 10-foot stick in 2026, but its rigid structure guarantees longevity.
- The Gravel: Use 3/4-inch washed clean crushed stone. Do not use pea gravel (it shifts and doesn't lock) or river rock (too smooth, lacks void space). You need roughly 1.5 tons of gravel for every 50 linear feet of trench.
- The Filter Fabric: This is non-negotiable. Use a non-woven geotextile fabric (like Mirafi 500X or Typar Professional). Woven weed-barrier fabric will clog with microscopic silt within two years, rendering the drain useless. Expect to pay around $120 for a 300-foot roll.
- Catch Basins: For surface water, use an NDS 9x9 Square Catch Basin ($25-$35) connected to solid PVC pipe, which then transitions to perforated pipe in the gravel bed.
Warning: Never route drainage water onto your neighbor's property or into a municipal sanitary sewer line. Both are illegal and carry heavy fines. Always discharge to a storm sewer, street curb, or designated backyard swale.
Step-by-Step: Installing a Basic French Drain
- Call 811: Have utility lines marked at least 48 hours before breaking ground.
- Map the Trench: Use spray paint to mark a 12-inch wide path. Ensure the path maintains the 1/8-inch per foot downward slope.
- Excavate: Dig the trench 18 inches deep and 12 inches wide. Tamp the soil floor with a hand tamper to create a firm, sloped base.
- Line the Trench: Drape the non-woven geotextile fabric over the trench, leaving at least 8 inches of excess fabric hanging over both sides of the trench lip.
- Add Base Gravel: Shovel 2 to 3 inches of 3/4-inch washed gravel into the bottom of the fabric-lined trench.
- Lay the Pipe: Place the SDR 35 perforated PVC pipe on the gravel base. Critical Expertise Signal: Always orient the pipe so the perforations face DOWN. Water rises from the saturated soil into the bottom of the pipe; if holes face up, dirt falls in and clogs the system.
- Cover and Wrap: Cover the pipe with gravel until you are 3 inches below the ground surface. Fold the excess fabric over the gravel, creating a 'burrito' wrap that prevents topsoil from washing into the stone.
- Top Dress: Fill the remaining 3 inches with topsoil and lay sod or seed to blend the trench into your lawn.
Common Beginner Mistakes to Avoid
Mistake 1: Using Solid Pipe Where Perforated is Needed
Perforated pipe is for collecting water from the surrounding soil. Solid (non-perforated) pipe is strictly for transporting water from point A to point B (like downspout extensions). If you use solid pipe in a gravel trench, water cannot enter the system.
Mistake 2: Forgetting the Pop-Up Emitter
If your drain daylighting point is in the middle of a flat lawn, water will just pool at the pipe exit. Install an NDS Pop-Up Drainage Emitter ($12-$15) at the termination point. It remains flush with the lawn and only pops open when water pressure pushes it up, dispersing water over a wider surface area and preventing erosion.
Mistake 3: Ignoring Downspout Volume
A 1,000-square-foot roof sheds roughly 600 gallons of water during a 1-inch rainstorm. If three downspouts dump into one undersized 4-inch French drain, the system will overflow. For heavy roof runoff, upgrade to 6-inch SDR 35 pipe or install a secondary NDS Flo-Well 50-gallon dry well ($110-$130) near the foundation to buffer the sudden surge.
When to Call a Professional Landscaper
While DIY drainage is highly effective for single-run trenches, you should hire a licensed landscaping contractor if your project requires:
- Heavy Machinery: If you need to move more than 5 cubic yards of soil or break through heavy bedrock.
- Retaining Wall Integration: If the drainage system must tie into the weeping tile behind a structural retaining wall over 4 feet high.
- Complex Grading: If your yard has negative grading (sloping toward the house) that requires extensive re-contouring with skid-steer loaders.
Professional drainage installation typically costs between $30 and $55 per linear foot in 2026, depending on regional labor rates and site accessibility. Always demand a detailed grading plan and a warranty against system clogging for at least three years.

