
Landscaping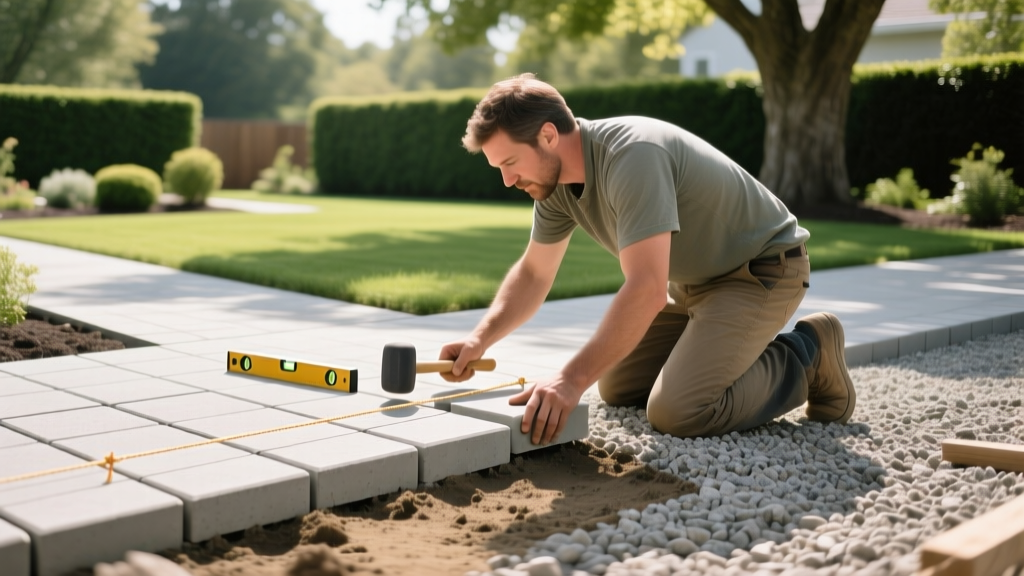
How to Build a Paver Walkway: A Beginner's Base and Layout Guide
The Anatomy of a Long-Lasting Paver Walkway
A successful paver walkway relies entirely on what sits beneath the surface. While selecting the right paver color and pattern is visually important, the structural integrity of your project depends on a four-layer system: the native subgrade, the compacted aggregate base, the bedding sand, and the pavers themselves. When installed correctly, this flexible pavement system distributes weight evenly and adapts to minor ground movement without cracking, unlike poured concrete.
⚠️ The #1 Beginner Mistake: Skipping the mechanical plate compactor on the base layer. Hand-tamping with a manual tamper cannot achieve the 95% Proctor density required to prevent future settling and frost heave. Renting a vibratory plate compactor (typically $85–$110 per day in 2026) is non-negotiable for a permanent installation.
Material Sizing and 2026 Cost Breakdown
Before breaking ground, you must calculate your material volumes based on the required layer thicknesses. The table below outlines the standard specifications for a residential pedestrian walkway (non-vehicular traffic).
| Layer | Material Specification | Compacted Depth | Est. Cost (Per Sq. Ft.) |
|---|---|---|---|
| Subgrade | Native Soil (Compacted) | N/A (Bottom of trench) | $0.00 |
| Aggregate Base | 3/4-inch Minus Crushed Stone | 4 to 6 inches | $0.60 - $0.90 |
| Bedding Sand | ASTM C33 Coarse Concrete Sand | 1 inch (Do not compact) | $0.15 - $0.25 |
| Pavers | 60mm (2 3/8-inch) Concrete Pavers | 2 3/8 inches | $2.50 - $5.00 |
| Joint Sand | Polymeric Sand (e.g., Techniseal HP) | Full joint depth | $0.30 - $0.50 |
Step 1: Excavation and Subgrade Compaction
Accurate excavation depth is critical. To determine how deep to dig, add the thickness of your paver (usually 2 3/8 inches), the bedding sand (1 inch), and the compacted base (6 inches for clay soils, 4 inches for sandy soils). For a standard 6-inch base, your total excavation depth will be exactly 9 3/8 inches below your desired finished grade.
As you excavate, you must establish a drainage slope. A paver walkway requires a minimum 1% grade (a 1/8-inch drop per linear foot) to shed water away from your home's foundation or adjacent structures. Use a string line tied to stakes and a line level to map this slope before you begin digging. Once the soil is removed, run the plate compactor directly over the exposed native subgrade to create a firm, unyielding floor for your aggregate base.
Step 2: Building the Aggregate Base
Choosing the Right Gravel
The most common point of failure in DIY paver walkways is the use of incorrect gravel. You must use 3/4-inch minus crushed stone (often called Class II road base or crusher run). The term "minus" indicates that the mixture includes stone dust and fine particles alongside the 3/4-inch rocks. When wetted and mechanically compacted, these fines act like a cementitious binder, locking the angular rocks into a solid, concrete-like slab that still permits deep drainage.
Never use pea gravel, washed river rock, or clean round stones. Round stones lack angular faces and will roll against each other under pressure, causing your walkway to sink and shift over time. Spread the 3/4-inch minus stone in 2-inch lifts (layers), lightly misting each layer with a garden hose before passing over it with the plate compactor. Repeat until you reach your required 4-to-6-inch compacted depth.
Step 3: Sand Setting and Screeding
The bedding layer requires ASTM C33 coarse concrete sand. Do not use masonry sand, play sand, or paver sand for this layer. Masonry sand is too fine; it retains moisture, which leads to severe efflorescence (white mineral staining) on your pavers and increases the risk of frost heave in freezing climates.
To achieve a perfect, level 1-inch sand bed, lay down two parallel 1-inch outer-diameter aluminum square tubes or PVC pipes on top of your compacted base. Dump the coarse sand between the pipes and use a straight 2x4 piece of lumber to "screed" the sand, pulling it toward you while resting the wood on the pipes. Once the sand is perfectly level, carefully pull the pipes out of the sand and fill the resulting trenches with sand, troweling them smooth. Do not walk on or compact the screeded sand.
Expert Tip on Polymeric Sand: When filling the joints after the pavers are laid, use a high-quality polymeric sand like Techniseal HP Next Gen or Alliance Gator Dust. The most critical step is using a leaf blower to remove every speck of sand dust from the surface of the pavers before wetting. If you skip this, the polymers will activate on the paver surface, creating a hazy, permanent white film known as "picture framing" that requires specialized chemical strippers to remove.
Step 4: Laying Pavers and Edge Restraints
Begin laying your pavers from a fixed, 90-degree corner (such as the edge of your house or an existing concrete patio). Keep the pavers tight against each other, but do not force them; the built-in spacer lugs on modern concrete pavers will automatically maintain the correct joint width for the polymeric sand.
Paver Pattern Selection for Beginners
For a first-time build, choose a Running Bond or Stack Bond pattern. These linear patterns require minimal cutting and are highly forgiving of minor spacing errors. Avoid Herringbone or Circular patterns, which require precise 45-degree or radial cuts using a wet masonry saw, significantly increasing material waste and installation time.
Once the field is laid, you must install edge restraints. Flexible plastic restraints (like SnapEdge or PermaEdge) are ideal for curved or straight walkways. Secure the restraint using 10-inch galvanized steel landscape spikes, driven vertically into the aggregate base every 12 inches. Without edge restraints, the outer pavers will gradually migrate outward into the surrounding soil, causing the joints to open and the sand to wash away.
Troubleshooting Common Walkway Failures
- Frost Heave: Caused by water trapping in the bedding layer and freezing. Fix: Ensure you used coarse ASTM C33 sand, not fine masonry sand, and verify your 1% surface slope is shedding water correctly.
- Ant Mines and Weed Growth: Caused by using standard jointing sand instead of polymeric sand, or failing to compact the polymeric sand into the joints with a plate compactor before activation. Fix: Sweep in Techniseal polymeric sand, compact it into the joints, and mist with a fine spray nozzle to activate the binding polymers.
- Sinking Edges: Caused by inadequate edge restraint spikes or spikes driven only into the native soil rather than the compacted base. Fix: Pull up the edge pavers, install heavy-duty plastic edging, and drive 10-inch galvanized spikes every 8 to 12 inches directly into the crushed stone base layer.
- Efflorescence (White Haze): A natural byproduct of Portland cement curing in concrete pavers. Fix: Do not seal the pavers immediately. Allow 60 to 90 days for the efflorescence to naturally migrate to the surface and wash away, then apply a breathable, water-based paver sealer.
Authoritative References
For detailed technical specifications and industry standards regarding interlocking concrete pavements, consult the following resources:
- Pavestone Installation Guidelines - Comprehensive step-by-step manufacturer instructions for base preparation and sand screeding.
- National Concrete Masonry Association (NCMA) - The governing body (which absorbed the Interlocking Concrete Pavement Institute) providing structural engineering data for flexible pavement systems.
- Techniseal Product Data Sheets - Technical specifications for polymeric sand activation, moisture thresholds, and joint-width requirements.

