
Landscaping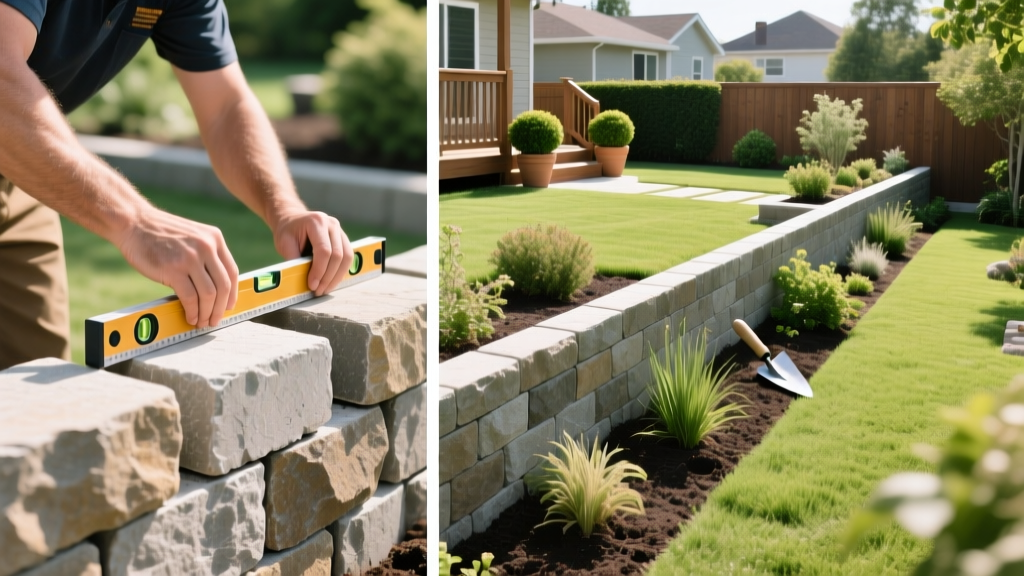
Building Landscaping Walls: A Beginner-Friendly Step-by-Step Guide
Landscaping walls transform sloped, unusable yards into flat, functional spaces while preventing soil erosion. For beginners, segmental retaining wall (SRW) blocks—interlocking concrete units with built-in setback pins—offer the most forgiving installation process. Unlike mortared stone or poured concrete, SRW systems are dry-stacked, allowing for slight ground movement without cracking. According to the National Concrete Masonry Association (NCMA), proper base preparation and drainage account for 90% of a retaining wall's long-term structural integrity.
Material Selection: Segmental Blocks vs. Alternatives
While timber and natural stone are options, segmental concrete blocks remain the industry standard for DIY landscaping walls due to their engineered interlocking mechanisms and longevity.
| Material Type | Pros | Cons | Avg. Cost (per sq. ft.) |
|---|---|---|---|
| Segmental Concrete (e.g., Allan Block, Versa-Lok) | Interlocking pins, built-in batter (setback), uniform sizing, no mortar required. | Heavy (approx. 50-80 lbs per block), requires cutting tools for curves. | $15 - $25 |
| Natural Stone (Flagstone/Fieldstone) | High-end aesthetic, blends naturally with environment. | Requires masonry skills, mortar, and deep footings; highly variable sizing. | $25 - $45 |
| Treated Timber (6x6) | Lightweight, easy to cut with standard saws, lower upfront cost. | Susceptible to rot and frost heave; shorter lifespan (10-15 years). | $10 - $18 |
Essential Tools and Material Specifications
Do not substitute base materials. The most common beginner mistake is using 'clean' gravel for the base or 'minus' gravel for backfill. You need both, but in specific locations.
- Base Material: 3/4-inch minus crushed gravel (contains stone dust/fines to lock together when compacted).
- Backfill/Drainage Material: 3/4-inch clean crushed stone (washed, no fines, allows water to flow freely).
- Drainage Pipe: 4-inch perforated corrugated pipe wrapped in geotextile filter fabric.
- Compaction Tool: Walk-behind plate compactor (rent for approx. $85/day). Hand tampers are insufficient for achieving the required 95% Standard Proctor density.
- Cutting Tool: 14-inch masonry saw or angle grinder with a diamond masonry blade.
- Leveling: 4-foot torpedo level and a laser level or string line.
Step-by-Step Installation Guide
Step 1: Excavate and Compact the Trench
Your trench must be deep enough to bury the first course of blocks plus the gravel base. The general rule is to bury 1 inch of block for every 8 inches of wall height, plus 6 inches for the gravel base. For a 3-foot (36-inch) high wall, you need to bury roughly 4.5 inches of the block. Your trench depth should be 10.5 inches. Excavate the trench 18 to 24 inches wide to give yourself working room. Fill the trench with 6 inches of 3/4-inch minus gravel and run the plate compactor over it in three overlapping passes until it is rock solid.
Step 2: Lay the Base Course
The first course dictates the entire wall. If it is off by a fraction of an inch, that error multiplies with every subsequent row. Lay the first block in the corner, check it front-to-back and side-to-side with a torpedo level, and tap it with a rubber mallet. String a line across the top back edge of the first block to guide the rest of the base course. Ensure every block is dead level and touching tightly against its neighbor.
Step 3: Install the Drainage System
Hydrostatic pressure (water trapped behind the wall) is the number one cause of retaining wall failure. As noted by the University of Minnesota Extension, proper drainage relieves this pressure and prevents frost heave in cold climates.
Warning: The Hydrostatic Pressure Threat
Never use excavated soil or topsoil to backfill behind your landscaping wall. Soil retains water and expands when freezing. Always use 3/4-inch clean crushed stone for the first 12 inches directly behind the blocks.
Place the 4-inch perforated pipe directly behind the base course, resting on the clean stone. Ensure the pipe has a minimum slope of 1/8 inch per foot to daylight (exit point) at the end of the wall or into a dry well. Cover the pipe with clean stone up to the top of the first course.
Step 3: Stack, Pin, and Backfill
SRW blocks feature a built-in setback (batter), typically 1 inch per 8 inches of height. This leans the wall into the retained soil, using gravity to resist the earth's lateral pressure.
- Place the second course of blocks, staggering the vertical joints by at least 6 inches (half-block offset).
- Insert the fiberglass or plastic alignment pins through the holes in the top of the base course into the corresponding holes in the second course.
- Backfill behind the second course with clean crushed stone, compacting it lightly with a hand tamper to avoid shifting the blocks.
- Repeat this process, checking the setback and level every third course.
Geogrid Reinforcement for Walls Over 3 Feet
If your landscaping wall exceeds 3 feet in height, or if it bears a surcharge load (like a driveway or patio directly behind the top edge), you must incorporate geogrid. Geogrid is a synthetic mesh that layers into the backfill soil and wraps around the blocks, tying the wall face to the soil mass behind it.
Use a biaxial geogrid (such as Tensar BX1200 or equivalent). Lay the geogrid every two to three courses, extending it back into the compacted soil a distance equal to 60% of the wall's height. For a 4-foot wall, the geogrid should extend 2.4 feet back from the wall face.
Cost Breakdown: 20-Foot Long, 3-Foot High Wall
Budgeting accurately prevents mid-project stalls. Below is a realistic material and rental cost estimate for a standard 60-square-foot face wall using mid-tier segmental blocks.
| Item | Quantity Needed | Estimated Cost |
|---|---|---|
| Segmental Wall Blocks (approx. 1.5 sq ft each) | 45 blocks | $360 - $540 |
| Capstones | 20 linear ft | $100 - $160 |
| 3/4" Minus Gravel (Base) | 1.5 tons | $60 - $90 |
| 3/4" Clean Stone (Backfill) | 3 tons | $120 - $180 |
| 4" Drainage Pipe & Filter Fabric | 25 ft | $45 |
| Plate Compactor Rental (1 Day) | 1 day | $85 - $120 |
| Masonry Saw Rental (Half Day) | 4 hours | $60 - $90 |
| Total Estimated Cost | $830 - $1,225 |
Critical Beginner Mistakes to Avoid
- Ignoring the Frost Line: In northern climates, if your base gravel does not extend below the local frost line, the ground will freeze and heave the wall upward. Check your municipal building codes for exact depth requirements.
- Skipping the Plate Compactor: Shaking the base gravel by hand or driving a truck over it does not achieve 95% compaction. An uncompacted base will settle unevenly over the first two years, causing the wall to crack and bulge.
- Forgetting Municipal Permits: Most municipalities require an engineered permit for landscaping walls over 3 or 4 feet high. Building without a permit can result in fines and a mandatory teardown.
- Improper Capstone Adhesion: Do not dry-stack capstones. Use a high-strength polyurethane landscape block adhesive (such as SRW SRX or Loctite PL Landscape) to glue capstones down. Otherwise, they will shift when sat upon or bumped by lawn equipment.
"The success of a segmental retaining wall is determined before the first block is even laid. Time spent laser-leveling the base trench and verifying drainage slopes saves hours of tear-down and reconstruction later."
By strictly adhering to base compaction standards, utilizing the correct aggregate materials for drainage, and respecting the engineered setback of your chosen blocks, you can construct a landscaping wall that remains structurally sound and visually pristine for decades.

