
Landscaping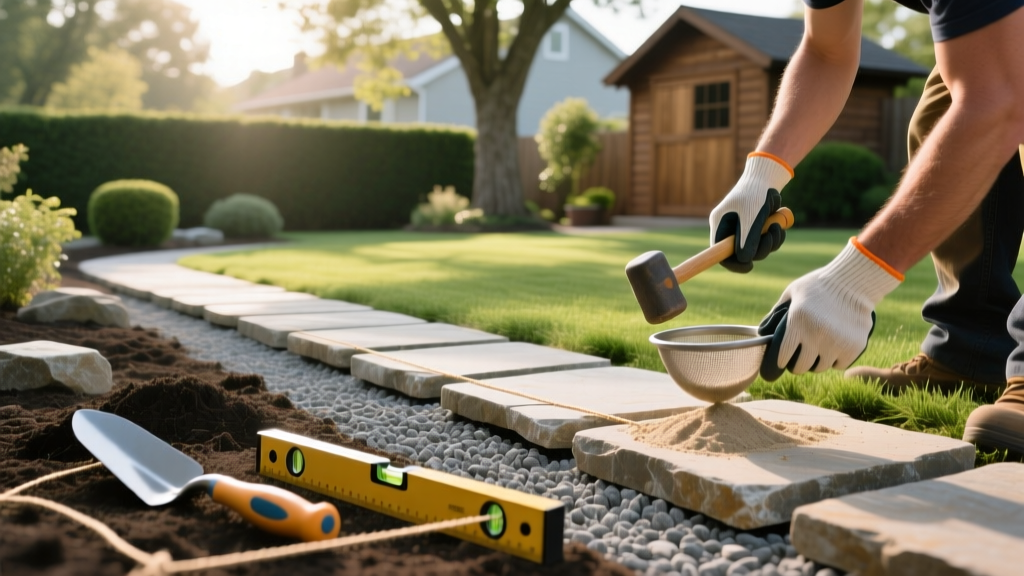
Building Walkways with Flagstone: A Beginner's Step-by-Step Guide
Why Choose Dry-Laid Walkways with Flagstone?
When designing a naturalistic garden path, walkways with flagstone offer an unmatched blend of rustic charm and functional durability. For beginners, the dry-laid method (setting stones in a sand bed over a compacted gravel base without mortar) is the superior choice. Unlike mortared walkways, which require precise masonry skills and are prone to catastrophic cracking in freeze-thaw climates, dry-laid paths flex with the earth. If frost heave shifts a stone, you simply lift it, add more sand, and reset it.
Expert Insight: According to Penn State Extension, flexible aggregate bases are mandatory in northern climates to prevent the rigid surface failures common with mortared stone installations.
Selecting the Right Flagstone Material
Not all flagstone is created equal. The term 'flagstone' simply refers to sedimentary or metamorphic rock that splits into flat layers. Your local stone yard will typically stock options based on regional quarries. Here is a breakdown of the most common types used for walkways with flagstone, including 2026 average material costs.
| Stone Type | Durability & Porosity | Recommended Thickness | Avg. Cost (per sq. ft.) |
|---|---|---|---|
| Bluestone | Extremely dense, low porosity, highly slip-resistant. Best for high-traffic or wet climates. | 1.5 to 2 inches | $7.00 - $11.00 |
| Sandstone | Moderate density, warm earthy tones. Can flake if subjected to heavy de-icing salts. | 1.5 to 2 inches | $5.00 - $8.00 |
| Limestone | Softer, more porous. Prone to acid erosion (avoid near heavy pine needle drop). | 2 inches minimum | $4.50 - $7.50 |
| Quartzite | Hardest natural option, highly reflective, virtually impervious to water and freezing. | 1 to 1.5 inches | $8.00 - $14.00 |
Buying Rule of Thumb: Always purchase 'stepping grade' or 'patio grade' flagstone, which is pre-sorted for thickness consistency. Avoid 'veneer grade' (1 inch or less), which will snap under foot traffic when laid over a flexible base.
The Anatomy of a Frost-Heave-Proof Base
The most common reason DIY walkways with flagstone fail within three years is an inadequate sub-base. You are not just laying stones; you are engineering a flexible drainage system.
1. The Geotextile Layer
Before adding gravel, line your excavated trench with a non-woven geotextile fabric (such as Mirafi 500X or equivalent). This prevents the native clay soil from migrating up into your gravel base over time, which is the primary cause of base liquefaction and sinking. Avoid cheap woven 'weed barrier' plastics from big-box stores; they tear under compaction and trap water.
2. The Aggregate Base
Use 3/4-inch minus crushed angular gravel. The 'minus' means it includes stone dust and smaller particles that lock together like a jigsaw puzzle when compacted. Never use round pea gravel; round stones roll against each other like marbles under pressure, providing zero structural stability.
3. The Setting Bed
The setting bed must be ASTM C33 concrete sand. This is a coarse, sharp sand that drains well and resists washing out. Do not use mason sand, play sand, or paver sand for the bedding layer—they are too fine, retain moisture, and will turn to mud during heavy rains, causing your flagstones to tilt.
Step-by-Step Installation Guide
- Excavation and Slope: Dig your path to a depth of 7 to 8 inches below the desired finished grade. Crucially, establish a drainage slope of 1/8 inch per foot away from your home's foundation or retaining walls. Use a line level and wooden stakes to verify the pitch.
- Fabric and Edging: Lay your non-woven geotextile fabric, overlapping seams by 12 inches. Install rigid plastic or aluminum paver restraints along the edges of the walkway, securing them with 10-inch galvanized spikes. This prevents the outer stones from creeping outward over time.
- Base Compaction: Add your 3/4-inch minus gravel in 2-inch lifts (layers). Wet the gravel slightly with a hose and run a vibrating plate compactor (minimum 5,000 lbs of centrifugal force) over each lift. Your final compacted base should be exactly 4 to 5 inches thick.
- Screeding the Sand: Pour 1 inch of ASTM C33 concrete sand over the base. Use two 1-inch diameter PVC pipes laid parallel on the gravel as guides. Drag a straight 2x4 board across the pipes to 'screed' a perfectly level, 1-inch sand bed. Remove the pipes and fill the voids with a trowel.
- Setting the Stone: Begin placing your flagstones. Keep joints between 1/2 inch and 2 inches wide. Step on the center of each stone to seat it into the sand. If a stone rocks, lift it, remove or add sand, and reset it. Never tap the edges of flagstone with a rubber mallet, as sedimentary edges are prone to snapping.
Jointing and Sealing: The Polymeric Sand Protocol
Once the stones are set, you must lock them in place. While traditional methods used decomposed granite or moss, modern installations rely on polymeric sand. Products like Alliance Gator Maxx G2 contain advanced polymers that bind the sand grains together when exposed to water, creating a flexible, weed-resistant joint that still allows for minor drainage.
Critical Mistake to Avoid: Polymeric sand haze is the number one beginner error. If you leave dust on the surface of the stone before activating the polymers with water, it will bake into a milky white film that is nearly impossible to remove from porous stones like sandstone or limestone.
According to landscape management guidelines from the University of Minnesota Extension, proper joint stabilization is vital for preventing weed growth and maintaining the structural interlock of dry-laid hardscapes.
Flawless Jointing Steps:
- Sweep the polymeric sand deeply into the joints using a stiff push broom, ensuring the sand is filled to within 1/8 inch of the stone surface.
- Use a leaf blower on a low setting to remove every trace of dust from the top of the flagstones.
- Lightly mist the area with a garden hose fitted with a fine shower nozzle. Do not use a jet stream, which will blast the sand out of the joints.
- Wait 10 minutes, then mist a second time to fully activate the polymers.
- Keep foot traffic off the walkway for a minimum of 24 hours to allow the curing process to complete.
Troubleshooting Common Edge Cases
Tree Root Intrusion: If your walkways with flagstone must cross a zone with aggressive surface roots (like Silver Maple or Willow), do not cut the roots. Instead, install a 3-inch layer of open-graded crushed stone (no fines) directly over the roots to allow air and water exchange, then proceed with your standard base. The open grading prevents soil compaction over the root zone.
Cutting Irregular Shapes: You will inevitably need to cut stones to fit tight radii or border edges. Do not use a standard tile saw. Rent a 14-inch gas-powered masonry saw with a diamond blade, or use a 4.5-inch angle grinder equipped with a continuous rim diamond blade. Always cut stones wet to suppress deadly silica dust and keep the blade from warping.
By respecting the engineering principles of the sub-base and choosing the correct ASTM-graded materials, your dry-laid flagstone walkway will remain level, weed-free, and structurally sound for decades, easily outlasting mortared alternatives in shifting soils.

