
Landscaping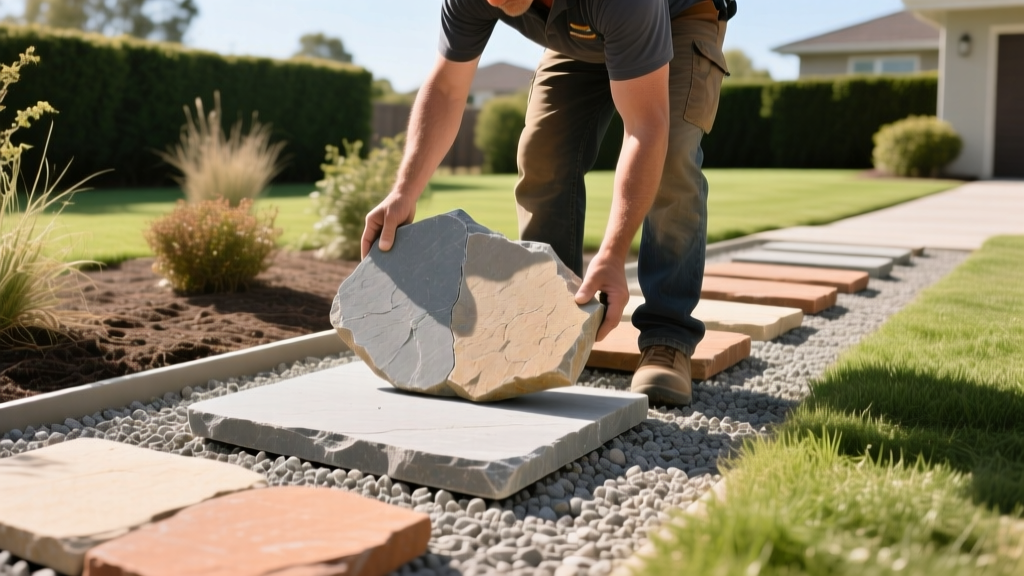
How to Build Dry-Set Flagstone Pathways: Step-by-Step
Why Dry-Set Beats Mortar for DIY Pathways
In regions experiencing seasonal freeze-thaw cycles, mortared flagstone pathways are a maintenance liability. Mortar joints trap moisture, which expands upon freezing, causing the rigid bonds to crack and spall within three to five years. Dry-set (mortar-free) flagstone pathways solve this by utilizing a flexible, permeable aggregate base that shifts microscopically with soil movement and frost heave without fracturing. According to the EPA's permeable pavement guidelines, dry-set hardscapes also reduce stormwater runoff by allowing precipitation to infiltrate the subgrade, mitigating localized erosion.
Building a dry-set pathway requires precision in base preparation and material selection. A poorly compacted base will result in uneven settling, while the wrong sand type will lead to joint washout. This guide details the exact specifications, 2026 material costs, and engineering principles required to construct a professional-grade flagstone pathway that lasts decades.
2026 Material and Tool Cost Matrix
As of 2026, natural stone prices have stabilized following post-pandemic supply chain disruptions, though regional freight surcharges still apply to heavy pallets. Below is the baseline material matrix for a standard 100-square-foot pathway project.
| Material / Tool | Specification | Est. Cost (2026) |
|---|---|---|
| Flagstone | 1.5' to 2' thick, irregular or patterned (Bluestone/Sandstone) | $5.50 - $9.00 / sq ft |
| Base Aggregate | 3/4-inch minus crushed angular gravel | $55 - $70 / ton |
| Setting Bed Sand | Coarse concrete sand (ASTM C33 standard) | $45 - $60 / ton |
| Jointing Material | Polymeric sand (40 lb bag) | $38 - $45 / bag |
| Geotextile Fabric | Non-woven, 4 oz/sq yd separation fabric | $0.45 / sq ft |
| Plate Compactor | Rental (Min. 5,000 lbs centrifugal force) | $85 - $110 / day |
Phase 1: Excavation and Base Preparation
The 7-Inch Rule and 1% Slope
The most common failure mode in DIY flagstone pathways is inadequate excavation depth. Your trench must be exactly 7 inches deep from the final desired surface height. This accommodates a 4-inch compacted gravel base, a 1-inch sand setting bed, and a 2-inch thick flagstone.
Before digging, establish your slope. Pathways must drain away from foundations at a minimum 1% grade (1/8 inch of drop per linear foot). Use batter boards and a mason's string line equipped with a line level to mark your excavation boundaries and depth guides.
Subgrade Separation and Mechanical Interlock
Once excavated, compact the native soil subgrade. If your native soil is heavy clay, lay down a non-woven geotextile fabric (minimum 4 oz per square yard). This prevents the clay from migrating upward into your gravel base over time, a process known as 'pumping' which destroys base integrity.
For the base layer, you must use 3/4-inch minus crushed angular gravel. Do not use rounded river rock or pea gravel; rounded stones cannot achieve mechanical interlock and will shift underfoot. Spread the gravel in 2-inch layers (lifts), wetting each layer lightly with a hose and compacting it with a vibratory plate compactor. The Interlocking Concrete Pavement Institute (ICPI) recommends a minimum compaction force of 5,000 lbs for aggregate bases to achieve the required 98% Standard Proctor density.
Phase 2: Screeding the Setting Bed
The setting bed is the 1-inch layer of sand that allows you to level the flagstone. The critical error here is using the wrong sand. Masonry sand and play sand have particles that are too fine; they retain moisture, wash out easily, and invite weed growth. You must use coarse concrete sand that meets the ASTM C33 specification.
To achieve a perfectly flat 1-inch bed, lay two 1-inch outer-diameter galvanized steel pipes parallel to each other on top of the compacted gravel base. Dump the concrete sand between the pipes, and use a straight 2x4 or a magnesium screed board to drag the excess sand toward you, resting the board on the pipes. Remove the pipes and fill the voids with sand, tamping them lightly. Do not walk on or disturb the screeded sand bed once it is leveled.
Phase 3: Stone Placement and Jointing
Fitting the Flagstone
Begin laying your flagstone from a fixed edge (like a patio or driveway) working outward. For dry-set pathways, the stone must be a minimum of 1.5 inches thick to prevent snapping under point-loads (e.g., a high heel or a wheelbarrow wheel). Sedimentary stones like Arizona Sandstone are easier to cut but more porous; metamorphic stones like Pennsylvania Bluestone or Slate are denser and more durable but harder to shape.
Use a 3-lb masonry hammer and a wide masonry chisel to chip the edges of the stones, creating tight, puzzle-like fits. Aim for consistent joint widths between 1 and 2 inches. Joints wider than 3 inches will struggle to lock with polymeric sand and may allow weed infiltration.
Warning: Polymeric Sand Hazing
Polymeric sand contains binding agents that activate with water. If you mist the stones while polymeric sand dust is still resting on the surface, it will cure into a milky white film called 'hazing' that is nearly impossible to remove from porous sandstone. Always use a leaf blower to remove every trace of surface dust before activating the joints with a fine mist.
Locking the Joints
Once all stones are set and leveled (tap them down with a rubber mallet or a piece of wood and a dead-blow hammer), sweep polymeric sand into the joints. Overfill the joints slightly, then use the plate compactor with a protective urethane pad to vibrate the sand deep into the crevices. Top off the joints so the sand sits 1/8 inch below the stone surface. Finally, activate the polymers using a garden hose with a fine mist nozzle, watering the area until the sand is fully saturated but not overflowing.
Common Failure Modes and Troubleshooting
- Localized Settling: If a stone rocks or sinks after a few months, the base gravel was likely not compacted in 2-inch lifts. Fix: Remove the stone, add a handful of coarse sand, screed it flat, and replace the stone. Do not add gravel to the sand bed.
- Joint Washout: If sand washes out during heavy rain, the joint was too wide (over 3 inches) or the polymeric sand was not fully saturated during activation. Fix: Scrape out the failed sand to a depth of 1 inch, refill with fresh polymeric sand, and re-mist.
- Frost Heave Bulging: If the entire pathway pushes upward in winter, the subgrade is holding water due to a missing geotextile layer or poor site drainage. Fix: You must excavate the affected section, install French drains to redirect subsurface water, and rebuild the base with proper separation fabric.
Constructing dry-set flagstone pathways is an exercise in subsurface engineering. The visible stone is only as stable as the crushed gravel and coarse sand beneath it. By adhering to strict depth measurements, utilizing angular aggregates for mechanical interlock, and managing moisture during the polymeric sand activation phase, you will build a landscape feature that remains level, permeable, and structurally sound for decades.

