
Landscaping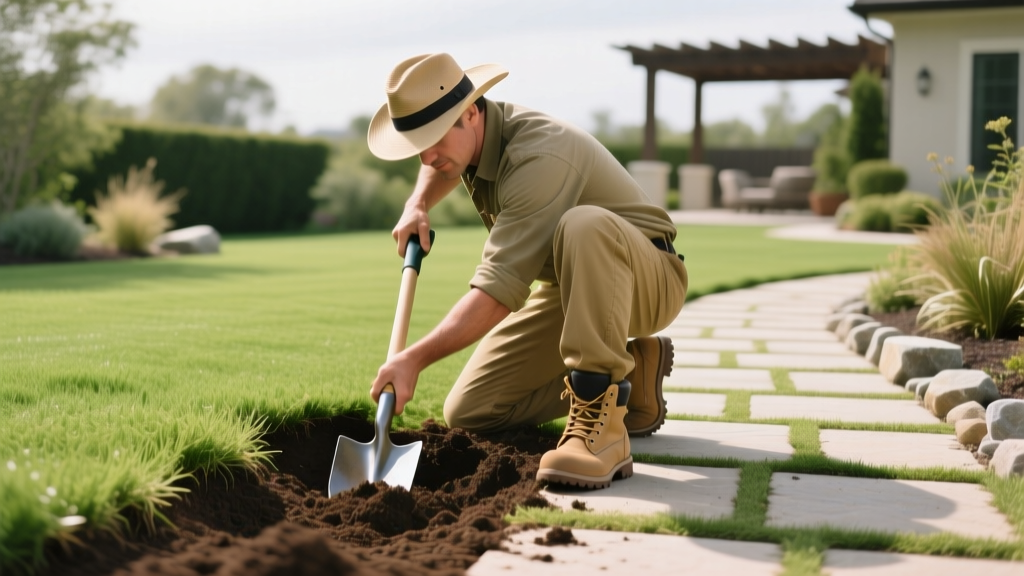
How to Excavate Lawn for Walkway: Step-by-Step Guide
The Critical Role of Subgrade Preparation
Understanding how to excavate lawn for walkway installations is the difference between a hardscape that lasts decades and one that heaves, pools, and cracks after a single freeze-thaw cycle. The visible pavers or flagstones are only the wearing surface; the true structural integrity of your walkway relies entirely on the excavated subgrade and the aggregate base that follows. Skipping precise depth calculations or failing to establish a proper drainage slope will compromise the entire project. This guide details the exact measurements, tool selections, and step-by-step procedures required to excavate and prep your lawn for a professional-grade walkway base.
Pre-Digging: Utility Mapping and Depth Math
Before any turf is cut, you must secure the site and calculate your target excavation depth. Striking a shallow irrigation line or gas main can result in severe injury and massive repair bills.
⚠️ Mandatory Safety Step: Contact your local utility locating service at least 72 hours before digging. In the US and Canada, dialing 811 or visiting Call 811 will dispatch professionals to mark underground public utilities with paint and flags for free. Note that private lines (like secondary irrigation or landscape lighting) are not marked by 811 and require a private locator.
Calculating Total Excavation Depth
A common failure mode in DIY landscaping is digging too shallow. Your total excavation depth must account for the paver thickness, the bedding sand, the compacted aggregate base, and an allowance for slope. Use this standard formula for pedestrian walkways:
- Paver Thickness: Typically 2 3/8 inches (60mm) for pedestrian traffic.
- Bedding Sand: 1 inch of coarse, angular concrete sand.
- Aggregate Base: 4 to 6 inches of crushed stone (e.g., 3/4-inch minus gravel) for well-draining soils, or 6 to 8 inches for clay-heavy soils.
- Slope Allowance: Add 1 inch to account for the gradual drop away from structures.
Example Calculation: 2.375" (paver) + 1" (sand) + 6" (base) + 1" (slope) = 10.375 inches total excavation depth measured from the desired finished surface elevation.
Equipment Matrix: Manual vs. Mechanical Excavation
Choosing the right extraction method depends on your project's square footage and soil composition. Below is a 2026 cost and efficiency matrix to help you decide.
| Tool / Equipment | Best Application | Estimated 2026 Cost | Labor Intensity |
|---|---|---|---|
| Flat Spade & Trenching Shovel | Walkways under 150 sq ft; tight garden curves | $40 - $70 (Purchase) | Extreme |
| Motorized Sod Cutter | Removing topsoil/turf layer (first 2-3 inches) | $85 - $130 / day (Rental) | Moderate |
| Mini Skid Steer (Dingo/Toro) | Walkways over 300 sq ft; heavy clay soil removal | $250 - $350 / day (Rental) | Low |
| Plate Compactor (Vibratory) | Subgrade and base compaction (post-excavation) | $75 - $100 / day (Rental) | Moderate |
Step-by-Step Excavation Procedure
Step 1: Outline and Sever the Turf
Use a garden hose to lay out your walkway curves, then mark the edges with inverted landscaping paint. For straight runs, snap a chalk line. Take a sharp half-moon edging iron or a motorized sod cutter and slice through the turf along your lines. Severing the grass roots cleanly prevents the surrounding lawn from tearing and maintains a crisp border for your hardscape edge restraints later.
Step 2: Strip the Organic Topsoil
The top 2 to 4 inches of your lawn consist of organic topsoil and decaying root matter. This layer compresses over time and retains too much moisture, making it entirely unsuitable for supporting a hardscape base. Set your sod cutter to a depth of 2.5 inches and peel back the turf in continuous rolls. If working manually, use a trenching shovel to undercut the sod, keeping the blade parallel to the ground to avoid gouging the subgrade below.
Step 3: Excavate to the Mineral Subgrade
Once the organic layer is removed, you must dig down into the mineral soil (usually a heavier clay or compacted silt layer). Measure down from your string lines to ensure you are hitting your target depth (e.g., 10.375 inches). Keep the trench walls as vertical as possible; sloped walls will make installing plastic edge restraints difficult later.
Establishing the 2% Subgrade Slope
According to the Interlocking Concrete Pavement Institute (ICPI), segmental paving systems require a minimum slope of 1% (1/8 inch per foot) to prevent water from pooling on the surface. However, for the excavated subgrade itself, aiming for a 2% slope (1/4 inch per foot) away from your home's foundation provides a safer margin for drainage and accounts for minor settling.
Pro Tip: The String Line Method
Drive wooden stakes at the top and bottom of your walkway run. Tie a mason string tightly between them. Attach a line level to the string and adjust the lower stake until the bubble is centered. To achieve a 1/4-inch per foot drop, measure down from the string at the lower stake. For a 20-foot walkway, the bottom of your excavation should be exactly 5 inches below the string line.
Drive wooden stakes at the top and bottom of your walkway run. Tie a mason string tightly between them. Attach a line level to the string and adjust the lower stake until the bubble is centered. To achieve a 1/4-inch per foot drop, measure down from the string at the lower stake. For a 20-foot walkway, the bottom of your excavation should be exactly 5 inches below the string line.
Managing the Swell Factor and Soil Disposal
A frequent logistical error is underestimating the volume of dirt generated by excavation. Soil in the ground is naturally compacted. Once excavated, it expands—a phenomenon known as the "swell factor" or "fluff factor."
"Native clay and loam soils typically exhibit a 20% to 30% swell factor. If you excavate 10 cubic yards of in-situ soil, expect to haul away 12 to 13 cubic yards of loose material. Plan your dump trailer capacity or disposal bin size accordingly."
In 2026, hiring a local hauler to remove loose topsoil and clay averages $150 to $300 per single-axle dump truck load. Alternatively, if the soil is clean topsoil, you can list it for free on local community boards; homeowners frequently seek fill dirt for grading projects.
Troubleshooting Common Excavation Edge Cases
Problem: The Subgrade is Spongy or Wet Clay
If you reach your target depth but the soil feels like thick putty and deforms when you step on it, do not attempt to compact it. The USDA Natural Resources Conservation Service notes that saturated clay loses its shear strength and will cause severe base failure. The Fix: Excavate an additional 2 inches deeper and backfill with a coarse, angular 3/4-inch crushed stone. Mechanically tamp this stone into the soft clay to create a stable, bridging platform.
Problem: Hitting Bedrock or Shale
In regions with shallow bedrock, you may not be able to dig the full 10 inches. The Fix: Rent an electric demolition hammer with a spade bit to fracture the rock. If the rock is immovable, reduce your aggregate base layer to 2 inches, lay a heavy-duty woven geotextile fabric directly over the rock to prevent sand migration, and ensure your surface drainage slope is aggressively maintained at 2% or higher.
Transitioning to Base Installation
Once the excavation is complete, the depth is verified, and the subgrade is sloped, the final pre-base step is compaction. Run a vibratory plate compactor directly over the bare earth subgrade in overlapping passes. This locks the soil particles together and reveals any soft spots that need further attention. Only after the subgrade is hard and uniformly sloped should you unroll your geotextile separation fabric and begin dumping your crushed aggregate base.

