
Landscaping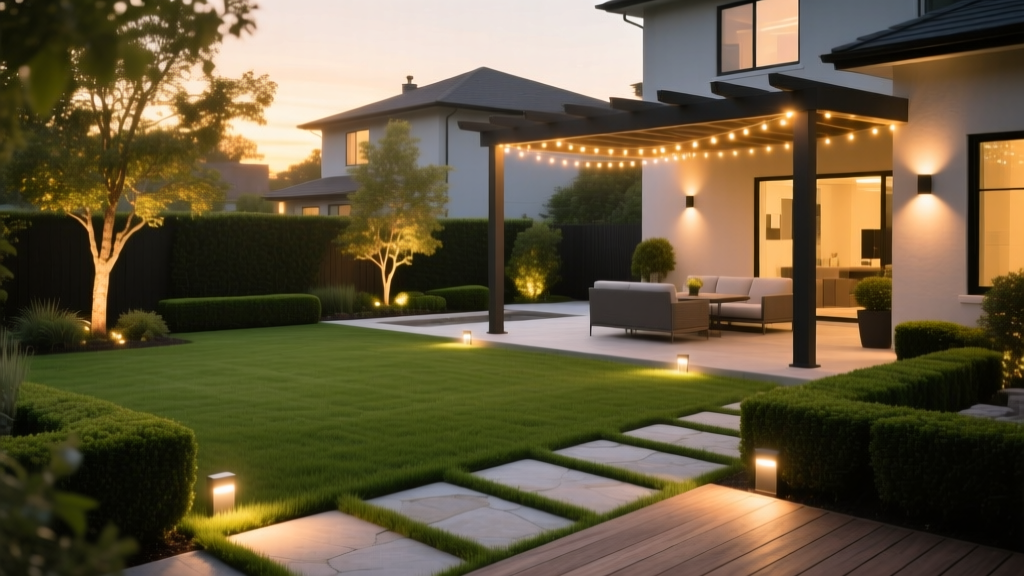
Backyard Lighting Ideas: How to Fix Glare, Dark Spots & Voltage Drops
The Disconnect Between Inspiration and Installation
Browsing through high-end backyard lighting ideas online often yields stunning, moonlit patios and softly illuminated garden paths. However, when homeowners or inexperienced contractors attempt to replicate these designs, the results frequently fall short. The most common culprits are not poor design concepts, but rather severe technical execution failures: blinding glare, voltage drop causing flickering fixtures, and premature hardware corrosion.
As a landscape lighting specialist, I diagnose these exact failures weekly. Below is a comprehensive troubleshooting guide to identifying why your current low-voltage system is underperforming and the precise, actionable solutions required to fix it.
Problem 1: The 'Runway Effect' and Severe Glare
The Diagnosis: If your path lights look like an airport runway or you cannot look toward the garden without squinting, you have a glare and placement problem. This occurs when fixtures are placed symmetrically on both sides of a walkway, or when the LED diode is directly visible from a normal standing eye level (approx. 5.5 feet).
Warning: Exposed LED diodes in cheap path lights not only ruin the aesthetic but can cause temporary night-blindness, creating a trip hazard on uneven stone or gravel paths.
The Solution:
- Stagger Your Placement: Never place path lights directly across from one another. Stagger them in an alternating pattern, spacing them 8 to 10 feet apart.
- Setback Distance: Keep fixtures 2 to 3 feet back from the edge of the walkway, tucked into the mulch or ground cover, rather than lining the concrete border.
- Upgrade to Shrouded Fixtures: Replace exposed-bulb fixtures with shrouded models like the Kichler 15810 (approx. $65 per fixture). Its deep, cone-shaped baffle completely hides the light source from pedestrian eye level while casting a smooth, 12-foot circular wash on the ground.
- Moonlighting Technique: For wide open lawns, abandon path lights entirely. Instead, mount a 20W downlight (like the VOLT Pro Brass Spotlight with a 60-degree beam angle) 20 feet up in a mature oak tree, angling it through the branches to create natural, dappled moonlight.
Problem 2: Voltage Drop and the 'Flickering End-of-Run'
The Diagnosis: If the first three lights in your garden bed are bright, but the last four are dim, yellowish, or flickering, you are experiencing voltage drop. This happens when installers use the 'daisy-chain' wiring method (connecting fixture to fixture in a single long line) using undersized wire, causing electrical resistance to starve the furthest fixtures of their required 10.5 to 12 volts.
The Solution: You must abandon daisy-chaining for runs exceeding 50 feet and switch to a Hub-and-Spoke wiring topology combined with a multi-tap transformer.
Wire Gauge and Wattage Limits (12V Systems)
Wire Gauge Max Run Distance Max Total Wattage Best Application 16-Gauge 50 feet 100W Small, single flower beds 12-Gauge 150 feet 240W Standard perimeter and path runs 10-Gauge 250+ feet 300W+ Main trunk lines to distant hubs Action Steps:
- Install a multi-tap transformer (e.g., VOLT 300W Multi-Tap, approx. $240). This allows you to output 12V, 13V, 14V, or 15V to compensate for distance.
- Run a 10-gauge main trunk line from the transformer to a central 'hub' location in the yard.
- At the hub, use waterproof wire nuts to connect 12-gauge 'spokes' radiating outward to clusters of 3-4 fixtures.
- Bury all lines at least 6 inches deep to protect them from core aeration and edging tools.
Problem 3: Fixture Corrosion and Premature LED Failure
The Diagnosis: If your fixtures are developing white, chalky oxidation, or the integrated LEDs are dying after just two seasons, you likely purchased painted aluminum or plastic fixtures from a big-box store. Aluminum oxidizes rapidly when in constant contact with damp soil and acidic mulch. Furthermore, 'integrated LED' fixtures cannot be repaired; when the diode dies, the entire $40 fixture goes to the landfill.
The Solution:
- Material Upgrade: Specify solid brass or copper fixtures. Brass does not rust; it develops a protective, natural dark patina over time that blends beautifully into garden beds. Expect to pay $45 to $85 per solid brass fixture (e.g., VOLT Pro Brass Spotlights), but they carry lifetime warranties against corrosion.
- Drop-In LED Bulbs: Never buy integrated LED fixtures. Always buy fixtures that accept standard MR16 G4 base LED bulbs. If a bulb fails or you want to change the beam angle, you simply pull the old bulb out and push a new $6 drop-in LED in.
- Dielectric Grease: Apply a dab of dielectric grease to the G4 pins before inserting the bulb to prevent moisture intrusion and galvanic corrosion inside the socket.
Problem 4: Light Trespass and Neighbor Complaints
The Diagnosis: Your backyard lighting is spilling over the fence, illuminating your neighbor's bedroom window, or casting harsh, blue-white shadows. According to DarkSky International, excessive color temperature and unshielded uplighting are the primary drivers of residential light pollution and ecological disruption.
Pro-Tip: The Illuminating Engineering Society (IES) recommends shielding all outdoor light sources to ensure zero light is emitted above the horizontal plane (90 degrees) to minimize skyglow.The Solution:
- Color Temperature Correction: Rip out any 4000K or 5000K (Daylight/Cool White) bulbs. They look harsh and clinical. Replace them with 2700K (Warm White) for a natural, firelight ambiance, or 3000K for slightly crisper architectural highlighting.
- Directional Control: Use spotlights with adjustable glare guards (shields) on the side facing the property line.
- Optical Lenses: For highlighting specific tree trunks without blasting the canopy or the sky, use a 15-degree narrow beam MR16 LED bulb rather than a 36-degree flood.
Quick Diagnostic Checklist for Existing Setups
Before tearing out your system, run this 5-point diagnostic check at twilight:
- Voltage Test: Use a digital multimeter at the furthest fixture. If it reads below 10.5V, you need a multi-tap transformer adjustment or heavier wire.
- Beam Overlap: Check architectural wash lighting. If you see distinct, harsh scallops on the wall, your fixtures are too close to the wall. Move them back 12 inches to blend the beams.
- Tree Mounting Check: Ensure tree-mounted downlights are attached using specialized lag screws with neoprene washers to prevent damaging the tree's cambium layer as it grows.
- Photocell Calibration: If lights turn on at 4 PM or 10 PM, your transformer's photocell sensor is likely dirty or placed in a shaded area. Wipe it and mount it facing the open northern sky.
Advanced Control Solutions for Modern Yards
Mechanical dial timers are obsolete. To truly elevate your backyard lighting ideas, integrate an astronomic smart controller like the Luxor ZDC (approx. $320). Unlike standard timers that require manual seasonal adjustments, astronomic timers use your exact GPS coordinates to calculate local sunset and sunrise times, adjusting automatically year-round.
Furthermore, smart controllers allow for zoning and dimming. You can program the pathway lights to operate at 80% brightness until 10 PM, then dim to 30% for subtle overnight security, while turning off the decorative tree uplights entirely to save energy and reduce light pollution.

