
Landscaping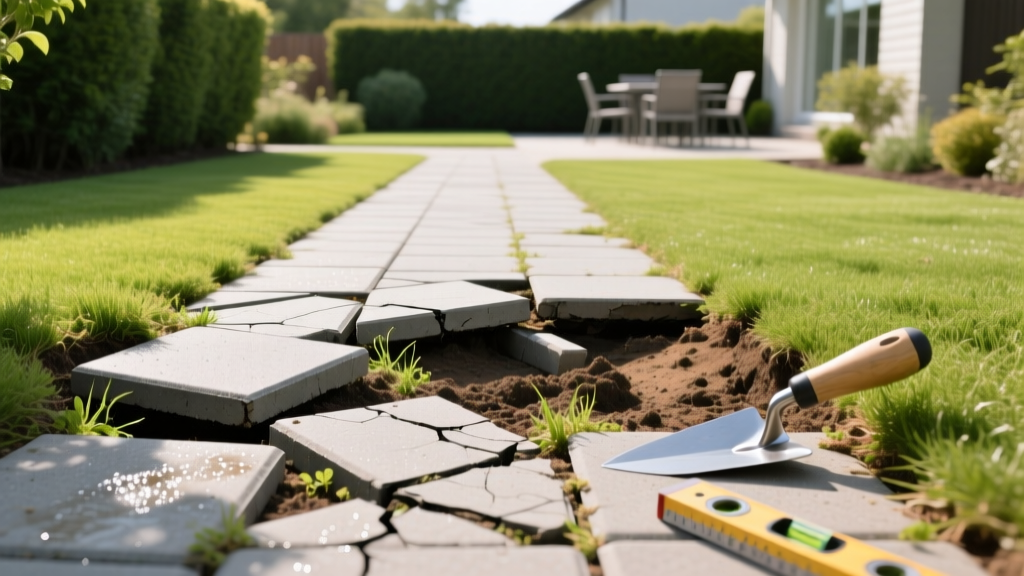
Paved Walkway Repair: Diagnosing and Fixing Sinking Pavers
The Anatomy of a Paved Walkway Failure
When a paved walkway begins to sink, heave, or pool water, the visible surface damage is merely a symptom of a subterranean failure. Unlike poured concrete, a flexible paved walkway relies entirely on the structural integrity of its underlying base and the friction between its joints. According to guidelines from the Interlocking Concrete Pavement Institute (ICPI), over 80% of all paver failures are directly attributable to improper base preparation, inadequate drainage, or edge restraint breakdown. To execute a permanent repair, you must stop treating the symptoms and start engineering the subgrade.
⚠️ The 1% Slope Rule: Before diagnosing specific failures, verify your walkway's pitch. A properly constructed paved walkway must maintain a minimum 1% slope (1/8 inch of drop per linear foot) away from foundations to prevent hydrostatic pressure buildup.
Diagnosing the 4 Most Common Paved Walkway Problems
1. Edge Restraint Failure and Lateral Spread
If the outer rows of your pavers are tilting outward and the joints are widening, your edge restraints have failed. Pavers experience immense lateral forces from foot traffic and thermal expansion. If the perimeter is held only by plastic edging secured with 6-inch nails into soft topsoil, it will inevitably yield. The fix requires excavating the perimeter and installing rigid SnapEdge or ProFlex restraints, anchored by 10-inch galvanized steel spikes driven every 12 inches into the compacted aggregate base, not the dirt.
2. Base Washout and Subgrade Erosion
Localized sinking (birdbaths) usually indicates that the bedding sand or base aggregate is washing away. This happens when joint sand degrades, allowing surface water to penetrate the bedding layer and carry fine particles into the subgrade. If you did not install a non-woven geotextile separation fabric (such as Mirafi 500X) between the native soil and the gravel base, the clay subgrade will pump up into the gravel during heavy rains, while the gravel sinks into the mud, creating voids.
3. Frost Heave in Freeze-Thaw Climates
In northern climates, a paved walkway that heaves upward in winter and drops in spring is suffering from frost lensing. This occurs when moisture trapped in the subgrade freezes and expands. Research from Penn State Extension highlights that open-graded, free-draining base materials drastically reduce frost heave by eliminating the water reservoir required for ice lenses to form. If your base is dense-graded road gravel (which holds water), it must be replaced.
4. Tree Root Uplift
Surface roots from aggressive species like Silver Maples or Willows will exploit the moisture trapped beneath your walkway. As roots thicken, they create localized pressure points. While root pruning is an option, installing a deep root barrier (24-inch high HDPE) during the repair phase is the only way to prevent recurrence without killing the tree.
Step-by-Step Paved Walkway Repair Protocol
Follow this exact sequence to rebuild a failed section of your paved walkway. Do not skip the compaction metrics; guessing leads to secondary settling.
- Excavation and Removal: Carefully pry up the sunken pavers using two flat bars. Remove the existing bedding sand. Excavate the compromised base aggregate down to the native subgrade (typically 7 to 9 inches below the finished surface).
- Subgrade Stabilization: If the native soil is soft clay, lay a layer of non-woven geotextile fabric. This provides tensile strength and prevents aggregate migration.
- Base Aggregate Installation: Fill the trench with 3/4-inch open-graded crushed stone (ASTM D448 size #57). Do not use gravel with fine dust (crusher run), as it retains water.
- Mechanical Compaction: Use a vibratory plate compactor generating a minimum of 5,000 lbs of centrifugal force. Compact the stone in 2-inch lifts (layers), running the plate over each layer 3 to 4 times until no further depression is visible.
- Bedding Sand Screeding: Spread exactly 1 inch of ASTM C33 concrete sand over the compacted base. Never use masonry sand; its fine particles trap water and cause frost heave. Screed the sand perfectly level using 1-inch PVC pipes as guides.
- Paver Resetting and Jointing: Lay the pavers tightly together. Sweep in high-performance polymeric sand (such as Alliance Gator Maxx G2) and compact the surface with a urethane pad attached to your plate compactor to vibrate the sand deep into the joints.
"The most common mistake DIYers make is using a hand tamper for base compaction. A hand tamper only compresses the top 1/2 inch of aggregate. You must use a mechanical plate compactor to achieve the 95% Proctor density required for a permanent paved walkway." — NCMA Technical Services Division
Base Material and Cost Matrix (2026 Estimates)
Material selection dictates the lifespan of your repair. The table below outlines the specific materials required for a commercial-grade paved walkway base, along with current 2026 pricing averages for residential procurement.
| Material | Specification | Primary Function | Avg. Cost (2026) |
|---|---|---|---|
| Open-Graded Stone | ASTM D448 #57 (3/4") | Load distribution, frost drainage | $55 - $70 / ton |
| Bedding Sand | ASTM C33 Concrete | Paver leveling, joint friction | $40 - $55 / ton |
| Geotextile Fabric | Mirafi 500X / Typar Pro | Soil separation, stabilization | $0.85 / sq. ft. |
| Polymeric Sand | Gator Maxx G2 / Techniseal | Joint locking, weed prevention | $38 - $48 / 50lb bag |
| Edge Restraint | SnapEdge (Heavy Duty) | Lateral confinement | $6.50 / linear ft. |
Advanced Drainage Integration for Chronic Failures
If your paved walkway repeatedly fails in the exact same low-lying area despite proper base compaction, you have a hydrostatic pressure problem. Surface sloping is insufficient when the surrounding soil acts as a bowl. In these scenarios, you must integrate subsurface drainage.
According to erosion and sediment control principles outlined by the USDA Natural Resources Conservation Service, intercepting water before it reaches the subgrade is critical. Install a 4-inch perforated PVC pipe wrapped in filter fabric beneath the geotextile layer, pitched at a 1/8-inch per foot gradient toward a daylight exit or dry well. Backfill the trench around the pipe with the same #57 crushed stone used in your base. This creates a French drain system directly beneath your walkway, instantly evacuating groundwater and eliminating the moisture required for both washout and frost heave.
💡 Pro Tip for Polymeric Sand Activation: When activating your polymeric sand joints with water, use a shower-nozzle attachment and mist the surface until water stops absorbing. Overwatering will wash the polymers out of the joints, leaving a white haze on your pavers and compromising the structural lock. Always check the 48-hour weather forecast to ensure no heavy rain will strike before the sand fully cures.
By shifting your focus from the surface pavers to the engineered base beneath them, you transform a failing paved walkway into a permanent, load-bearing landscape feature capable of withstanding decades of environmental stress.

