
Landscaping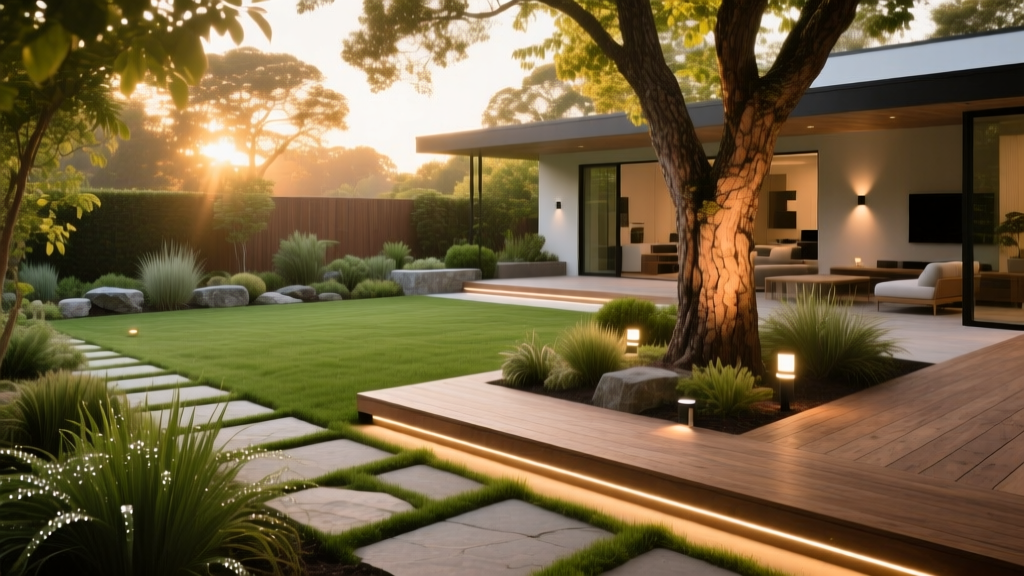
Fixing Dark Yards: Smart Outdoor Garden Lighting Ideas & Solutions
Diagnosing the 'Runway Effect' and Glare Pollution
The most frequent failure in DIY landscape illumination is the 'runway effect'—a glaring, evenly spaced line of path lights that illuminates the walkway but blinds anyone walking on it. This happens when homeowners prioritize fixture placement over photometrics. According to Dark Sky International, unshielded outdoor lighting contributes heavily to light pollution and disrupts local ecosystems while reducing human night vision.
The Solution: Staggered Shielding and Moonlighting
To fix this, abandon the symmetrical, 5-foot spacing rule. Instead, implement a staggered layout with a minimum 8-to-10-foot spacing, alternating sides of the path. More importantly, swap out cheap, exposed-bulb fixtures for fully shielded, directional path lights.
- Fixture Recommendation: The Kichler 15810 Centennial (approx. $145 per fixture) features a heavy brass construction and a deep, conical shroud that directs light strictly downward at a 45-degree cut-off angle, eliminating horizontal glare.
- Color Temperature: Stick to 2700K (warm white) for pathways. 3000K or higher creates a harsh, clinical glare on stone and concrete that mimics commercial parking lots.
- Alternative Technique: If the path is bordered by mature trees (over 20 feet tall), use 'moonlighting.' Mount a 20W LED downlight with a 60-degree beam spread 25 feet up in the canopy. This casts natural, dappled shadows on the path below, completely eliminating the need for ground-level path lights.
Warning: Never use solar-powered stake lights for primary pathway navigation. Their lumen output degrades by up to 60% after three hours of operation, and their cool 5000K LEDs create severe glare on wet pavement.
Solving the 'Black Hole' Patio Problem
Many homeowners invest heavily in perimeter uplighting, only to find their central patio or seating area remains a dark, unusable void at night. Perimeter lighting defines the boundaries of a space but fails to provide the ambient lumens required for human interaction and safe navigation.
The Solution: Integrated Hardscape and Overhead Canopy Lighting
To illuminate the center of a patio without relying on glaring floodlights, you must integrate lighting directly into the architecture or overhead structures.
| Lighting Technique | Best Application | Required Lumens (per sq ft) | Specific Product Solution |
|---|---|---|---|
| Hardscape Strip Lighting | Under bench walls, step risers, and capstones | 10 - 15 lumens | WAC Lighting InvisiLED Pro24 (approx. $40/ft) |
| Pergola Downlighting | Over dining and seating areas | 20 - 30 lumens | Cast Lighting Mini-Directional (10W, 40-degree beam) |
| Recessed Deck Dots | Flush-mount decking and stair treads | 5 - 10 lumens | Trex Lighting Recessed LED (1W, 2700K) |
When installing hardscape strips under stone capstones, ensure the LED tape is set back at least 1.5 inches from the edge of the stone. This 'reveal' hides the physical fixture from eye level while allowing the light to wash evenly down the masonry face. According to the U.S. Department of Energy, integrating low-voltage LED strips into hardscapes reduces energy consumption by up to 75% compared to traditional halogen well lights while providing superior color rendering.
Fixing Flickering Fixtures and Voltage Drop
If your garden lights flicker, dim at the end of the line, or fail to turn on entirely, you are experiencing voltage drop. This is a mathematical certainty in 12-voltage systems when wire gauge and run length are miscalculated. A 12V system dropping below 10.5V at the fixture will cause LEDs to strobe or shut off completely to protect their internal drivers.
The Solution: Hub-and-Spoke Wiring and Proper Gauge Selection
The 'daisy-chain' method—running one continuous wire from the transformer to the first light, then to the second, and so on—is the primary cause of voltage drop. By the time the current reaches the fifth fixture, the resistance in the wire has sapped the voltage.
The 80% Transformer Rule: Never load a transformer to its maximum wattage. A 300-watt transformer should only carry a maximum load of 240 watts (80%). This accounts for wire loss and prevents the transformer from overheating and prematurely failing.
To solve this, implement a hub-and-spoke or T-method wiring topology:
- Main Trunk: Run a heavy 10-gauge or 12-gauge direct-burial wire from the transformer to a central waterproof hub (a junction box buried in a mulch bed).
- Spokes: From the hub, run individual 14-gauge wires to clusters of 2-3 fixtures. This ensures every fixture receives roughly the same voltage, regardless of its distance from the transformer.
- Calculate the Drop: Use the formula: Voltage Drop = (2 x Wire Length x Watts) / (Wire Constant). For 12-gauge wire, the constant is roughly 7500. If your drop exceeds 1.5 volts, you must increase the wire thickness or tap into a higher voltage terminal on your multi-tap transformer (e.g., using the 13V or 14V tap to compensate for the loss).
Eliminating Flat, Washed-Out Focal Points
Placing a single uplight dead-center and two feet away from a mature tree or architectural wall results in a flat, two-dimensional appearance. This 'hot spot' washes out the texture of the bark or stone and creates harsh, unnatural shadows behind the object.
The Solution: Cross-Lighting and Beam Angle Matching
Professional illumination requires manipulating beam angles and utilizing multiple light sources to create depth. The beam angle of your fixture must match the physical proportions of the target.
- Columnar Trees (e.g., Italian Cypress, Arborvitae): Use a narrow 10-degree to 15-degree beam spread. Place the fixture 2 feet from the base. This tight beam reaches the upper canopy without spilling light into the sky.
- Broad Canopy Trees (e.g., Oaks, Maples): Use a 40-degree to 60-degree beam spread. Place the fixture 4 to 6 feet away from the trunk to ensure the light washes the entire width of the lower branches.
- Cross-Lighting Large Specimens: For trees wider than 15 feet, use two fixtures placed 120 degrees apart, rather than one. This illuminates the front and sides, revealing the 3D texture of the bark and leaves while eliminating the dark void on the back side of the trunk.
Shadowing for Architectural Depth
When lighting a privacy fence or a flat stone wall, do not point the light directly at the surface. Instead, place a hardscape light or a low-profile well light at the base of the wall, angled slightly upward and outward. Place a small ornamental grass or shrub 18 inches in front of the light. The light will pass through the foliage, casting dramatic, elongated shadows onto the wall behind it. This technique, known as shadowing, adds immense visual depth to otherwise flat vertical surfaces without requiring expensive architectural sconces.
By diagnosing these specific photometric and electrical failures, you can transition from simply placing fixtures in the dirt to engineering a cohesive, functional, and visually striking nighttime landscape.

