
Landscaping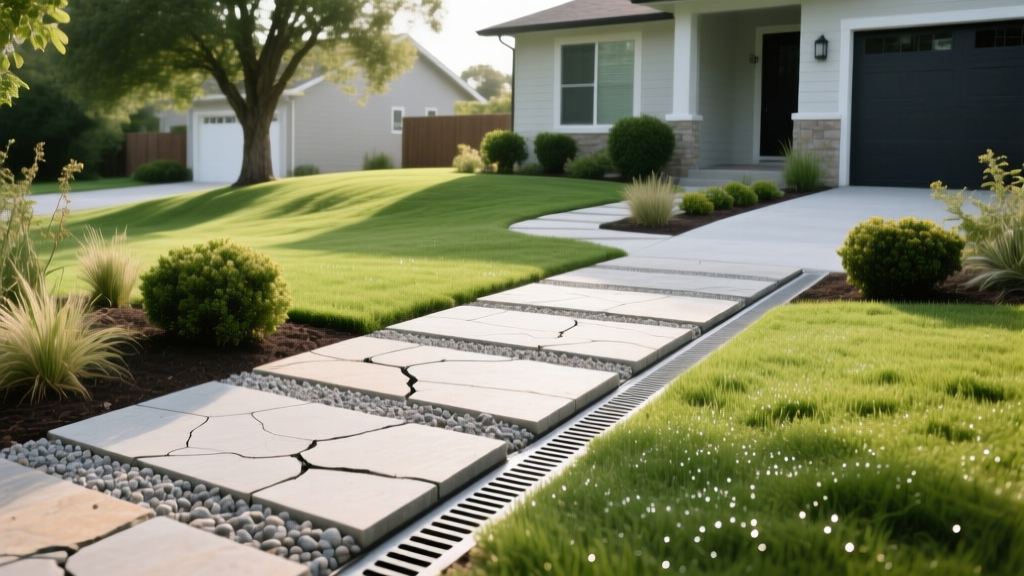
Front Yard Walkway Ideas to Fix Drainage, Heaving, and Cracks
A beautiful path to your front door is useless if it turns into a tripping hazard after one winter. When evaluating front yard walkway ideas, homeowners frequently prioritize surface aesthetics—like stamped concrete or natural stone—while ignoring the subsurface engineering required to keep those materials flat and intact. In regions with freeze-thaw cycles, heavy clay soils, or aggressive tree root systems, standard installation methods routinely fail within three to five years.
This diagnostic guide breaks down the exact physical symptoms of walkway failure and pairs them with engineered front yard walkway ideas designed to solve those specific site problems. We will cover 2026 material costs, precise base specifications, and the structural thresholds required for long-term durability.
Diagnosing the Root Cause of Walkway Failure
Before selecting a material, you must identify why the previous walkway failed or what specific threat your soil profile poses to a new installation. Misdiagnosing the site condition guarantees premature failure, regardless of the surface material chosen.
Symptom 1: Frost Heave and Uneven Slabs
If your existing concrete or pavers lift unevenly in the spring and settle back down partially in the summer, you are dealing with frost heave. This occurs when fine-grained soils (like silt or clay) trap moisture via capillary action. When temperatures drop, the water freezes into ice lenses that expand upward. Rigid surfaces like poured concrete will crack under this differential pressure, while improperly bedded pavers will tilt.
Symptom 2: Pooling Water and Subgrade Erosion
Water pooling on the surface or washing out the joints between pavers indicates a grading or permeability failure. A walkway must maintain a minimum 2% slope (a 1/4-inch drop per linear foot) away from the home's foundation. If the soil beneath the walkway is heavily compacted clay, water cannot percolate downward, leading to lateral runoff that erodes the edge restraints and washes away the bedding sand.
Symptom 3: Surface Spalling and Scaling on Concrete
If the top layer of a concrete walkway is flaking, peeling, or exposing the aggregate beneath, the concrete mix lacked proper air-entrainment, or it was sealed prematurely. According to the Portland Cement Association, concrete exposed to freeze-thaw cycles requires 5% to 8% microscopic air voids to give expanding water a place to go. Without these voids, the internal hydraulic pressure spalls the surface.
Front Yard Walkway Ideas Engineered for Problem Sites
Once the site pathology is diagnosed, you can select materials that inherently resist those specific failure modes. Below is a comparison matrix of high-performance materials suited for problematic front yards.
| Material | Best Problem Solved | 2026 Installed Cost (per sq. ft.) | Maintenance Requirement |
|---|---|---|---|
| Permeable Concrete Pavers | Heavy runoff, clay soils, pooling water | $24 - $38 | Annual vacuuming of joints |
| Dry-Laid Flagstone (Open Joints) | Frost heave, tree root uplift | $20 - $32 | Re-leveling individual stones |
| Air-Entrained Exposed Aggregate | Steep slopes, ice/slip hazards | $14 - $22 | Resealing every 2-3 years |
Solution A: Permeable Pavers for Heavy Clay and Runoff
For front yards where municipal codes restrict impervious surface coverage, or where clay soil prevents drainage, permeable interlocking concrete pavers (PICP) are the optimal choice. Unlike standard pavers, PICPs are designed with wider joints (typically 1/2-inch to 3/4-inch) filled with clean, open-graded crushed stone (ASTM No. 8 or No. 89).
Expert Insight: The Environmental Protection Agency (EPA) notes that permeable pavements can reduce stormwater runoff volume by up to 80%. However, they only work if the sub-base is constructed with clean, washed stone. Never use crushed stone with fine dust (crusher run) beneath permeable pavers, as the fines will clog the system and render it impermeable within two years.
Solution B: Dry-Laid Flagstone for Frost-Prone and Root-Heavy Zones
If your front yard is lined with mature oak or maple trees, surface roots will inevitably disrupt rigid walkways. Mortared flagstone or poured concrete will crack when roots expand. Dry-laid flagstone, set on a compacted open-graded base with stone dust joints, acts as a flexible mat. When a root lifts a 2-inch thick bluestone slab, the stone simply tilts. You can lift the stone, trim the root or add base material, and reset the slab in 15 minutes without demolition.
Solution C: Exposed Aggregate for Sloped Entries
For front yards with steep gradients leading to the street, standard broom-finished concrete becomes dangerously slick when wet or covered in morning dew. Exposed aggregate concrete involves spraying a chemical retarder on the surface after pouring, then washing away the top layer of cement paste to reveal the underlying gravel. This creates a highly textured, slip-resistant surface that maintains structural rigidity while providing superior traction on slopes exceeding an 8% grade.
The Non-Negotiable Base Preparation Protocol
The surface material accounts for only 20% of a walkway's structural integrity; the remaining 80% relies on the sub-base. The most common cause of failure in DIY and low-bid contractor installations is an inadequate base depth or the use of the wrong aggregate.
Step-by-Step Base Engineering
- Excavation and Geotextile Separation: Excavate to a depth of 10 to 14 inches below the final grade. Line the entire trench with a non-woven geotextile fabric (minimum 4 oz per square yard, such as Mirafi 500X). This prevents the native clay subgrade from migrating up into the stone base, which is the primary cause of base softening.
- Sub-Base Layer (Load Bearing): Install 6 to 8 inches of open-graded, crushed angular stone (ASTM D448 No. 57 stone). Compact this layer in 2-inch lifts using a vibratory plate compactor to achieve 98% Standard Proctor density. Do not use rounded river gravel, as it will not lock together and will shift under foot traffic.
- Bedding Layer (Leveling): For pavers and flagstone, add a 1-inch layer of coarse, sharp concrete sand or ASTM No. 9 stone. Do not use masonry sand or play sand; the particles are too round and will wash out or compress unevenly.
Warning: Never lay polymeric sand over a wet bedding layer or apply it when the paver surface is damp. Trapped moisture will activate the polymers prematurely, resulting in a hazy, permanent white film across the face of your pavers that requires chemical stripping to remove.
Edge Restraints: The Hidden Failure Point
A flexible walkway (pavers, flagstone, or brick) behaves like a jigsaw puzzle. Without rigid perimeter confinement, the outer edges will slowly creep outward under the lateral pressure of foot traffic and thermal expansion, causing the joints to open and the bedding sand to wash away.
For front yard applications where visible plastic edging ruins the aesthetic, use a concealed concrete curb. Trowel a 6-inch wide by 6-inch deep concrete haunch along the perimeter, sloping it up to the bottom third of the paver edge. Once the soil and mulch are backfilled against this concrete curb, the restraint is entirely invisible from the surface but provides the necessary lateral lock to prevent edge creep. For permeable systems, ensure the concrete haunch is perforated or set on a gravel bed so it does not block the lateral outflow of subsurface water.
Selecting the Right Jointing Material
The final critical decision is the jointing material. Standard polymeric sand is suitable for joints up to 1/2-inch wide in dry climates. However, in high-moisture environments or for joints wider than 1/2-inch, use a resin-based, permeable jointing compound (such as Gator Dust or Surebond). These materials bind the aggregate together while remaining porous, allowing water to drain through the joints rather than pooling on the surface and degrading the sand matrix from the top down.

