
Landscaping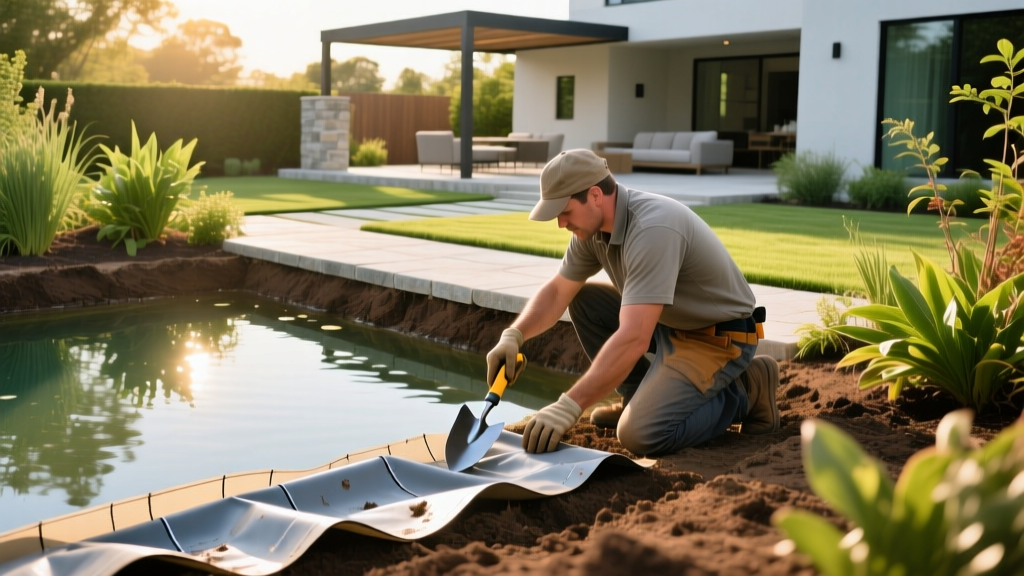
How to Create a Pond: Diagnosing and Solving Common Build Failures
Learning how to create a pond is often romanticized as a simple weekend project of digging a hole and dropping in water. In reality, up to 40% of DIY backyard ponds fail within the first three years due to preventable construction errors. The most common issues—chronic leaks, perpetual algae blooms, and premature pump burnout—are rarely caused by bad luck; they are the direct result of flawed initial design and poor material selection.
Rather than following a generic step-by-step digging guide, this diagnostic approach focuses on identifying the root causes of pond failure before you break ground. By engineering your pond to avoid these specific pitfalls, you ensure a balanced, low-maintenance aquatic ecosystem.
The 5 Most Common Pond Construction Failures
Before selecting your equipment, review this diagnostic matrix. If your current plan or existing pond exhibits any of these symptoms, apply the corresponding structural or mechanical fix immediately.
| Symptom | Root Cause Diagnosis | The Engineering Fix |
|---|---|---|
| Water level drops 1+ inch daily | Liner puncture, capillary wicking at edges, or poorly seated skimmer faceplate | Install 45-mil EPDM with non-woven geotextile; ensure 12-inch edge overlap |
| Opaque green "pea soup" water | Undersized UV clarifier or lack of mechanical pre-filtration | Size UV at 1 watt per 100 gallons; add a settlement chamber or leaf net |
| Pump hums but moves no water | Cavitation due to restricted intake or excessive plumbing head pressure | Use sweep 90-degree PVC fittings; increase intake pipe diameter by one size |
| Fish die-offs in late winter | Insufficient depth leading to total water column freezing | Excavate a minimum 36-inch deep thermal refuge zone |
| Liner billowing or floating | Hydrostatic pressure from a high groundwater table beneath the liner | Install a perforated drain pipe and sump pump beneath the liner base |
Failure 1: Liner Punctures and Capillary Wicking
The most frequent reason homeowners abandon their water features is chronic water loss. While many assume the liner has torn, the actual culprit is often capillary wicking or root intrusion. If soil, mulch, or landscaping fabric touches the water line and overlaps the liner edge, it will act like a sponge, silently siphoning hundreds of gallons out of the pond.
Material Selection: EPDM vs. PVC vs. RPE
Do not use PVC or high-density polyethylene (HDPE) for flexible backyard ponds; they become brittle under UV exposure and crack in freezing temperatures. The industry standard is 45-mil EPDM (Ethylene Propylene Diene Monomer) rubber. Brands like Firestone GeoGard or Aquascape EPDM remain the most reliable, costing between $1.20 and $1.50 per square foot.
⚠️ Warning: The Underlayment Mistake
Never use old carpet, cardboard, or newspaper as liner underlayment. They decompose, shift, and offer zero puncture resistance against sharp aggregate. You must use a non-woven geotextile fabric (typically 3 oz to 4 oz per square yard), which costs roughly $0.30 per square foot and provides a continuous, rot-proof barrier against tree roots and sharp stones.
Failure 2: The "Pea Soup" Algae Bloom
New ponds almost always experience an algae cycle, but a pond that remains green past its first 60 days suffers from a fundamental filtration mismatch. Suspended single-cell algae cannot be filtered out by standard biological media; it passes right through.
Sizing Your UV Clarifier
To achieve crystal-clear water, you must install an Ultraviolet (UV) Clarifier. The critical metric for sizing is wattage relative to pond volume. According to water quality guidelines outlined by Penn State Extension, maintaining clear water in a sun-exposed garden requires precise UV dosing.
- Standard Dosing: 1 watt of UV power per 100 gallons of pond water.
- High Sunlight/Koi Ponds: 1.5 to 2 watts per 100 gallons.
- Flow Rate Restriction: The water must pass through the UV unit slowly enough for the light to penetrate the cell walls. If your pump pushes 3,000 GPH (Gallons Per Hour) through a UV rated for only 1,500 GPH, the algae will survive the transit.
Failure 3: Pump Cavitation and Plumbing Head Pressure
Pump burnout is rarely a defect in the pump itself; it is a symptom of plumbing-induced stress. When water is forced through sharp turns and narrow pipes, friction creates "head pressure." The pump works harder to overcome this resistance, overheats, and eventually seizes.
The Plumbing Decision Framework
When routing water from your skimmer to your waterfall or biofilter, follow these strict plumbing rules to minimize friction loss:
- Ditch the Flexible Tubing: Corrugated flex tubing has internal ridges that create massive turbulence. Use rigid Schedule 40 PVC for all underground or submerged runs.
- Use Sweep 90s: Never use standard plumbing 90-degree elbows. Use "sweep 90" fittings, which feature a gradual curve, reducing friction loss by up to 60% compared to sharp elbows.
- Oversize the Intake: If your pump has a 1.5-inch outlet, use 2-inch PVC for the intake and main runs, stepping down only at the final discharge point. This reduces the velocity and the associated head pressure.
"A pump should never have to work hard to pull water. Gravity should feed the pump; the pump should only have to push the water up to the waterfall."
— Aquatic Engineering Best Practices
Failure 4: Poor Shelf and Depth Grading
A pond shaped like a simple bowl with uniformly sloping sides is a recipe for structural and ecological failure. Proper grading requires specific zones for plant life, predator defense, and winter survival.
According to pond construction standards detailed by Texas A&M AgriLife Extension, depth and slope management are critical for long-term water retention and ecosystem stability. For backyard ornamental ponds, this translates to a multi-tiered excavation strategy:
The 3-Tier Excavation Profile
| Zone | Depth Requirement | Purpose & Function |
|---|---|---|
| Marginal Shelf | 6 to 9 inches | Houses bog plants (iris, rushes) that filter nitrates and conceal the liner edge. |
| Predator Shelf | 18 to 24 inches | Creates a drop-off that prevents wading birds (like herons) from easily walking into the center to hunt fish. |
| Thermal Refuge | 36+ inches | Provides a localized zone where water remains at 39°F (4°C) at the bottom, allowing koi and goldfish to survive winter freezes without suffocating. |
Step-by-Step Diagnostic Checklist Before You Dig
Before renting an excavator or firing up a rototiller, run your site plan through this final diagnostic checklist to ensure your design avoids the most costly mistakes.
✅ Pre-Excavation Verification:
- Sun/Shade Ratio: Is the site receiving 4-6 hours of direct sunlight? (More than 6 hours guarantees aggressive string algae; less than 4 hours stunts water lily blooming).
- Tree Canopy Overhang: Are there deciduous trees directly above the pond? If yes, you must budget for a heavy-duty skimmer and a leaf net, or relocate the pond.
- Drainage Grading: Does the surrounding yard slope away from the pond site? If the yard slopes toward the pond, heavy rain will wash fertilizer-laden runoff into the water, triggering toxic ammonia spikes.
- Utility Check: Have you called 811 to mark underground gas, water, and electrical lines? A single shovel strike can cost thousands in repairs.
Mastering how to create a pond is less about moving dirt and more about anticipating the physical and biological forces that will act upon the water feature over the next decade. By prioritizing heavy-duty EPDM liners, calculating precise UV and pump head requirements, and engineering a multi-tiered depth profile, you transition from building a temporary mud pit to constructing a permanent, self-sustaining aquatic landscape.

