
Landscaping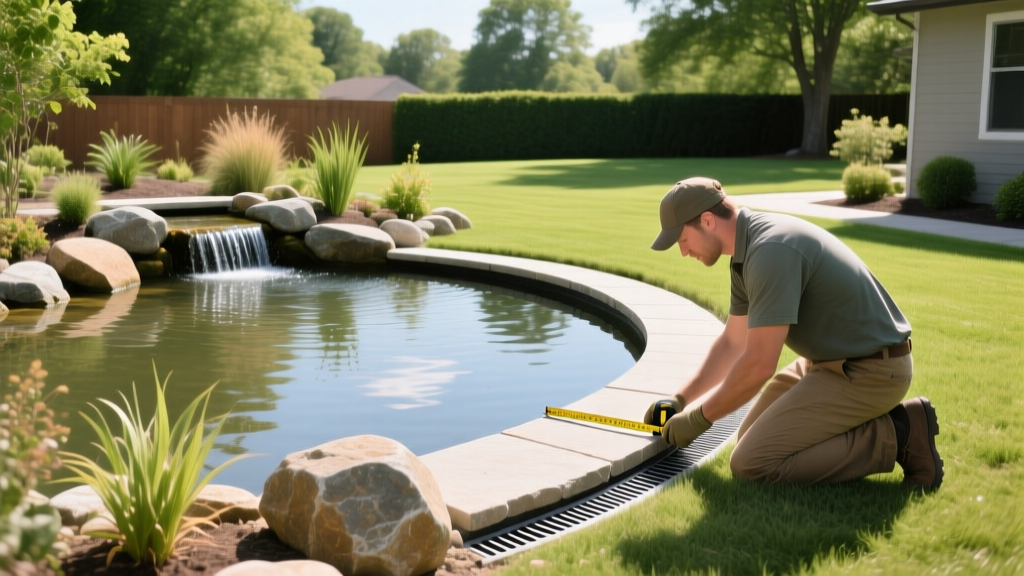
How to Make a Pond: Diagnose and Fix 5 Common Construction Errors
Over 60% of DIY backyard water features fail, leak, or require major reconstruction within 36 months. The root cause is rarely a defective pump or bad luck; it is almost always a structural or hydraulic miscalculation made during the initial excavation. Learning how to make a pond correctly requires anticipating these failure modes before you break ground. This guide diagnoses the five most common pond construction errors and provides exact, actionable solutions to ensure your water feature remains structurally sound and biologically balanced.
Phase 1: Site Selection and the 'Nutrient Loading' Failure
The Symptom: Within weeks of filling, the pond develops thick, mat-like string algae or turns opaque green, despite running a UV clarifier and using algaecides.
The Diagnosis: The pond was built at the absolute lowest point of the yard to 'look natural.' While this mimics nature, residential yards are heavily fertilized. When it rains, surface runoff carries nitrogen and phosphorus from lawn fertilizer directly into the pond basin, triggering massive algae blooms.
The Solution: Never build a pond in a natural drainage swale. If your desired location is in a low spot, you must construct a diversion berm. Build a 4-inch to 6-inch raised soil berm on the uphill side of the pond, disguised with river rock and creeping thyme, to divert yard runoff away from the water feature. According to the University of Minnesota Extension, keeping lawn clippings and fertilizer runoff out of the basin is the single most critical factor in long-term water clarity.
⚠️ Warning: Tree Root Intrusion
Do not center your pond under large deciduous trees (like maples or oaks). Beyond the leaf-litter problem, aggressive tree roots will seek out the moisture under your liner, eventually piercing it. Maintain a minimum distance of 10 feet from the trunk of any tree with a canopy wider than 15 feet.
Do not center your pond under large deciduous trees (like maples or oaks). Beyond the leaf-litter problem, aggressive tree roots will seek out the moisture under your liner, eventually piercing it. Maintain a minimum distance of 10 feet from the trunk of any tree with a canopy wider than 15 feet.
Phase 2: Liner Selection and the 'Micro-Puncture' Leak
The Symptom: The water level drops more than 1/4 inch per day (the standard threshold for normal evaporation in moderate climates), exposing the top shelf and stressing fish.
The Diagnosis: Using cheap PVC liners or skipping the protective underlayment. PVC becomes brittle when exposed to UV light and soil chemicals, cracking within 3 to 5 years. Furthermore, placing a liner directly on excavated dirt guarantees that small, sharp rocks or decomposing roots will eventually push through the membrane under the weight of thousands of gallons of water.
The Solution: Use only 45-mil EPDM (Ethylene Propylene Diene Monomer) rubber or Reinforced Polyethylene (RPE). EPDM remains flexible in freezing temperatures and resists UV degradation. Crucially, you must install a non-woven geotextile underlayment (typically 3 oz to 4 oz per square yard) beneath the EPDM. Never use old carpet or cardboard as a substitute; they decompose and leave voids where the liner can stretch and tear.
Pond Liner Material Comparison Matrix
| Material | Lifespan | Cost (per sq. ft.) | Primary Failure Mode |
|---|---|---|---|
| 45-mil EPDM | 20-30 years | $1.50 - $2.10 | Punctures if underlayment is skipped |
| 20-mil PVC | 3-7 years | $0.60 - $0.90 | Plasticizer leaching, UV cracking |
| RPE (Reinforced) | 20-40 years | $2.50 - $3.20 | Difficult to fold/shape in tight corners |
Phase 3: Hydraulics and the 'Dead Zone' Stagnation
The Symptom: Debris accumulates in specific corners, the water smells like sulfur (anaerobic bacteria), and koi or goldfish are seen gasping at the surface in the morning.
The Diagnosis: The pump is undersized for the total water volume, or the plumbing layout has created 'dead zones' where water never circulates. Many DIYers buy a pump rated for their pond's exact gallon volume, forgetting to account for 'head pressure' loss.
The Solution: A pond's entire water volume must turn over at least once every two hours. Use this formula to size your pump:
- Calculate Base GPH: Pond Volume (Gallons) ÷ 2 = Minimum Gallons Per Hour (GPH).
- Add Head Pressure: Add 10% to the GPH requirement for every 10 feet of horizontal hose, and add 10% for every 1 foot of vertical lift (from the pond surface to the top of the waterfall).
For an 8x11 foot pond that is 2 feet deep (approx. 1,300 gallons), your base requirement is 650 GPH. If your waterfall is 4 feet high and 15 feet away, you need to add roughly 70% for head loss. You must purchase a pump rated for at least 1,100 GPH. Reliable models like the Oase AquaMax Eco Premium or Aquascape AquaForce series offer adjustable flow rates and high head-pressure tolerance.
💡 Pro-Tip: Skimmer Placement
Always place your skimmer box directly opposite the waterfall or stream. This creates a continuous surface current that pulls floating debris (pollen, leaves) into the skimmer net. If the skimmer is placed next to the waterfall, the current short-circuits, leaving the far end of the pond stagnant.
Always place your skimmer box directly opposite the waterfall or stream. This creates a continuous surface current that pulls floating debris (pollen, leaves) into the skimmer net. If the skimmer is placed next to the waterfall, the current short-circuits, leaving the far end of the pond stagnant.
Phase 4: Edging and the 'UV/Capillary' Degradation
The Symptom: The pond liner becomes brittle and flakes apart just above the water line, or muddy water continuously seeps into the pond after heavy rains.
The Diagnosis: Flat rocks were placed directly on the liner without an overhang, exposing the rubber to direct sunlight. Alternatively, soil was allowed to touch the liner directly, creating a capillary wick that draws dirt and organic matter into the water.
The Solution: Implement the 1.5-inch cantilever rule. When setting your coping stones or capstones, ensure they overhang the water's edge by exactly 1.5 inches. This shadows the liner, completely protecting it from UV rays, and hides the water line for a natural aesthetic. Furthermore, the Clemson University Home & Garden Information Center recommends sealing the edge with a mortar collar or using a specialized EPDM sealant to prevent soil from wicking into the basin via capillary action.
Phase 5: Biological Filtration Sizing
The Symptom: Ammonia spikes in late spring, resulting in fish lethargy and sudden algae blooms despite having a mechanical skimmer.
The Diagnosis: The builder relied solely on a mechanical skimmer (which only catches large debris) and ignored biological filtration. Nitrifying bacteria require massive surface area to colonize and convert toxic fish waste (ammonia) into harmless nitrates.
The Solution: Install a dedicated BioFalls filter at the top of your waterfall. A standard biological filter should contain high-surface-area media, such as rigid plastic bio-balls or ceramic rings, providing at least 150 square feet of surface area per 1,000 gallons of water. Never clean biological filter media with tap water; the chlorine will instantly kill the bacterial colony. Always rinse bio-media in a bucket of pond water during spring maintenance.
Estimated Cost Breakdown: 8x11 Foot DIY Pond (2026 Pricing)
| Component | Specification | Estimated Cost |
|---|---|---|
| Excavation & Soil Removal | Manual labor / Mini-excavator rental | $300 - $800 |
| Underlayment & 45-mil EPDM | 15x18 ft sheets (allowing for depth) | $450 - $600 |
| Skimmer & BioFalls Kit | Includes media and weir door | $600 - $900 |
| Pump & Plumbing | 1,500 GPH submersible + 25ft flex PVC | $350 - $500 |
| Boulders, Gravel & Coping | 3-5 tons of local fieldstone/granite | $800 - $1,400 |
| Total Estimated DIY Material & Equipment Cost | $2,500 - $4,200 | |
Building a water feature is an exercise in hydraulic engineering and landscape architecture. By diagnosing these common failure points—runoff intrusion, liner punctures, dead zones, UV exposure, and biological deficits—before they occur, you ensure your pond remains a low-maintenance ecosystem rather than a recurring landscaping burden.

