
Landscaping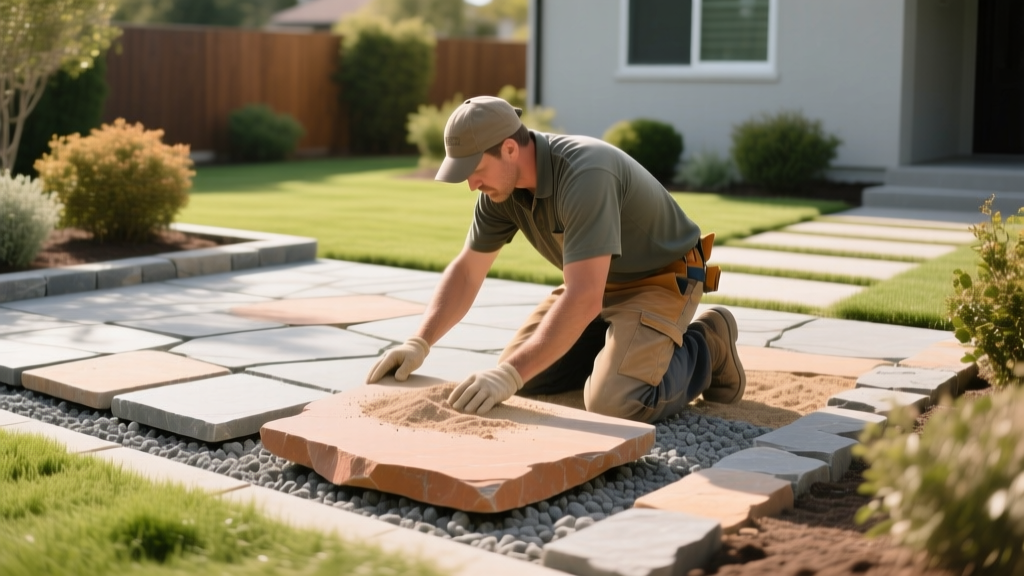
How to Build Dry-Laid Flagstone Patios: A Step-by-Step Guide
Building dry-laid flagstone patios on a flexible aggregate base is the superior choice for residential landscapes in climates with freeze-thaw cycles. Unlike mortared patios that require rigid concrete footings and are prone to catastrophic cracking when the ground shifts, dry-laid systems move with the soil. They offer exceptional permeability, easier localized repairs, and a more organic aesthetic. This guide details the exact specifications, material gradations, and installation techniques required to construct a durable dry-laid flagstone patio that will withstand heavy foot traffic and environmental stress.
Material Specifications and 2026 Cost Matrix
Selecting the correct materials is the most critical variable in patio longevity. The Natural Stone Institute recommends a minimum thickness of 1.5 inches for dry-laid pedestrian paving, though 2-inch thermal or cleft stone is preferred to prevent snapping under point loads. Below is a breakdown of required materials and current market estimates.
| Material | Technical Specification | Est. Cost (Per Sq. Ft.) |
|---|---|---|
| Flagstone | 1.5" to 2" thick (PA Bluestone, AZ Sandstone) | $5.50 - $9.00 |
| Base Aggregate | 3/4" minus crushed angular gravel (CR-6 / Item #4) | $0.60 - $1.10 |
| Bedding Sand | Coarse concrete sand (ASTM C33 standard) | $0.25 - $0.45 |
| Geotextile Fabric | Non-woven, minimum 3 oz/sq yard | $0.30 - $0.50 |
| Jointing Material | Polymeric sand or Decomposed Granite (DG) | $0.40 - $0.80 |
Phase 1: Layout, Slope Calculation, and Excavation
A dry-laid patio must shed water efficiently to prevent base saturation and subsequent frost heave. The industry standard slope is 1/4 inch of drop per linear foot away from the home's foundation.
Calculating Excavation Depth
Do not guess your trench depth. Calculate it from the finish grade (the final height of the stone) downward. For a standard installation using 2-inch stone, the math is as follows:
- Flagstone Thickness: 2.0 inches
- Bedding Sand Layer: 1.5 inches
- Crushed Gravel Base: 6.0 inches (compacted)
- Total Excavation Depth: 9.5 inches below finish grade
Edge Restraint Warning: If you are installing plastic or aluminum edge restraints to contain the base, you must excavate an additional 4-inch trench around the perimeter to accommodate the restraint's base flange, which will be secured with 10-inch landscaping spikes.
Phase 2: Constructing the Flexible Aggregate Base
The base layer is the structural skeleton of your patio. According to guidelines adapted from the Interlocking Concrete Pavement Institute (ICPI) for flexible pavements, the base must consist of angular, crushed stone with a specific gradation that includes fines (stone dust).
Why "Minus" Gravel is Mandatory: You must use 3/4-inch "minus" gravel (meaning it contains particles ranging from 3/4 inch down to stone dust). The angular edges lock together under mechanical compression, creating a semi-rigid slab. Never use round pea gravel or washed river rock; round stones roll against each other and will never compact, leading to severe settling.
Base Installation Steps
- Subgrade Prep: If your native soil is heavy clay, lay down a non-woven geotextile fabric before adding gravel. This prevents the clay from migrating up into the gravel voids (pumping) when wet.
- Layering: Spread the 3/4-inch minus gravel in 3-inch lifts (layers). Do not dump all 6 inches at once.
- Compaction: Run a vibratory plate compactor (minimum 8,000 lbs of centrifugal force) over each 3-inch lift in overlapping passes. Lightly mist the gravel with a hose to help the stone dust bind, but avoid saturating it.
Phase 3: Screeding the Bedding Layer
The bedding layer provides a uniform surface for the stone and allows for minor height adjustments. The most common failure point in DIY patios is using the wrong type of sand.
Critical Material Error: Never use mason sand, play sand, or paver sand for the bedding layer. These sands have uniform, rounded particles that hold water like a sponge and wash out easily. You must use coarse concrete sand (ASTM C33), which features varied, angular particle sizes that drain rapidly and resist washouts.
Set 1-inch diameter steel screed pipes on top of the compacted base. Dump the concrete sand over the pipes and use a straight 2x4 aluminum screed board to strike off the excess sand, leaving a perfectly level 1.5-inch bed. Remove the pipes carefully and fill the voids with a trowel. Do not walk on or disturb the screeded sand.
Phase 4: Stone Placement and Custom Cutting
Begin laying the flagstone from the most visible corner or the house edge outward. Because natural flagstone is irregular, fitting the pieces together requires a strategic approach.
Fitting and Triangulation
Aim for consistent joint widths, ideally between 1 inch and 2 inches. Avoid continuous, straight lines (stack bond) which create structural weakness. Instead, use a random ashlar pattern where at least three stones meet at any given intersection (Y-joints). This triangulation distributes weight laterally across the patio surface.
Cutting Techniques
- Wet Saw: For precise, straight cuts, use a 10-inch masonry wet saw equipped with a continuous rim diamond blade. This minimizes chipping on softer stones like Arizona sandstone.
- Hammer and Chisel: For a rustic, natural edge, score the stone deeply with a wide masonry chisel and strike it sharply with a 3-pound maul. The stone will break along the score line.
- Angle Grinder: A 9-inch angle grinder with a diamond masonry blade is ideal for cutting curves or notching stone around existing landscape features or pipe penetrations.
Jointing Strategies for Irregular Flagstone
The material you use to fill the gaps between stones dictates both the patio's permeability and its maintenance requirements.
| Jointing Material | Best For Joint Size | Pros & Cons |
|---|---|---|
| Polymeric Sand | 1/4" to 1.5" | Pros: Locks tightly, deters weeds and ants. Cons: Can crack if the base settles; requires strict cleaning to avoid haze. |
| Decomposed Granite (DG) | 1.5" to 3"+ | Pros: Highly permeable, natural look, easy to top up. Cons: Requires occasional raking; weeds may sprout without pre-emergent. |
| Crushed Gravel (1/4") | 2" to 4" | Pros: Excellent drainage, zero cracking issues. Cons: Loose stones can be kicked out; difficult to shovel snow. |
| Groundcover (Thyme) | 2"+ | Pros: Beautiful aesthetic, softens hardscape. Cons: Requires watering; takes a full season to establish. |
Troubleshooting Common Base and Settling Failures
Even with meticulous planning, environmental factors can cause issues. Use this diagnostic matrix to identify and correct problems in your dry-laid flagstone patios.
Symptom: Localized Puddling or Water Pooling
Cause: The bedding sand washed out beneath the stone, or the base aggregate settled unevenly due to poor compaction in that specific zone.
Fix: Pry up the affected stones using a flat bar. Add fresh coarse concrete sand to the bed, screed it level with a hand float, and replace the stones. If the gravel base beneath is visibly depressed, remove the sand, add and compact fresh 3/4" minus gravel, and repeat.
Symptom: Polymeric Sand Haze (White Film on Stone)
Cause: Failure to thoroughly blow off residual polymeric sand dust from the stone surface before activating it with water, or over-watering during activation which causes the polymers to float to the surface.
Fix: Apply a specialized polymeric sand haze remover (often a mild acid-based cleaner formulated for natural stone). Test on an inconspicuous area first, as acid cleaners can etch calcareous stones like limestone or travertine.
Symptom: Frost Heave (Stones Pushing Upward in Winter)
Cause: Water trapped in the base froze and expanded. This usually indicates the gravel base was too thin, the native soil drains poorly without geotextile separation, or the patio slope is insufficient.
Fix: In the spring, remove the heaved stones. Excavate an additional 2 inches of native soil, install non-woven geotextile fabric, and add 2 inches of compacted base gravel to increase the total base depth and move the frost line further down.
Constructing dry-laid flagstone patios requires physical labor and strict adherence to material specifications, but the result is a highly durable, permeable, and visually striking landscape feature. By prioritizing angular base aggregates, proper slope calculations, and appropriate jointing materials, you ensure the installation remains stable and beautiful for decades without the need for rigid concrete footings.

