
Landscaping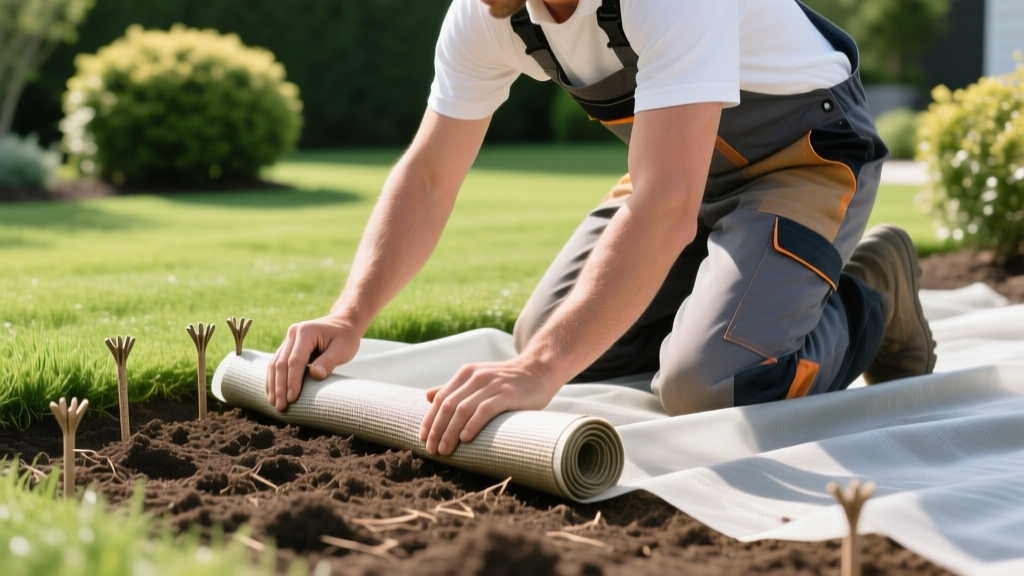
How to Install Landscape Fabric for Healthy Plant Establishment
The Soil Biology Reality Check: When to Use Fabric
Installing landscape fabric in planting beds is a highly debated practice in modern horticulture. While it effectively suppresses annual weed seeds from germinating in the top layer of mulch, it fundamentally alters soil gas exchange and moisture dynamics. According to research from the University of Wisconsin-Madison Extension, impermeable barriers can reduce soil oxygen levels by up to 20%, which severely restricts the establishment of fine feeder roots in newly planted shrubs and trees.
Expert Directive: Never install landscape fabric in naturalized woodland gardens, vegetable beds, or areas where you plan to plant dense groundcovers or perennials that spread via rhizomes. Restrict fabric use to defined structural planting beds featuring widely spaced shrubs, ornamental grasses, and a thick layer of coarse organic mulch.
Material Selection Matrix for Planting Beds
Not all geotextiles perform equally under mulch. The wrong choice will lead to water pooling, root suffocation, or rapid tearing during maintenance. Below is a technical comparison of the three primary fabric types available for residential and commercial planting beds.
| Material Type | Brand Example | Permeability (Initial) | Tensile Strength | Est. Cost (2026) | Best Use Case |
|---|---|---|---|---|---|
| Woven Polypropylene | DeWitt Pro 5 | 12-15 GPM | High (resists stretching) | $0.30 - $0.45 / sq ft | Heavy traffic beds, under river rock or heavy hardwood mulch. |
| Spunbond Polyester | GroundCover Pro | 20+ GPM | Low (tears under tension) | $0.18 - $0.25 / sq ft | Temporary weed control, under lightweight pine straw or bark. |
| Non-Woven Geotextile | Mirafi 140N | 130 GPM | Very High | $0.50 - $0.75 / sq ft | French drains, retaining wall backfill (not for surface planting). |
For standard planting beds, woven polypropylene (specifically 3.0 oz to 4.0 oz weight) offers the best balance of weed suppression and structural integrity. However, be aware that woven fabrics experience a drastic reduction in water permeability over time. As soil particles and microbial biofilms clog the woven gaps, permeability can drop from 15 gallons per minute (GPM) to under 2 GPM within three years.
Step-by-Step Installation for Optimal Root Establishment
Proper installation dictates whether your plants will thrive or slowly decline from moisture stress and root girdling. Follow these exact specifications for bed preparation and fabric layout.
1. Soil Amendment and Grading
All soil testing, pH adjustments, and deep-tillage amendments must be completed before the fabric is unrolled. Once the fabric is down, you cannot easily incorporate compost or mycorrhizal inoculants into the root zone. Grade the soil to a 2% slope away from foundations to ensure surface water does not pool on top of the fabric.
2. Unrolling and Acclimation
Unroll the fabric and allow it to acclimate to the ambient temperature for at least two hours. Polypropylene expands and contracts with temperature shifts; laying it immediately in the cold morning and securing it will result in severe buckling and pulling away from the edges by mid-afternoon.
3. The Overlap Specification
When laying multiple strips, overlap the seams by a strict minimum of 6 inches. Weed seeds, particularly aggressive species like crabgrass and nutsedge, will easily penetrate a 2-inch or 3-inch gap as the soil settles beneath the fabric.
The "O-Cut" vs. "X-Cut" Planting Hole Debate
This is where most installation failures occur, leading to severe long-term plant health issues. The traditional method of cutting an "X" in the fabric and folding the flaps back around the plant stem is fundamentally flawed for long-term establishment.
Critical Warning: The "X-Cut" method traps moisture against the trunk and restricts the root flare as the plant grows. As the trunk expands in diameter, the fabric acts as a tourniquet, causing girdling roots and inviting opportunistic pathogens like Phytophthora (root and crown rot).
The Correct Technique: The O-Cut
- Measure the root ball diameter of your containerized or B&B (balled and burlapped) plant.
- Using a specialized fabric cutting tool or sharp utility knife, cut a complete circle (an "O") out of the fabric that is 3 inches wider than the root ball on all sides.
- Remove the circular piece of fabric entirely. This creates a bare soil island around the plant.
- Plant the specimen so the root flare is exactly at grade, ensuring no fabric touches the bark.
- As the plant matures, you can easily expand the bare soil island by cutting a larger circle, accommodating trunk growth without restriction.
Anchoring and Edge Securing Specifications
Wind uplift and settling soil will destroy an improperly anchored fabric bed. Plastic staples are unacceptable for permanent landscaping; they become brittle under UV exposure (if exposed at the edges) and snap under soil tension.
- Staple Type: Use 11-gauge galvanized steel staples, minimum 6 inches in length.
- Field Spacing: Pin the fabric every 3 to 4 feet in the center of the bed.
- Edge Spacing: Pin every 12 inches along all perimeter edges, hardscape borders, and overlaps.
- Seam Interlocking: When overlapping two pieces of fabric, drive a single staple directly through both layers at the center of the 6-inch overlap zone.
Mulch Pairing and Long-Term Maintenance
Landscape fabric must never be left exposed to ultraviolet light; UV degradation will cause polypropylene to become brittle and shatter within a single growing season. It must be covered immediately with 2 to 3 inches of mulch.
According to guidelines referenced by the University of Minnesota Extension, the type of mulch you pair with fabric drastically affects its lifespan and the bed's hydrology.
| Mulch Type | Compatibility with Fabric | Maintenance Notes |
|---|---|---|
| Double-Shredded Hardwood | Excellent | Decomposes slowly. Rake annually to prevent compaction and fungal matting on top of the fabric. |
| Pine Bark Nuggets | Good | Large air gaps allow water penetration. May float and expose fabric during heavy rain events. |
| Decorative River Rock | Fair (Requires Separator) | Do not place heavy angular gravel directly on woven fabric; it will puncture it. Use a non-woven cushion layer first. |
| Rubber Mulch | Poor | Traps excessive heat, which can bake the soil beneath the fabric and damage shallow feeder roots. |
Project Cost Breakdown (Per 500 Sq. Ft. Bed)
When budgeting for a professional-grade installation in 2026, factor in the hidden costs of premium anchoring and high-quality woven materials. Below is a realistic material cost estimate for a 500-square-foot structural planting bed.
- Woven Polypropylene Fabric (3.2 oz, 6ft x 100ft roll): $165.00
- Galvanized Steel Staples (Box of 100, 6-inch): $38.00
- Utility Blades (Heavy-duty hooked for O-cuts): $15.00
- Hardwood Mulch (7.5 cubic yards at 3-inch depth): $260.00
- Total Material Cost: ~$478.00 ($0.95 per square foot)
Troubleshooting Common Installation Failures
Symptom: Water pools on top of the fabric during irrigation.
Cause: The fabric was installed with the shiny, heat-bonded side facing up instead of the textured, fuzzy side.
Fix: The textured side must face up to catch water and direct it through the weave. Flip the fabric before final anchoring.
Symptom: Weeds are growing through the fabric, not just in the mulch above it.
Cause: Aggressive perennial weeds (like bindweed or Bermuda grass) were not eradicated with a systemic herbicide or manual extraction prior to installation, or the fabric weight is too low (under 2.5 oz).
Fix: Fabric suppresses seed germination; it does not stop established rhizomes. Spot-treat emerging weeds immediately before they weave their roots into the fabric matrix, which makes removal nearly impossible without tearing the geotextile.

