
Landscaping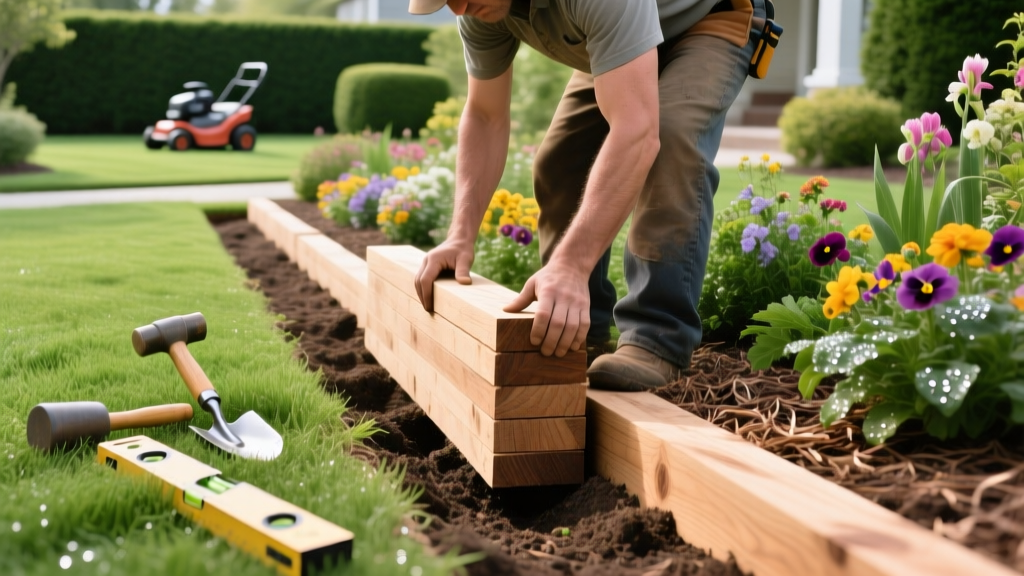
How to Install Landscape Timbers for Garden Beds and Borders
Choosing the Right Landscape Timbers: Materials and Sizing
Landscape timbers offer a rustic, cost-effective solution for defining garden borders, building raised vegetable beds, and creating low retaining walls. However, selecting the wrong wood species or treatment type will lead to premature rot or structural failure. For most beginner landscaping projects, you will choose between pressure-treated pine, natural cedar, or composite alternatives.
Modern pressure-treated lumber is preserved using Micronized Copper Azole (MCA) or Alkaline Copper Quaternary (ACQ). The older Chromated Copper Arsenate (CCA) treatment, which contained arsenic, was phased out for residential use in 2003. According to the Environmental Protection Agency (EPA), modern MCA and ACQ treatments are considered safe for residential use, including around garden soils, though many organic gardeners still prefer to line the interior walls with heavy-duty HDPE plastic as a precaution.
| Material | Avg. Cost (8-ft 4x4) | Expected Lifespan | Best Application |
|---|---|---|---|
| MCA Pressure-Treated Pine | $12 - $18 | 15 - 20 years | Raised beds, retaining walls, borders |
| Western Red Cedar | $28 - $40 | 10 - 15 years | Edible garden beds (no chemical treatments) |
| Redwood | $35 - $50 | 15 - 25 years | Premium borders, high-visibility focal points |
| Composite / Recycled Plastic | $45 - $65 | 25+ years | Permanent borders, zero-maintenance beds |
Sizing Note: Landscape timbers are sold in nominal sizes. A "4x4" timber actually measures 3.5 inches by 3.5 inches. A "6x6" measures 5.5 inches by 5.5 inches. Always calculate your trench depth and interior bed dimensions using actual measurements, not nominal ones.
Essential Tools and Hardware for Timber Installation
The most common mistake beginners make is using standard nails or cheap decking screws to join landscape timbers. Nails lack the withdrawal resistance required to hold heavy, soil-loaded timbers together, and standard screws will snap under the shear stress of shifting earth.
The Hardware You Actually Need
- 10-inch Galvanized Timber Screws: Brands like FastenMaster TimberLok or Simpson Strong-Tie provide the necessary length to penetrate through one 4x4 (3.5") and bite at least 4 inches into the timber below.
- 3/8-inch Galvanized Rebar (24-inch lengths): Used to pin the bottom course of timbers directly into the soil to prevent lateral sliding.
- Copper Naphthenate Wood Preservative: A brush-on liquid (like Copper-Green) is mandatory for sealing any cut ends of pressure-treated wood. The factory treatment does not penetrate the exposed core when you make a cut.
Required Tool Kit
- Spade and trenching shovel
- Hand tamper or plate compactor
- 48-inch spirit level
- Rubber mallet (3 lb)
- Circular saw or reciprocating saw (with a bi-metal blade for cutting through embedded nails/screws if modifying old wood)
- Heavy-duty impact driver (for timber screws) or sledgehammer (for rebar)
- 1/2-inch auger drill bit (for pre-drilling screw holes)
Step-by-Step Installation Guide
Step 1: Trenching and Base Preparation
Never place landscape timbers directly on bare soil or grass. Moisture trapped beneath the wood accelerates fungal decay. Dig a trench 4 inches deep and 6 inches wide along your layout line. Fill the trench with 2 to 3 inches of crushed gravel (3/4-inch angular aggregate, not smooth river rock). Tamp the gravel until it is completely rigid. This creates a free-draining base that pulls moisture away from the bottom timber course.
Step 2: Laying and Leveling the First Course
Place your first course of timbers onto the gravel base. Use your 48-inch level to check for plumb across the length and width. If a timber is too high, remove it and scrape out some gravel. If it is too low, add a thin layer of sand or fine gravel beneath it. Never use loose dirt to shim a timber; it will wash out during heavy rain.
Step 3: Pinning the Base Course
Once the first course is perfectly level, drill a 1/2-inch hole completely through the center of the timber and into the soil beneath. Drive a 24-inch piece of 3/8-inch rebar through the hole using a sledgehammer. Leave the top of the rebar about 1/2 inch below the surface of the wood so it doesn't interfere with the next course. Place rebar pins every 4 feet along straight runs.
Step 4: Stacking and Fastening (The Running Bond)
Stack the second course of timbers using a "running bond" pattern, meaning the corner joints of the second course sit directly over the middle of the timbers in the first course. This interlocking pattern distributes the lateral pressure of the soil. Pre-drill holes through the top timber and drive two 10-inch timber screws down into the bottom timber at every joint and every 4 feet along the span.
Warning: The Cut-End Vulnerability
Whenever you cut a pressure-treated landscape timber to fit a corner or end a run, the inner core of the wood is exposed and completely untreated. You must heavily saturate the fresh cut with a copper naphthenate brush-on preservative. Allow it to dry for 2 hours before stacking or backfilling with soil. Skipping this step is the primary cause of corner rot in timber structures.
Preventing Structural Bowing in Long Beds
When building raised beds longer than 6 feet, the outward hydrostatic pressure of wet soil will eventually cause the timbers to bow outward in the center. To prevent this, install cross-bracing or deadmen anchors.
- Cross-Bracing (For Raised Beds): Cut a 2x4 to the exact interior width of your bed. Screw it horizontally across the inside of the timbers at the midpoint of the long sides. This acts as a tension tie, pulling the walls inward to counteract the outward soil pressure.
- Deadmen Anchors (For Retaining Walls): If your timber wall exceeds 24 inches in height (more than six courses of 4x4s), you must anchor it to the earth behind it. Drive a timber perpendicular to the wall into the soil bank behind it, and secure it to the wall face with timber screws. Install one deadman anchor every 6 linear feet.
For comprehensive guidelines on soil retention and structural limits for landscape materials, the University of Minnesota Extension provides excellent regional frameworks for managing soil pressure and drainage in raised garden structures.
Project Cost Breakdown: 4x8 Foot Raised Bed (2 Courses High)
Below is a realistic 2026 cost estimate for building a standard 4-foot by 8-foot raised vegetable bed, standing 7 inches tall (two courses of 4x4 MCA treated timbers).
| Item | Quantity Needed | Unit Cost | Total Cost |
|---|---|---|---|
| 8-ft 4x4 MCA Treated Timbers | 6 (includes 2 for cross-bracing) | $15.00 | $90.00 |
| 3/4-inch Crushed Gravel (Base) | 3 cubic feet | $6.00 / bag | $18.00 |
| 10-inch Galvanized Timber Screws | 1 box (25 count) | $14.00 | $14.00 |
| 3/8-inch Galvanized Rebar (24") | 4 pieces | $4.50 | $18.00 |
| Copper-Green Wood Preservative | 1 quart can | $16.00 | $16.00 |
| Estimated Total Materials | $156.00 |
Note: This estimate excludes the cost of soil fill, tools, and optional HDPE plastic lining. Prices will vary by 10-15% depending on regional lumber markets and big-box store seasonal promotions.
Frequently Asked Questions
Can I use landscape timbers on a slope?
Yes, but you must step the timbers down the slope rather than sloping the timbers themselves. Dig a stair-step trench, keeping each individual timber perfectly level horizontally. Overlap the corners where the steps drop down to maintain structural continuity.
How do I remove old, rotting landscape timbers?
Use a reciprocating saw with a bi-metal demolition blade to cut through the hidden rusted nails or screws binding the timbers together. Pry them apart with a crowbar. If rebar pins are stuck, grip them with a heavy-duty locking pliers (Vise-Grips) and twist while pulling upward with a pry bar.
Should I line the inside of my timber raised bed?
While modern MCA-treated wood is deemed safe for edibles by the EPA, lining the interior walls with 6-mil HDPE (high-density polyethylene) plastic serves two purposes: it provides an absolute barrier between the wood preservatives and your root zones, and it prevents wet soil from maintaining constant contact with the wood, effectively doubling the lifespan of your timbers. Do not line the bottom of the bed; allow water to drain freely into the native soil below.

