
Landscaping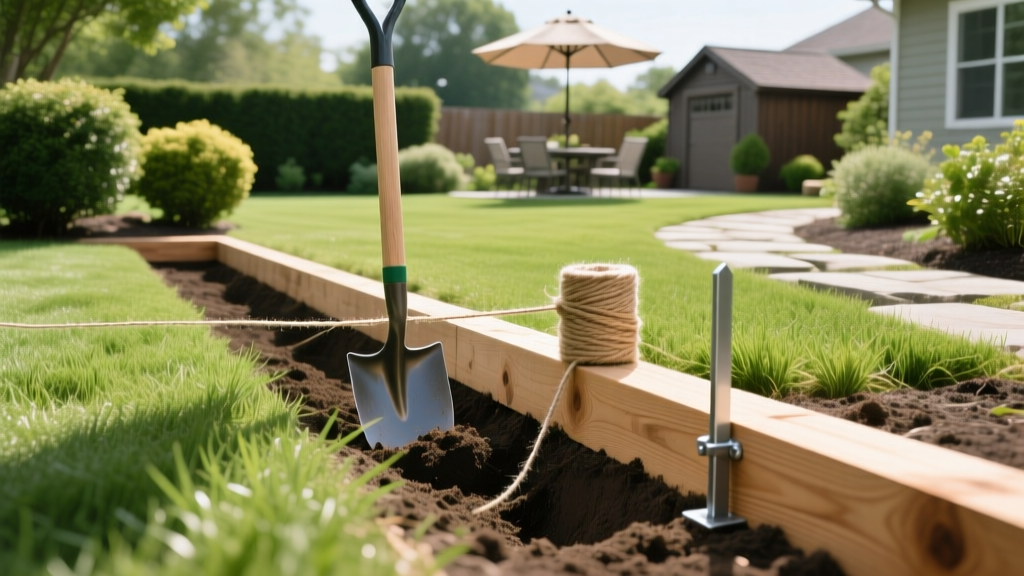
Landscape Timber Edging: Step-by-Step Installation Guide
Why Most Landscape Timber Edging Fails (And How to Fix It)
Landscape timber edging is a classic, cost-effective way to define garden beds, retain mulch, and create clean transitions between turf and planting zones. However, the vast majority of timber edging installations fail within three to five years. The primary culprits are frost heave, wood rot at the soil line, and bowing from lateral soil pressure.
These failures are rarely due to the material itself; they are the result of improper base preparation and incorrect fastening techniques. This step-by-step procedure outlines the exact specifications required to install landscape timber edging that remains level, secure, and rot-free for decades.
Material Selection: Decoding Wood Treatment Standards
The most critical mistake homeowners make is purchasing the wrong grade of pressure-treated wood. Retailers often stock Above Ground (UC4A) treated timbers because they are cheaper. If you bury UC4A wood, it will rot rapidly. You must source Ground Contact (UC4B) or Heavy Duty Ground Contact (UC4C) timbers.
According to the American Wood Protection Association (AWPA), UC4B lumber is treated with higher concentrations of copper-based preservatives (like ACQ or CA-C) specifically designed to withstand continuous soil contact and moisture exposure.
2026 Material Cost & Longevity Matrix
| Material Type | AWPA Rating | Avg. Cost (Per Linear Ft.) | Expected Lifespan | Best Application |
|---|---|---|---|---|
| Pressure-Treated Pine (Standard) | UC4A (Above Ground) | $3.50 - $4.50 | 2 - 4 Years | Decorative, non-soil contact |
| Pressure-Treated Pine (Ground Contact) | UC4B / UC4C | $5.50 - $7.00 | 15 - 20+ Years | Standard bed edging, retaining |
| Composite / Recycled Plastic | N/A (Rot-proof) | $12.00 - $16.00 | 25+ Years | High-moisture zones, permanent |
| Natural Hardwood (Black Locust) | N/A (Naturally rot-resistant) | $14.00 - $18.00 | 20 - 30 Years | Organic gardens, premium aesthetics |
⚠️ Critical Warning: Cut-End Vulnerability
Whenever you cut a pressure-treated timber to fit a corner or curve, you expose the untreated inner core of the wood. You must immediately paint the cut end with a copper naphthenate solution (such as Copper-Green). Failure to do this creates a direct entry point for moisture and fungi, compromising the entire piece.
Step 1: Layout and Trenching Protocol
A stable timber edge requires a dedicated trench. Never lay timbers directly on top of existing soil or grass.
- Mark the Boundary: Use a garden hose to lay out curves, or a mason's line for straight runs. Mark the edge with inverted landscaping spray paint.
- Calculate Trench Dimensions: The trench must be 2 inches wider than your timber (e.g., for a 3.5-inch wide timber, dig a 5.5-inch wide trench). The depth should be 4 inches below the final grade to allow for a gravel base and partial burial of the timber.
- Excavate: Use a flat spade to cut the edges cleanly, then a trenching hoe to remove the soil. Ensure the trench floor is relatively level; minor slopes are fine, but abrupt dips will cause the timbers to bridge and snap under pressure.
Step 2: Base Preparation and Drainage
Frost heave occurs when water pools beneath the timber, freezes, and expands upward. A proper base eliminates this risk.
- The Material: Use 3/4-inch crushed angular gravel (often sold as #57 stone or crushed rock). Never use pea gravel or river rock; the smooth, round stones roll under pressure and fail to lock the timber in place.
- Application: Pour 2 to 3 inches of crushed gravel into the trench.
- Compaction: Use a hand tamper or a mechanical plate compactor to firmly pack the gravel. This creates a solid, free-draining foundation that prevents water from pooling under the wood.
Step 3: Drilling and Pinning the Timbers
Timber spikes (large nails) are insufficient for long-term edging, especially in clay-heavy soils that expand and contract. Galvanized steel rebar is the professional standard.
The Pinning Procedure
- Position the Timbers: Lay the timbers on the compacted gravel base. Stagger the end joints by at least 12 inches in a running bond pattern to prevent weak points.
- Pre-Drill Holes: Use a 5/8-inch auger bit to drill through the center of the timber. The hole must be slightly larger than the 1/2-inch rebar to accommodate the natural swelling and shrinking of the wood without splitting it.
- Angle the Drill: Do not drill perfectly straight down. Angle the drill bit at 15 degrees toward the garden bed (the side holding the soil). This creates a deadman anchor effect, pulling the timber tight against the retained soil.
- Drive the Rebar: Cut 1/2-inch galvanized rebar into 24-inch lengths using an angle grinder or reciprocating saw with a metal blade. Drive the rebar through the pre-drilled hole using a sledgehammer. You want 18 inches of rebar in the ground and 6 inches protruding through the timber.
- Spacing: Place a rebar pin every 4 feet along straight runs, and within 6 inches of every joint or corner.
Step 4: Backfilling and Securing
Once the timbers are pinned, the installation must be locked in place from both sides.
- Bed Side (Retained Soil): Backfill the garden bed side with native soil or mulch up to the top edge of the timber.
- Lawn Side (Exposed Side): Backfill the lawn side with the excavated soil, tamping it firmly every 2 inches to prevent settling. Ensure the final soil grade on the lawn side is 1/2 inch below the top of the timber to allow for mower clearance and prevent scalping.
Annual Maintenance and Inspection Procedures
Even perfectly installed landscape timber edging requires an annual maintenance check, ideally performed in early spring after the frost has fully left the ground.
The 4-Point Spring Inspection Checklist
- Check Rebar Caps: Ensure no rebar is protruding above the timber surface. If frost heave has pushed a pin up, strike it down with a sledgehammer to prevent mower blade damage or personal injury.
- Inspect for Soft Spots: Press a screwdriver into the wood at ground level. If it penetrates more than 1/8 inch, localized rot has begun. Treat the area with a liquid wood hardener and copper naphthenate.
- Clear Debris Dams: Remove soil, mulch, or turf that has crept over the top of the timber. Trapped organic matter holds moisture against the wood, accelerating decay.
- Re-tighten Joints: If gaps have opened between timber ends due to seasonal wood shrinkage, drive a 3-inch exterior-grade structural screw (like a GRK Fastener) horizontally through the joint to pull them tight.
Troubleshooting Common Timber Edging Failures
When edging fails, diagnosing the root cause is essential before attempting a repair. Use this matrix to identify and resolve common issues.
| Symptom | Root Cause | Corrective Action |
|---|---|---|
| Timbers bowing outward into the lawn | Insufficient pinning depth; lateral soil pressure from wet mulch pushing against the wood. | Add additional 24-inch rebar pins at 2-foot intervals, angled into the bed. Reduce mulch depth near the edge. |
| Severe frost heave (timbers pushed up 2+ inches) | Trench was dug in water-retaining clay without a gravel capillary break. | Remove timbers, excavate 4 inches deeper, install 3/4-inch crushed gravel base, and reinstall. |
| Wood turning black and crumbling at soil line | Used UC4A (Above Ground) treated wood instead of UC4B (Ground Contact). | Replace the rotted sections with UC4B or UC4C rated timbers. Ensure cut ends are sealed. |
| Joints separating and creating gaps | Wood shrinkage during summer droughts combined with lack of horizontal fastening. | Install 3-inch structural timber screws horizontally across the joints to lock them together. |
Properly installed landscape timber edging bridges the gap between cheap, flexible plastic edging and expensive masonry retaining walls. By adhering to AWPA treatment standards, utilizing a crushed stone base, and securing the wood with angled rebar, you create a structural boundary that withstands both the elements and the rigors of weekly lawn maintenance.
For more information on the environmental safety and handling of modern pressure-treated lumber, consult the Environmental Protection Agency's guidelines on treated wood.

