
Landscaping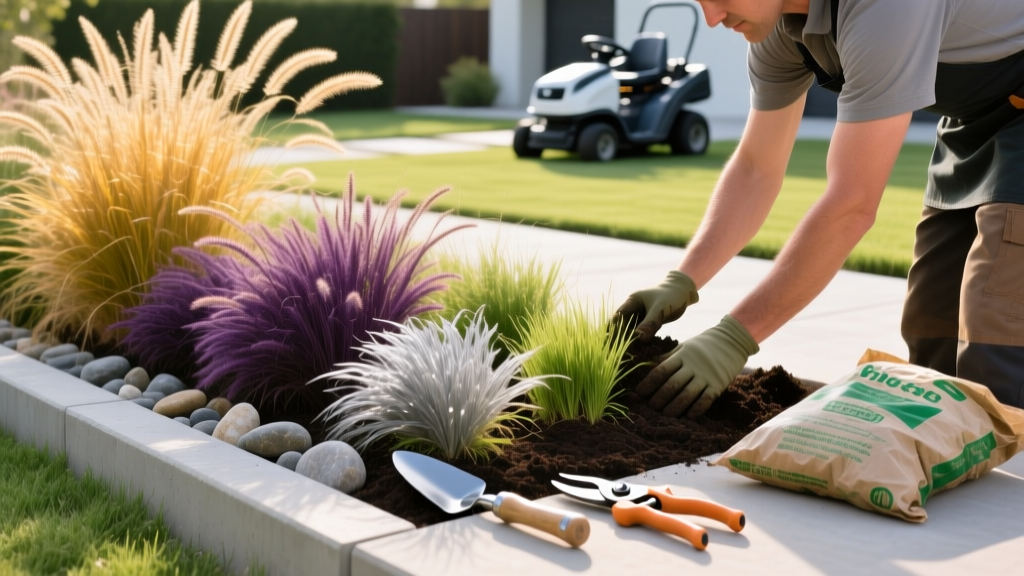
Step-by-Step Ornamental Grass Border Installation and Care
The Functional Anatomy of an Ornamental Grass Border
An ornamental grass border serves as a critical transition zone between turfgrass and hardscaping or garden beds. Unlike traditional shrub borders, grasses provide year-round kinetic movement, require minimal supplemental irrigation once established, and act as a dense physical barrier against turf rhizome intrusion. According to the University of Minnesota Extension, properly sited ornamental grasses can reduce landscape water usage by up to 40% compared to traditional mixed perennial borders. However, achieving a clean, low-maintenance edge requires precise installation and a strict seasonal maintenance protocol.
Phase 1: Trenching and Edge Definition
The most common failure in grass borders is turfgrass encroachment. Warm-season grasses like Bermudagrass and Zoysia spread via aggressive rhizomes that will easily bypass shallow edging. To prevent this, you must cut a deep, vertical 'English trench' along the lawn edge before planting.
Step-by-Step Trenching Procedure
- Mark the Line: Use a garden hose to lay out a smooth, sweeping curve. Avoid sharp angles that make mowing difficult. Mark the edge with landscaping spray paint.
- Cut the Turf: Use a sharp half-moon edger or a motorized bed edger to cut along the painted line. Cut at a strict 90-degree angle to a depth of 6 inches.
- Excavate the Trench: Using a trenching spade, remove the soil to create a 4-inch wide, 6-inch deep channel. This vertical wall acts as an air-pruning barrier for lawn rhizomes.
- Install Physical Barriers (Optional but Recommended): For highly invasive lawns, insert a 6-inch deep, 1/8-inch thick high-density polyethylene (HDPE) edging strip into the trench before backfilling the bed side.
Warning: Slope and Drainage
Never build an ornamental grass border in a low-lying area where turf runoff pools. While established grasses are drought-tolerant, 'wet feet' during winter dormancy will cause root rot in 90% of popular cultivars, particularly Festuca and Pennisetum species. Ensure the bed grades away from the turf at a minimum 2% slope.
Never build an ornamental grass border in a low-lying area where turf runoff pools. While established grasses are drought-tolerant, 'wet feet' during winter dormancy will cause root rot in 90% of popular cultivars, particularly Festuca and Pennisetum species. Ensure the bed grades away from the turf at a minimum 2% slope.
Phase 2: Species Selection and Spacing Matrix
Selecting the right cultivar dictates the long-term maintenance burden. Cool-season grasses (e.g., Calamagrostis) retain their structure well into winter but may brown in high summer heat, while warm-season grasses (e.g., Miscanthus) explode in late summer but leave bare ground in spring. The Clemson University Home & Garden Information Center recommends matching the grass's growth habit to the specific sightlines of the border.
| Cultivar | Season | Mature Height | On-Center Spacing | Avg. Cost (2026) |
|---|---|---|---|---|
| Calamagrostis 'Karl Foerster' | Cool | 4-5 ft. | 18-24 inches | $7 - $11 / gal |
| Pennisetum 'Hameln' | Warm | 2-3 ft. | 24-30 inches | $8 - $14 / gal |
| Schizachyrium 'The Blues' | Warm | 2-4 ft. | 18-24 inches | $6 - $9 / gal |
| Miscanthus 'Gracillimus' | Warm | 5-7 ft. | 36-48 inches | $18 - $28 / 2gal |
Phase 3: Planting and Soil Amendment Protocols
A frequent mistake made by homeowners is treating ornamental grasses like heavy-feeding annuals. Over-amending the soil with rich compost or high-nitrogen fertilizers causes rapid, weak cellular growth. This results in 'flopping,' where the grass stems cannot support the weight of the seed heads and collapse outward over the lawn edge.
The Lean-Soil Planting Method
- Soil Ratio: Backfill the planting hole with a mix of 80% native soil and 20% coarse pine bark fines. Do not add peat moss, which retains too much moisture.
- Mycorrhizal Inoculation: Dust the root ball with an endomycorrhizal inoculant (such as MycoApply Endo) at planting. This accelerates root establishment and improves drought tolerance without adding nitrogen.
- Planting Depth: Set the crown of the grass exactly 1/2 inch above the surrounding soil grade. Planting too deep invites crown rot; planting too shallow exposes the roots to winter desiccation.
- Mulching: Apply a 2-inch layer of double-shredded hardwood mulch. Keep the mulch pulled back 3 inches from the base of the grass crown to prevent vole nesting and stem rot.
Phase 4: Annual Maintenance and Cutback Procedures
The structural integrity of an ornamental grass border relies on a precise seasonal maintenance schedule. Leaving dead foliage too long into the spring smothers new growth, while cutting it back too early in winter exposes the hollow stems to ice damage and crown rot.
The Late-Winter Cutback
Wait until late February or early March, just before the soil temperature consistently reaches 45°F and new green shoots emerge at the base. For borders under 50 feet, a cordless hedge trimmer (like the STIHL HSA 56) is the most efficient tool. For larger borders, attach a brush-cutting blade to a commercial string trimmer.
- Bind the grass clump tightly with a bungee cord or twine about 12 inches above the ground. This prevents a massive cleanup mess and keeps the stems aligned.
- Cut the grass straight across, leaving exactly 2 to 3 inches of stubble above the crown.
- Use a hand rake to gently pull out any dead thatch trapped in the center of the crown. This improves airflow and reduces the risk of foliar rust diseases.
Pro Tip for Warm-Season Grasses: If you live in USDA Zone 7 or warmer, warm-season grasses like Miscanthus can be cut back in late fall once they go fully dormant. This eliminates winter cleanup labor, though you will sacrifice the architectural winter interest the dried plumes provide against snow.
Troubleshooting Common Border Failures
1. The 'Donut' Effect (Center Die-Out)
As clump-forming grasses age (typically after 3 to 5 years), the center of the crown becomes woody, dies out, and forms a donut shape. This ruins the visual density of the border. The Fix: Dig up the entire clump in early spring. Use a reciprocating saw (Sawzall) with a 9-inch pruning blade to slice the root ball into quarters. Discard the dead center wood, and replant the vigorous outer wedges. This division process reinvigorates the planting and yields free material to extend the border line.
2. Mid-Summer Flopping
If your border collapses outward onto the lawn by August, the soil is too rich or the grass is receiving too much irrigation. The Fix: Do not attempt to fertilize or stake the grass. Reduce irrigation frequency immediately. In the fall, amend the soil around the base with coarse sand to improve drainage, and switch to a 0-0-10 (Nitrogen-Phosphorus-Potassium) winterizer fertilizer to strengthen the stems without promoting leafy growth.
3. Turfgrass Rhizome Breach
If Bermudagrass or Zoysia begins appearing inside the grass border, the trench has failed. The Fix: Re-cut the 6-inch trench. Apply a targeted, non-selective herbicide (like glyphosate) using a sponge applicator directly to the encroaching turf stolons, being highly cautious not to let the chemical drift onto the ornamental grass foliage. Re-establish the physical HDPE barrier if necessary.

