
Landscaping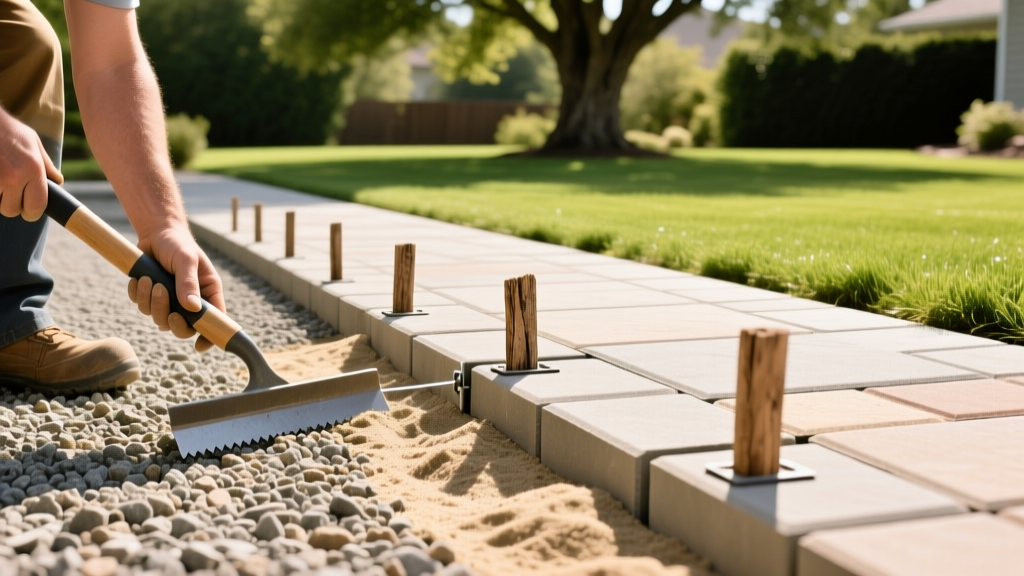
How to Install a Pavers Walkway: Base Prep and Edge Restraints
Approximately 80% of all flexible pavement failures—including sinking, frost heave, and edge spreading—stem from improper base preparation and inadequate edge restraints, not the pavers themselves. According to the Interlocking Concrete Pavement Institute (ICPI), a pavers walkway functions as a unified, flexible structural system. If the underlying layers fail to distribute loads or manage hydrostatic pressure, the surface will inevitably deteriorate. This guide details the exact engineering specifications, material requirements, and installation sequences required to build a durable pavers walkway that withstands freeze-thaw cycles and heavy foot traffic.
Project Specifications and 2026 Material Costs
Before breaking ground, you must procure the correct materials. Using substitutes like stone dust or masonry sand for the bedding layer is a primary cause of walkway failure. The table below outlines the strict material specifications and estimated 2026 retail costs for a standard 100-square-foot residential walkway.
| Material | Specification / Standard | Qty per 100 sq ft | Est. Cost (2026) |
|---|---|---|---|
| Concrete Pavers | ASTM C936 (Min 8,000 PSI) | 105 sq ft (5% waste) | $350 - $800 |
| Base Aggregate | 3/4" Open-Graded Crushed Stone (ASTM D448) | 1.5 Tons | $60 - $90 |
| Bedding Sand | Coarse Concrete Sand (ASTM C33) | 0.5 Tons | $25 - $40 |
| Jointing Sand | Polymeric Sand (e.g., Techniseal, Alliance) | 2 Bags (50lb ea) | $70 - $100 |
| Edge Restraint | Rigid Plastic or Aluminum (e.g., PermaEdge) | 40 Linear Feet | $80 - $120 |
| Spike Fasteners | 10-inch Galvanized Steel Spikes | 40 Spikes | $25 - $35 |
Phase 1: Precision Excavation and Subgrade Prep
The longevity of your pavers walkway is determined the moment you begin digging. You must excavate to a depth that accommodates the base, bedding, and paver thickness, while maintaining a precise slope for drainage.
Calculating Excavation Depth
For a standard walkway using 2 3/8-inch thick pavers, your total excavation depth must be 7 to 9 inches below the final desired grade. This accounts for a 4-to-6-inch compacted base, a 1-inch bedding sand layer, and the paver thickness. Crucially, you must slope the subgrade at a minimum of 1/8 inch per linear foot away from any structures to ensure positive drainage.
Warning: Clay Subgrades
If your soil test reveals high clay content, the subgrade will retain water and expand during freezing temperatures. In these scenarios, you must lay a non-woven geotextile fabric directly over the compacted dirt subgrade before adding your crushed stone base. This prevents the clay from migrating upward into the aggregate base, which would otherwise clog the drainage voids and cause catastrophic frost heave.
Phase 2: Building the Aggregate Base Layer
The base layer is the structural foundation of the walkway. The National Association of Landscape Professionals (NALP) emphasizes that open-graded, angular crushed stone is mandatory. Rounded river rock or gravel will not interlock and will shift under load.
Spread the 3/4-inch crushed stone in 2-inch increments, known as "lifts." After spreading each 2-inch lift, run a vibratory plate compactor over the area. For walkways, a compactor generating a minimum of 3,000 to 5,000 pounds of centrifugal force is required to achieve the 95% Proctor density standard necessary to prevent future settling. Repeat this process until you reach your required 4-to-6-inch base depth.
Phase 3: Bedding Sand and Screeding
The bedding layer provides a uniform surface for the pavers to rest on and allows for minor height adjustments. Do not use fine masonry sand or stone dust; these materials retain moisture and are highly susceptible to frost heave and washout. You must use coarse, sharp concrete sand that meets ASTM C33 standards.
- Set Screed Rails: Place 1-inch diameter galvanized steel pipes or specialized aluminum screed rails parallel to each other on top of the compacted base, spaced about 4 feet apart.
- Dump and Spread: Dump the coarse concrete sand between the rails. Do not compact the sand at this stage.
- Screed the Surface: Using a straight 2x4 piece of lumber, rest the edges on the pipes and pull the board toward you in a steady, sawing motion. This strips away excess sand, leaving a perfectly level, uncompacted 1-inch layer.
- Remove Rails: Carefully pull the pipes out and fill the voids with sand, troweling them flush. Do not step on or disturb the screeded sand bed.
Phase 4: Paver Placement and Edge Restraints
Begin laying the pavers from a fixed corner or edge, working outward. Maintain a consistent 1/16-inch joint space (usually dictated by the spacer bars on the sides of the pavers). Do not drag the pavers across the sand bed; set them straight down to avoid disturbing the screeded surface.
Installing Edge Restraints
Without edge restraints, the outward lateral forces generated by foot traffic and thermal expansion will cause the perimeter pavers to spread, leading to joint failure and weed intrusion. You have two primary options for residential walkways:
- Rigid Plastic/Composite Restraints (e.g., PermaEdge, SnapEdge): This is the industry standard for DIY and most professional walkways. Secure the L-shaped plastic edging directly against the perimeter pavers using 10-inch galvanized steel spikes. Drive a spike every 12 inches, and always place a spike within 2 inches of every joint or cut edge.
- Poured Concrete Curbs: Used in commercial applications or high-load driveways. A 6-inch wide by 6-inch deep concrete haunch is poured against the perimeter. This is generally overkill for a standard pedestrian walkway and complicates future utility access.
Phase 5: Polymeric Jointing Sand and Activation
Traditional jointing sand washes out during heavy rain and provides a perfect seedbed for weeds and ants. Polymeric sand contains water-activated polymers that bind the sand grains together, creating a flexible, impermeable joint that resists washout and insects.
Pro-Tip: Avoiding Polymer Haze
The most common mistake during this phase is over-watering the polymeric sand, which causes the polymers to float to the surface and dry into a permanent white film known as "haze." After sweeping the sand into the joints and compacting the walkway to vibrate the sand to the bottom, use a misting nozzle on your hose. Spray the surface lightly until water stops absorbing into the joints. Do not use a high-pressure jet, and never leave standing puddles on the surface.
Troubleshooting Matrix: Walkway Failures
Even with meticulous installation, environmental factors can cause issues. Use this diagnostic matrix to identify and correct common pavers walkway failures.
| Symptom | Root Cause | Corrective Action |
|---|---|---|
| White, powdery residue on pavers (Efflorescence) | Water-soluble calcium salts migrating to the surface as moisture evaporates. | Wait 30-60 days for natural weathering, or apply a specialized efflorescence cleaner and seal with a breathable, penetrating sealer. |
| Perimeter pavers sinking or tilting outward | Edge restraint spikes have pulled up due to frost heave or improper spacing. | Remove affected pavers, re-compact the base, install new edge restraints with spikes driven every 8 inches, and relay. |
| Joint washout and weed growth | Traditional sand used, or polymeric sand was activated with too much water pressure. | Vacuum out degraded joints to a depth of 1 inch, refill with fresh polymeric sand, compact, and mist properly. |
| Localized sinking in the center of the path | Base aggregate was not compacted in 2-inch lifts, or subgrade was unsuitable clay. | Remove pavers in the affected area, excavate to subgrade, lay geotextile fabric, rebuild base in compacted lifts, and relay. |
Building a pavers walkway is an exercise in structural engineering disguised as landscaping. By strictly adhering to aggregate specifications, enforcing compaction standards, and securing the perimeter with properly spiked edge restraints, you ensure the walkway remains level, weed-free, and structurally sound for decades.

