
Landscaping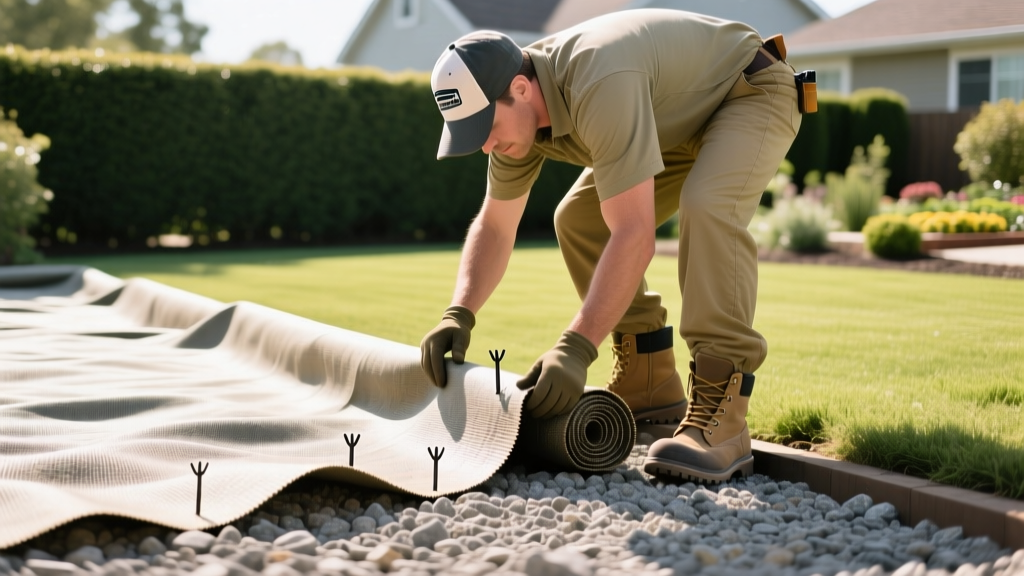
Install Heavy Duty Landscape Fabric for Gravel: Step-by-Step Guide
Why Standard Weed Barrier Fails Under Gravel
When building a gravel driveway, parking pad, or high-traffic garden path, the sub-base preparation dictates the lifespan of the project. Many homeowners make the critical mistake of using standard, lightweight spunbond weed barrier beneath gravel. Standard non-woven fabrics (typically weighing 1.5 to 2.0 ounces per square yard) are designed for mulch beds, not aggregate. Under the weight of vehicles or even heavy foot traffic, the sharp, angular edges of crushed stone easily puncture standard fabrics. Once punctured, the fabric tears, allowing the gravel to sink into the subgrade while soil pushes upward, resulting in rutting, potholes, and aggressive weed infiltration.
To achieve a stable, low-maintenance surface, you must use heavy duty landscape fabric for gravel applications. Specifically, you need a woven polypropylene geotextile or a heavy-duty non-woven drainage fabric rated for high tensile strength and puncture resistance. According to landscape industry standards documented by Fine Gardening, selecting the correct fabric permeability and weight is the single most important factor in preventing subgrade mixing and ensuring proper water drainage.
Warning: The Permeability Trap
Do not use solid plastic sheeting or impermeable tarps under gravel. While they block 100% of weeds, they also block water drainage. This creates a hydrostatic pressure buildup that will cause your gravel to wash out during heavy rains and turn the subgrade into unstable mud. Your fabric must allow water to pass through while blocking soil particles.
Material Selection: Woven vs. Non-Woven Geotextiles
Understanding the difference between woven and non-woven fabrics is crucial for your specific project. Woven fabrics are created by weaving polypropylene tapes together, offering immense tensile strength and stabilization. Non-woven fabrics are felt-like, created by bonding fibers together, offering superior drainage and filtration but slightly less stabilization.
| Fabric Type | Weight (oz/sq yd) | Best Use Case | Est. Cost (2026) |
|---|---|---|---|
| Woven Polypropylene | 3.2 - 4.1 oz | Gravel paths, patios, light vehicle traffic | $0.45 - $0.65 / sq ft |
| Heavy Woven (Commercial) | 5.0 - 6.0 oz | Driveways, heavy truck traffic, steep slopes | $0.75 - $1.10 / sq ft |
| Non-Woven Geotextile | 4.0 - 8.0 oz | French drains, retention ponds, muddy subgrades | $0.60 - $0.90 / sq ft |
Tools and Materials Required
Before breaking ground, ensure you have the correct materials. Skimping on fasteners or fabric overlap will compromise the entire installation.
- Heavy Duty Woven Fabric: Calculate your square footage and add 15% for overlaps and edge trimming.
- Landscape Staples (Pins): 6-inch or 8-inch galvanized steel U-shaped pins (11-gauge minimum). Plan for 1 pin every 3 square feet.
- Utility Knife & Hook Blade: Standard straight blades will dull instantly on woven polypropylene. Use heavy-duty hook blades.
- Measuring Tape & Marking Paint: For laying out the perimeter and crown slope.
- Plate Compactor or Hand Tamper: Essential for preparing the subgrade and compacting the gravel.
Step-by-Step Installation Guide
Step 1: Subgrade Preparation and Grading
The fabric will only perform as well as the dirt beneath it. Excavate the area to a depth of 6 to 8 inches (for paths) or 10 to 12 inches (for driveways). Remove all large rocks, roots, and existing vegetation. The National Gardening Association emphasizes that removing perennial weed roots before laying any barrier is critical, as nutgrass and bindweed can eventually pierce even heavy fabrics from below if left intact.
Grade the soil so it slopes away from structures at a minimum 2% gradient (1/4 inch drop per foot). For driveways, establish a "crown" in the center that slopes 1/8 inch per foot toward both edges to encourage surface water runoff. Compact the bare soil thoroughly using a vibratory plate compactor until it is hard and unyielding.
Step 2: Laying and Overlapping the Fabric
Roll out the heavy duty landscape fabric for gravel over the compacted subgrade. Always lay the fabric parallel to the direction of traffic, not perpendicular. When multiple rolls are needed to cover the width of the area, overlap the seams generously.
Pro-Tip: The Overlap Rule
For pedestrian paths, overlap seams by a minimum of 6 inches. For vehicular driveways, overlap seams by 12 inches. The turning tires of a vehicle will create lateral shear forces that can pull tightly butted seams apart if they are not adequately overlapped.
Step 3: Securing the Perimeter and Seams
Once the fabric is positioned, pull it taut to remove wrinkles, which can create voids under the gravel. Drive 6-inch galvanized landscape staples through the fabric and into the soil. Place staples every 12 inches along all perimeter edges and every 3 feet in a grid pattern across the interior field. At the overlapped seams, pin both layers of fabric together simultaneously to lock them into a single continuous sheet.
Step 4: Spreading and Compacting the Gravel
Do not drive heavy machinery or wheelbarrows directly on the exposed fabric, as the concentrated weight of a tire can stretch or tear it before the gravel is in place. Dump the gravel in small piles and spread it carefully with a steel landscaping rake. Maintain a minimum depth of 3 inches for paths and 5 to 6 inches for driveways. Once spread to the desired depth, run the plate compactor over the gravel to lock the angular stones together.
Choosing the Right Gravel to Pair With Your Fabric
The type of gravel you choose is just as important as the fabric itself. Never use pea gravel or rounded river rock over landscape fabric. Rounded stones do not interlock; they roll like marbles underfoot and will constantly shift, eventually exposing the fabric to UV degradation and physical damage.
Instead, specify 3/4-inch crushed angular gravel (often referred to as #57 stone or crushed limestone/granite). The sharp, fractured faces of angular stone bite into one another when compacted, creating a rigid, semi-solid matrix that distributes weight evenly across the fabric below. For the top dressing of high-end paths, a 1/4-inch angular chip (crushed granite screenings) can be applied over the base layer for a smoother walking surface.
Troubleshooting Common Fabric Failures
The "Edge Creep" Problem
Over time, gravel tends to migrate outward off the edges of the fabric, exposing the margins. To prevent this, install rigid landscape edging (such as aluminum, steel, or heavy-duty polymer restraints) anchored deeply into the subgrade before laying the fabric. Fold the excess fabric up the inside wall of the edging and pin it securely. This creates a contained "bathtub" effect that locks the gravel in place.
Organic Buildup and Surface Weeds
A common misconception is that landscape fabric prevents all weeds forever. In reality, wind-blown soil, decomposing leaves, and organic debris will accumulate on top of the gravel over a period of 3 to 5 years. This creates a thin layer of topsoil above the fabric where weed seeds can germinate. To combat this, use a leaf blower to clear organic debris from your gravel paths bi-annually. If surface weeds do appear, they can be easily pulled by hand, as their roots will not be able to penetrate the heavy woven fabric beneath the gravel layer.
"The success of a gravel installation isn't just about blocking weeds from below; it's about stabilizing the aggregate from above. A 5-ounce woven geotextile acts as a tension membrane, bridging soft spots in the soil and preventing the gravel from disappearing into the mud during spring thaws."
— Industry Geosynthetics Best Practices

