
Landscaping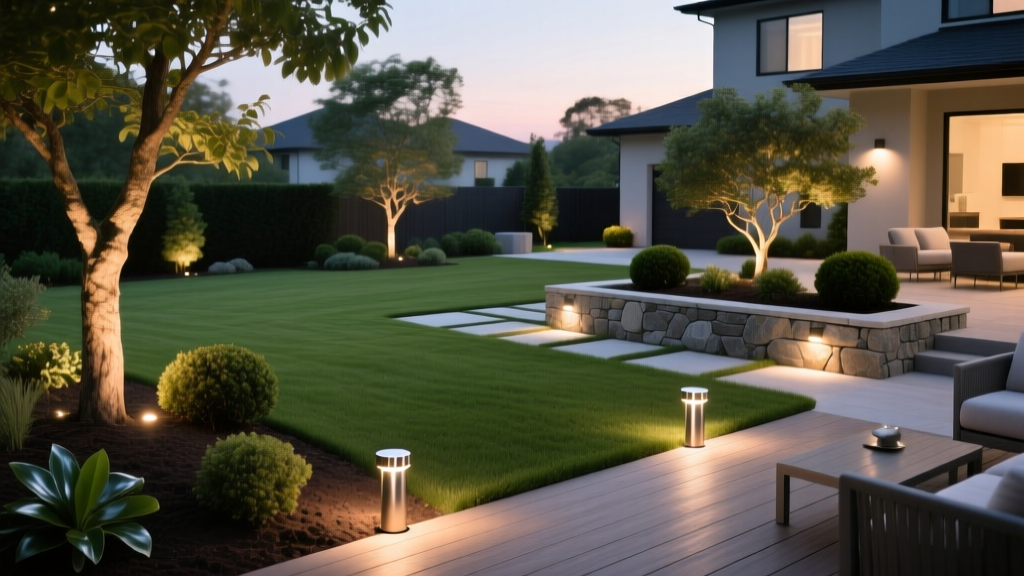
2026 Cost to Install Landscape Lighting: Pricing & Coverage Guide
The True Cost to Install Landscape Lighting in 2026
Calculating the cost to install landscape lighting requires moving beyond generic per-fixture averages. A professional low-voltage LED system in 2026 typically ranges from $180 to $280 per fixture, fully installed. For a standard 20-fixture system illuminating a front yard and patio, expect total project costs between $3,600 and $5,600. According to Angi's 2026 home improvement data, labor accounts for roughly 30% to 40% of the total invoice, while high-grade brass fixtures and commercial-grade transformers make up the bulk of material costs.
Itemized Cost Breakdown (20-Fixture System)
| Component | DIY Material Cost | Professional Installed Cost | Notes |
|---|---|---|---|
| Fixtures (Brass LED) | $1,400 - $2,200 | $2,000 - $3,200 | Integrated LED engines, cast brass housing |
| Transformer (Multi-Tap) | $250 - $400 | $350 - $550 | 300W minimum, stainless steel enclosure |
| Wire & Connectors | $150 - $250 | $250 - $400 | 12AWG direct burial, silicone grease caps |
| Labor & Trenching | $0 | $1,200 - $1,800 | Hand-trenching to avoid irrigation lines |
| Total Estimated | $1,800 - $2,850 | $3,800 - $5,950 | Varies by site accessibility and hardscape |
Calculating Coverage: Fixture Spacing and Lumen Dosage
One of the most common mistakes homeowners make is buying a pre-packaged 10-light kit from a big-box store and spacing them evenly like runway markers. Professional landscape lighting relies on specific lumen dosages and strategic shadow creation. As outlined in the Volt Lighting Design Guide, coverage is dictated by the architectural or botanical feature, not the property line.
- Path and Area Lights: Require 100 to 150 lumens per fixture. Space them 6 to 8 feet apart, staggering them on alternating sides of the walkway to prevent a rigid, artificial look. Keep fixtures at least 12 inches back from the pavement edge to avoid glare and physical damage from snow shovels or string trimmers.
- Tree Uplights: Require 300 to 500 lumens. For trees under 20 feet tall, one fixture placed 12 to 18 inches from the trunk is sufficient. For mature oaks or pines exceeding 30 feet, use two to three fixtures spaced evenly around the trunk, angled slightly outward to illuminate the lower canopy and branch structure.
- Wall Wash and Grazing: Require 150 to 300 lumens. Place wash fixtures 12 inches from masonry or siding walls. If you want to highlight stone texture (grazing), move the fixture within 3 to 6 inches of the wall and aim it straight up.
Expert Color Temperature Tip: Stick to 2700K (warm white) for architectural elements and wood, and 3000K (soft white) for green foliage and stonework. Avoid 4000K or higher, which casts a harsh, clinical blue tint that ruins the natural ambiance of a yard at night.
Transformer Sizing and Voltage Drop Calculations
The transformer is the heart of your system. Sizing it incorrectly leads to dim lights at the end of the wire run or premature failure of the LED drivers. To calculate the exact wattage required, sum the wattage of every fixture in the zone and add a 20% buffer for future expansion and line loss. If you have fifteen 4-watt path lights and four 7-watt uplights, your total is 88 watts. Adding the 20% buffer brings it to 105.6 watts. A 150-watt transformer is the correct choice here.
Combating Voltage Drop
Low-voltage systems operate on 12 volts, but copper wire naturally resists electrical flow, causing voltage to drop over distance. If a fixture receives less than 10.5 volts, it will flicker or fail to turn on. If it receives over 12.5 volts, the LED engine will overheat and burn out prematurely. Professional installers mitigate this using two methods:
- Multi-Tap Transformers: High-end transformers feature terminal taps outputting 12V, 13V, 14V, and 15V. For wire runs exceeding 60 feet, connecting the main line to the 14V or 15V tap ensures that the voltage drops down to a perfect 11.5V by the time it reaches the furthest fixture.
- Wire Gauge Selection: Never use 16-gauge wire for a permanent installation. Use 12AWG direct-bury copper wire for main trunk lines and 14AWG for short spur lines connecting individual fixtures to the main line.
Material Tiers: Why Fixture Housing Dictates Long-Term Cost
The initial cost to install landscape lighting is heavily influenced by the fixture housing material. While cheaper options save money on day one, they invariably cost more over a 10-year period due to replacement labor and material degradation.
| Material | Average Fixture Cost | Expected Lifespan | Failure Mode |
|---|---|---|---|
| Plastic / Composite | $20 - $45 | 1 - 3 Years | UV degradation, cracking, water ingress |
| Powder-Coated Aluminum | $60 - $110 | 4 - 7 Years | Corrosion at the stake base, finish peeling |
| Cast Brass / Bronze | $130 - $220+ | Lifetime (20+ Years) | Develops a natural dark patina; structurally indestructible |
For permanent installations, cast brass is the industry standard. Brass does not rust or corrode, even in coastal salt-air environments or areas with heavy irrigation overspray. The Home Depot's landscape lighting installation guidelines emphasize that while brass requires a higher upfront investment, its structural integrity ensures the housing will outlast multiple generations of internal LED modules.
Wiring Methods: Hub-and-Spoke vs. Daisy-Chain
How you route the wire underground drastically affects system performance and future maintenance.
- Daisy-Chain (Avoid): Running one continuous wire from the transformer to the first light, then to the second, third, and so on. This method guarantees severe voltage drop at the end of the line and means if a wire is cut by an aerator, every light downstream goes dark.
- Hub-and-Spoke (Recommended): Running a heavy 12AWG main trunk line from the transformer to a central 'hub' location in the yard, then using waterproof wire connectors to branch off shorter 14AWG 'spokes' to individual fixtures. This equalizes voltage across all fixtures and isolates potential wire cuts.
The Critical Role of Silicone Grease Caps
Never use standard plastic wire nuts for underground landscape lighting connections. Moisture will inevitably wick into the copper strands via capillary action, causing green corrosion that increases resistance and kills the light. Always use silicone-filled wire connectors (grease caps). When twisted onto the spliced wires, the dielectric silicone gel extrudes outward, creating a 100% waterproof seal that prevents oxidation for decades.
Hidden Costs and Common Installation Failure Modes
When budgeting for the cost to install landscape lighting, factor in these frequently overlooked site-specific expenses and potential failure points:
- Hardscape Drilling: If fixtures need to be mounted on retaining walls, stone steps, or concrete patios, expect an additional $25 to $50 per fixture for masonry drilling, core-bit usage, and specialized mounting hardware.
- Irrigation Conflicts: Professional installers use underground wire locators or hand-trench with flat spades to avoid severing drip irrigation lines. Repairing a severed main water line can add $300+ to your project cost.
- Smart Integration: Upgrading from a standard mechanical photocell timer to a Wi-Fi-enabled smart transformer (like the VOLT Smart Control Hub) adds $150 to $250 to the material cost but allows for precise zone dimming, seasonal schedule adjustments, and remote troubleshooting via smartphone.
By prioritizing cast brass materials, utilizing multi-tap transformers to manage voltage drop, and employing the hub-and-spoke wiring method, you ensure your landscape lighting system remains a low-maintenance, high-impact asset for decades rather than a recurring annual repair headache.

