
Landscaping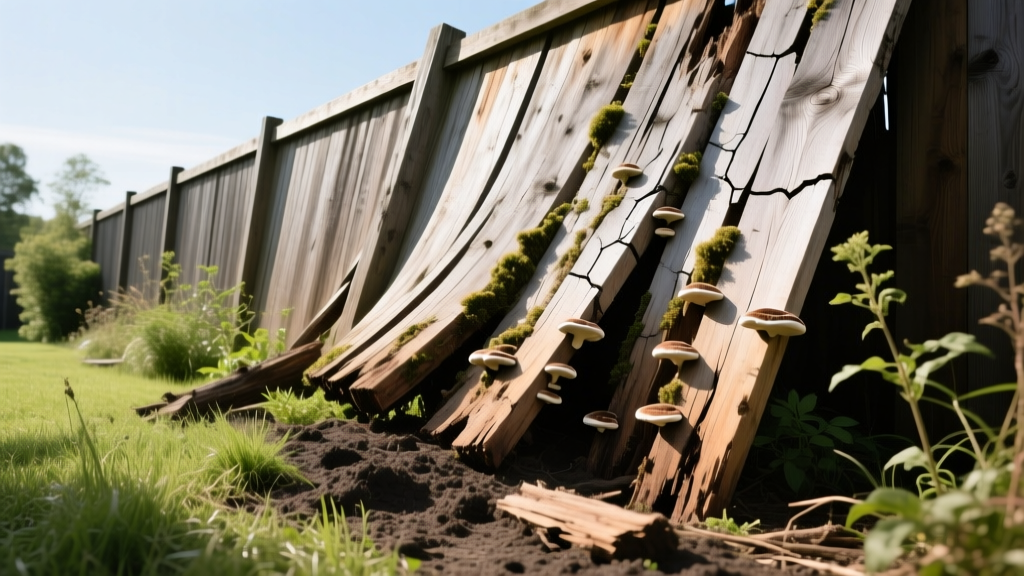
Landscape Timber Wall Failures: Diagnosing Rot, Bowing, and Heave
Landscape timbers offer a rustic, cost-effective solution for retaining walls, terraced gardens, and yard borders. However, when a landscape timber retaining wall fails, it rarely happens overnight. The collapse is usually the final stage of a multi-year degradation process driven by hydrostatic pressure, improper material selection, and frost heave. If your 6x6 pressure-treated pine wall is leaning, weeping muddy water, or softening at the base, immediate intervention is required before the structural integrity compromises your property.
The Diagnostic Matrix: Identifying Your Timber Failure
Before purchasing replacement materials or renting excavation equipment, you must accurately diagnose the primary failure mode. Most landscape timber walls suffer from a combination of the following issues, but one will be the primary catalyst for the collapse.
| Visible Symptom | Root Cause | Severity & Action Required |
|---|---|---|
| Spongy, dark wood at the soil line | Fungal decay due to improper AWPA treatment rating (UC4A used instead of UC4B) | Critical: Base course replacement required |
| Wall leaning outward, spikes popping | Hydrostatic pressure from saturated, uncompacted backfill | High: Install deadmen anchors and French drain |
| Sections pushed upward in spring | Frost heave from base timbers placed above the frost line | Moderate: Excavate and rebuild base below frost line |
| Timbers sliding laterally off one another | Shear failure from using smooth rebar instead of threaded timber screws | High: Retrofit with 12-inch structural timber screws |
Problem 1: The Big-Box Store Treatment Mistake (Base Rot)
The most common reason landscape timbers rot within 3 to 7 years is a fundamental misunderstanding of wood treatment standards. The American Wood Protection Association (AWPA) categorizes pressure-treated wood by its intended moisture exposure.
UC4A vs. UC4B: The Critical Distinction
Most home improvement centers stock UC4A (Ground Contact) timbers, which are treated to a minimum retention level of 0.40 pcf (pounds per cubic foot) of preservative. This is sufficient for fence posts or deck supports where moisture exposure is intermittent. Retaining walls, however, are in constant, unyielding contact with wet soil and decaying organic matter. They require UC4B (Heavy Duty Ground Contact) treatment, boasting a 0.60 pcf retention level.
Expert Insight: If you cannot find UC4B timbers locally, you must order them from a specialized lumber yard. Using UC4A timbers for a retaining wall backfilled with moisture-retaining soil guarantees structural rot at the ground line within five years, regardless of the manufacturer's warranty claims.
According to the Environmental Protection Agency (EPA), modern alkaline copper quaternary (ACQ) and copper azole (CA-C) treatments are highly effective but require precise application rates for continuous ground contact. Always check the end-tag on the timber for the 'UC4B' or '0.60' stamp before purchase.
Problem 2: Hydrostatic Pressure and Outward Bowing
Water weighs 62.4 pounds per cubic foot. When the soil behind your landscape timber wall becomes saturated, the lateral pressure against the wood increases exponentially. If your wall is bowing outward or the galvanized spikes are backing out, you have a drainage failure, not just a structural one.
The Retrofit Drainage Solution
To relieve hydrostatic pressure without tearing down the entire wall, you must install a retroactive drainage system:
- Excavate the Backfill: Dig out the soil behind the wall to a depth of 12 inches below the lowest timber course.
- Install Geotextile Fabric: Line the trench with a non-woven geotextile fabric (such as Mirafi 140N) to prevent soil fines from migrating into your drainage aggregate.
- Add Washed Crushed Stone: Backfill the trench with 3/4-inch washed crushed stone. Never use pea gravel or river rock; their rounded edges fail to interlock, allowing soil to wash through and clog the drain.
- Weeep Holes: If the wall exceeds 3 feet in height, drill 2-inch weep holes through the base timber every 8 feet to allow trapped water to escape.
Problem 3: Frost Heave and Uplift
In northern climates, the ground freezes and expands, pushing shallowly buried timbers upward. This is known as frost heave. If your wall looks like a jagged staircase in the spring, your base course was laid directly on topsoil rather than below the frost line.
The solution requires removing the base course and excavating a trench that extends below your local frost depth (typically 36 to 48 inches in USDA Zones 3-5). The trench must be filled with 6 inches of compacted 3/4-inch minus gravel to create a stable, free-draining foundation that will not trap water and freeze.
⚠️ Warning: The Rebar Pinning Myth
Many DIY guides recommend driving 3/8-inch steel rebar through the timbers to pin them together. This is a critical error for retaining walls. Smooth rebar provides zero pull-out resistance against lateral shear forces and will rust, expanding and splitting the wood from the inside. Always use 12-inch structural timber screws (e.g., Simpson Strong-Tie TSD12) or threaded galvanized drift pins.
Step-by-Step Protocol: Replacing a Blown-Out Section
If a specific section of your wall has completely blown out due to rot or pressure, follow this targeted repair protocol to integrate new materials with the existing structure.
- Remove the Damaged Timbers: Use a reciprocating saw with a demolition blade to cut through any rusted spikes or rebar. Pry the rotted timbers away from the soil.
- Prepare the Base: Clear out the muddy soil at the base of the trench. Add 4 inches of 3/4-inch crushed stone and compact it using a hand tamper until it is perfectly level.
- Cut and Treat New Timbers: Cut your new UC4B 6x6 landscape timbers to length. Immediately apply two coats of a copper naphthenate wood preservative (like Copper-Green) to any cut ends to restore the chemical barrier.
- Drill Pilot Holes: Using a 1/4-inch auger bit, drill pilot holes through the top timber down into the timber below. Space holes every 2 feet. This prevents the dense pressure-treated pine from splitting when driven.
- Drive Structural Screws: Use an impact driver or heavy-duty drill to drive 12-inch galvanized timber screws through the pilot holes, locking the courses together.
- Install Deadmen (If over 3 feet tall): For walls taller than 3 feet, attach perpendicular 'deadmen' timbers to the wall using T-plates and structural screws. Bury these deadmen 4 to 6 feet back into the compacted backfill to anchor the wall against the soil mass.
When to Abandon Timber: 2026 Material Alternatives
Landscape timbers have a finite lifespan, even when perfectly installed. If your wall has failed twice, or if you are building a structural wall over 4 feet high, it is time to transition to engineered materials. Below is a cost and lifespan comparison based on 2026 regional landscaping averages.
| Material | Avg. Cost per Sq. Ft. (Installed) | Expected Lifespan | Max Height Without Engineering |
|---|---|---|---|
| 6x6 UC4B Landscape Timber | $25 - $35 | 15 - 20 Years | 4 Feet |
| Segmental Retaining Wall (SRW) Block | $40 - $65 | 50+ Years | 4 Feet (up to 10' with geogrid) |
| Poured Concrete (Formed & Faced) | $80 - $120 | 75+ Years | Unlimited (Engineered) |
| Natural Limestone / Sandstone | $90 - $150 | 100+ Years | 3 Feet (Dry Stack) |
For comprehensive regional guidelines on soil bearing capacities and retaining wall permits, consult resources like the University of Minnesota Extension, which provides excellent frameworks for determining when a landscape project requires a stamped structural engineering plan.
Final Diagnosis Takeaway
A failing landscape timber wall is a symptom of poor water management and material misapplication. By upgrading to UC4B treated wood, replacing smooth rebar with structural timber screws, and aggressively managing hydrostatic pressure with washed crushed stone, you can salvage a failing wall or build a new timber structure that will hold the earth for decades.

