
Landscaping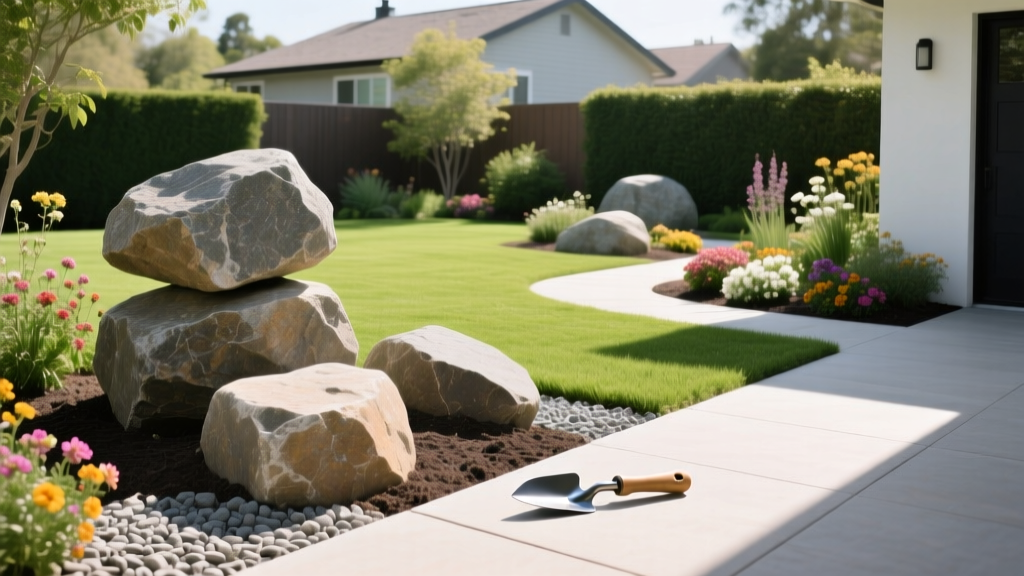
Beginner's Guide to Landscaping with Boulders: Placement & Costs
The Anatomy of a Natural Boulder Placement
Landscaping with boulders transforms a flat, uninspired yard into a dynamic, multi-dimensional space. However, the difference between a stunning natural outcropping and a rock that looks like it was unceremoniously dumped from a truck comes down to geological mimicry. Professional landscape architects follow strict rules for orientation, burial depth, and soil interaction to ensure hardscapes look like they have been in place for centuries.
The most critical concept in boulder placement is the Rule of Thirds. In nature, rocks do not sit perfectly on top of the soil; they are partially buried by centuries of topsoil accumulation and erosion. To achieve a natural look, you must bury one-quarter to one-third of the boulder's total height below the final grade line. This anchors the stone visually and physically, preventing the dreaded "muffin top" effect where the rock appears to be balancing precariously on the grass.
Additionally, every boulder has a natural "grain" or striation pattern formed during its geological creation. When setting the stone, these horizontal layers must remain perfectly parallel to the ground. Tilting a sedimentary rock on its side or standing it vertically immediately signals to the human eye that the stone has been disturbed and placed artificially.
Sizing, Weight, and Material Selection
Choosing the right boulder size is a common stumbling block for beginners. A rock that looks massive at the quarry will often look like a mere pebble when placed in the center of a large, open lawn. As a general framing rule, your primary focal boulder should be at least 24 to 36 inches in its longest dimension to hold visual weight in an average suburban yard.
Understanding the density of your chosen stone is vital for calculating both delivery costs and the equipment required for installation. Below is a breakdown of common landscape boulders and their physical properties.
| Rock Type | Avg. Weight per Cubic Foot | Best Use Case | Avg. Cost per Ton (2026) |
|---|---|---|---|
| Sandstone | 150 lbs | Dry stream beds, seating walls | $120 - $180 |
| Granite | 165 lbs | Focal points, retaining edges | $180 - $250 |
| Basalt | 175 lbs | Modern landscapes, water features | $200 - $300 |
| Limestone | 155 lbs | Alpine gardens, terraced slopes | $140 - $210 |
Note: A standard 3-foot granite boulder roughly equates to 14 cubic feet, meaning a single stone can easily weigh over 2,300 pounds. Manual lifting is impossible at this scale.
Step-by-Step Installation for Beginners
Proper installation prevents frost heave in freezing climates and stops the boulder from sinking into heavy clay soils over time. Follow this sequence for a permanent, stable placement.
- Map the Footprint and Dig the Trench: Outline the base of the boulder with marking paint. Excavate the area to a depth of 6 to 8 inches, ensuring the hole is slightly wider than the rock's base.
- Build the Gravel Foundation: Fill the trench with 4 inches of 3/4-inch crushed angular gravel (not smooth river rock, which rolls and shifts). Tamp the gravel down with a hand tamper or plate compactor to create a rigid, free-draining base. According to the USDA Natural Resources Conservation Service, proper base drainage is essential to prevent soil erosion and structural shifting in hardscapes.
- Rig and Move the Stone: For boulders under 800 lbs, use a 5-ton capacity nylon tree sling (which grips the rock without snapping like chains) paired with a heavy-duty block and tackle or a motorized winch. For stones over 800 lbs, rent a mini skid steer (like a Toro Dingo or Bobcat S100) equipped with a pallet fork or grapple bucket.
- Set the Orientation: Lower the boulder into the trench. Use a 4-foot masonry level across the top of the rock to verify that the natural striations are perfectly horizontal. Adjust by prying up the base and slipping in small, angular shims of slate or gravel.
- Backfill and Compact: Backfill the gap between the rock and the trench wall with a mix of native soil and coarse sand. Tamp every 2 inches of backfill to eliminate air pockets that could later trap water and cause frost heave.
Avoiding the "Muffin Top" and Other Rookie Mistakes
⚠️ Critical Warning: The Scale and Grouping Trap
Beginners often buy a single, medium-sized boulder and place it dead-center in a lawn. This creates an awkward, isolated focal point. Instead, use the "Odd Number and Triangulation" rule. Always group boulders in odd numbers (3, 5, or 7). Use one large "anchor" boulder (e.g., 36 inches), one medium "secondary" stone (24 inches), and one or more small "accent" rocks (12 inches). Bury them close together so they appear to be part of the same subterranean geological formation, leaving small crevices between them for planting.
Softening the Hardscape: Plant Pairings
Boulders absorb and radiate heat, creating unique microclimates in your garden. The soil immediately surrounding a large rock tends to be slightly warmer and drier on the surface, but retains deep moisture underneath. To integrate the stone into the landscape, select drought-tolerant, low-growing alpine or creeping plants that thrive in these conditions. The Missouri Botanical Garden Plant Finder is an excellent resource for filtering plants by these specific xeriscape and rock-garden tolerances.
- Sedum spurium 'Dragon's Blood': A creeping succulent that spills beautifully over the edges of granite and basalt, turning a deep crimson in autumn.
- Festuca glauca (Blue Fescue): An ornamental grass that forms tight, silvery-blue mounds. Plant these in the crevices between grouped boulders to mimic high-alpine scree slopes.
- Thymus serpyllum (Creeping Thyme): Perfect for the sunny, heat-radiating base of a south-facing boulder. It handles light foot traffic and releases a pleasant fragrance when brushed.
- Polystichum munitum (Western Sword Fern): If your boulder is placed in a shaded, moist woodland garden, plant ferns on the north side of the rock to leverage the cool, damp microclimate the stone provides.
Budgeting Your Boulder Project
When calculating the cost of landscaping with boulders, the material itself is often the cheapest line item. The true expenses lie in freight, heavy equipment, and site preparation. Here is a realistic breakdown for a standard 3-boulder grouping project (totaling roughly 3 tons of stone) in 2026.
Cost Breakdown Matrix
| Expense Category | Estimated Cost Range | Notes & Variables |
|---|---|---|
| Material (3 Tons) | $360 - $750 | Varies heavily by local quarry availability and stone type. |
| Freight / Delivery | $150 - $350 | Requires a specialized tilt-bed or crane truck; standard dump trucks cannot safely unload single massive boulders. |
| Equipment Rental | $250 - $350 / day | Mini skid steer rental. Add $50 for delivery/pickup of the machine. |
| Base Materials | $40 - $80 | Crushed angular gravel, landscape fabric, and backfill sand. |
| Professional Labor | $400 - $900 | If hiring a landscape crew to install (typically billed at $75-$125/hr per worker). |
For a DIY homeowner willing to rent the skid steer and handle the physical labor, a high-quality, 3-ton boulder installation can be completed for roughly $800 to $1,200. If you opt to hire a professional landscaping firm to handle procurement, delivery, and installation, expect the total project cost to range from $1,500 to $2,500, depending on site accessibility and local labor rates.

