
Landscaping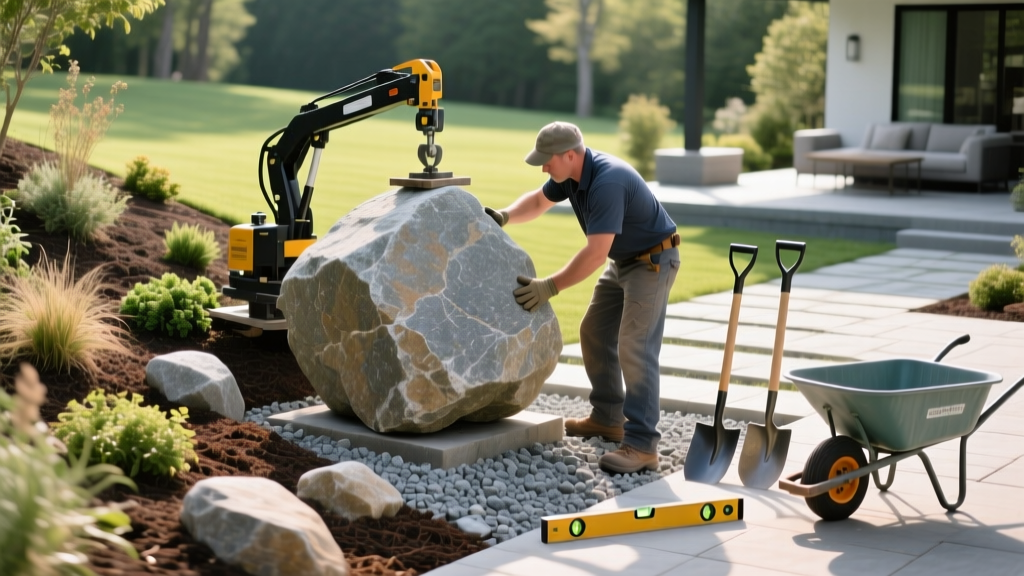
Landscaping with Large Rocks: Step-by-Step Installation Guide
The Mechanics of Landscaping with Large Rocks
Landscaping with large rocks—specifically boulders weighing between 200 and 2,000 pounds—anchors a yard, creates instant topographical interest, and solves severe grading issues. However, simply dropping a boulder onto existing topsoil is a guaranteed path to failure. Without proper subsurface preparation, large rocks will sink into the mud during spring thaws or 'walk' upward due to frost heave in freezing climates. This guide details the exact engineering, equipment, and placement protocols required to install large landscape boulders permanently.
Phase 1: Sourcing and Material Selection
The density and porosity of your chosen stone dictate both the installation method and the long-term maintenance. When budgeting for 2026 landscape projects, factor in freight costs, which often exceed the per-ton material cost if sourcing non-local stone.
| Rock Type | Density (lbs/cu ft) | Avg Cost/Ton (2026) | Best Use Case & Edge Cases |
|---|---|---|---|
| Granite | 165 | $150 - $250 | Focal points, retaining. Highly durable, but sharp edges can be hazardous in play areas. |
| Basalt | 185 | $180 - $300 | Water features, modern designs. Extremely heavy; requires machinery for anything over 150 lbs. |
| Limestone | 150 | $120 - $200 | Garden borders. Leaches calcium carbonate; avoid using near acid-loving plants like azaleas or rhododendrons. |
| Sandstone | 140 | $130 - $220 | Dry creek beds, rustic layouts. Porous and prone to flaking if subjected to repeated freeze-thaw cycles. |
Phase 2: Subsurface Preparation and Drainage
The most common failure mode in boulder installation is subsidence. A 800-pound granite boulder exerts massive point-load pressure on topsoil. To prevent sinking, you must build a structural base.
- Excavate the Footprint: Dig 4 to 6 inches deeper than the intended base of the rock. Extend the excavation 6 inches beyond the rock's widest perimeter.
- Install the Aggregate Base: Fill the trench with 2 to 4 inches of 3/4-inch minus crushed gravel. Compact it using a manual hand tamper or a vibrating plate compactor for stones exceeding 1,000 pounds.
- Lay Geotextile Fabric: Place a 4 oz to 6 oz non-woven geotextile fabric over the gravel. Never use woven plastic weed barrier. Non-woven fabric allows water permeability while preventing the gravel base from mixing with the subsoil over time.
⚠️ The Frost Heave Warning (USDA Zones 3-6):
Water expands by 9% when it freezes. If a boulder sits directly on moisture-retaining clay or topsoil, the freezing ground will push the rock upward (frost heave), causing it to tilt or 'walk' out of position over 3 to 5 winters. The only permanent fix is the 1/3 Bury Rule (detailed in Phase 4), which anchors the rock below the active frost line.
Phase 3: Heavy Equipment and Moving Strategies
Manhandling rocks over 300 pounds risks severe spinal injury and property damage. Match your moving strategy to the weight and site accessibility.
Manual Methods (Up to 300 lbs)
- Heavy-Duty Rock Sled: A reinforced polymer sled ($80-$120) dragged over a temporary PVC pipe track. Requires 2-3 people.
- Steel Pry Bars and Rollers: Use a 72-inch San Angelo digging bar to lever the rock onto 4-inch diameter PVC pipes, rolling it forward incrementally.
Mechanical Methods (300 to 2,000 lbs)
For tight side-yards or fenced backyards where standard skid steers cannot fit, rent a compact track loader (CTL). Models like the Toro Dingo TX 427 or Bobcat CT120 are 36 inches wide and can lift up to 1,200 pounds. Expect to pay $280 to $350 per day for a CTL rental in 2026, plus $150 for a set of pallet forks or a rock grapple attachment.
Pro Tip: Always wrap the boulder in heavy-duty moving blankets and secure them with ratchet straps before lifting with metal forks. This prevents the steel from chipping the stone's natural patina or leaving permanent rust stains on porous sandstone or limestone.
Phase 4: The 3-Point Placement Protocol
Aesthetics and structural integrity rely on how the rock meets the earth. Follow this exact sequence when setting the boulder into its prepared base.
- The 1/3 Bury Rule: For visual grounding and frost-heave mitigation, bury at least one-third of the boulder's total height below the final grade line. A rock sitting entirely on top of the soil looks artificially 'dropped' and is structurally unstable.
- Find the Natural Strata: Examine the rock for horizontal weathering lines or lichen growth. Orient the rock so these lines are perfectly parallel to the ground. Tilting a naturally stratified rock makes it look unnatural and disrupts water runoff patterns.
- The 5-Degree Tilt: Angle the top of the boulder slightly backward (towards the soil or planting bed) by about 5 degrees. This ensures rainwater washes off the stone and drains directly into the adjacent root zones of your softscaping, rather than pooling at the base and causing rot.
- Backfill and Tamp: Backfill the excavated gap around the buried portion with a 50/50 mix of native soil and crushed gravel. Tamp firmly every 2 inches to eliminate air pockets.
Phase 5: Softscaping Integration
Large rocks create unique microclimates. The south-facing side of a boulder absorbs and radiates heat, creating a warm zone ideal for drought-tolerant species. The north-facing side retains moisture and shade.
Recommended Plantings for Boulder Edges
- Sun-Baked South Side: Sedum spurium (Dragon's Blood), Thymus serpyllum (Creeping Thyme), or ornamental grasses like Festuca glauca (Blue Fescue).
- Shaded North Side: Heuchera (Coral Bells), Polystichum acrostichoides (Christmas Fern), or shade-tolerant mosses if the climate supports it.
💡 Maintenance Insight: Algae and Mildew Control
Boulders in shaded, humid areas frequently develop black or green algae. Do not use bleach or high-pressure power washing, which strips the stone's natural oxidized patina and harms surrounding soil biology. Instead, apply a solution of 30% horticultural white vinegar and water, let it sit for 15 minutes, and scrub with a stiff-bristle nylon brush. For more on sustainable landscape maintenance, refer to guidelines from the National Association of Landscape Professionals.
Troubleshooting Common Boulder Installation Failures
Why is my boulder sinking after heavy rain?
You likely skipped the 3/4-inch minus gravel base or placed the rock directly on undisturbed clay. Clay acts like a sponge, losing its load-bearing capacity when saturated. You will need to leverage the rock out, excavate an additional 4 inches, install the gravel base, and reset the stone.
Can I use large rocks to build a retaining wall without mortar?
Dry-stacked boulder retaining walls are possible but require strict engineering. According to soil management and structural guidelines outlined by University of Minnesota Extension, dry-stack walls should never exceed 3 feet in height without professional engineering. Each course must be stepped back 1 inch for every 1 foot of height (a 1:12 batter ratio) to resist the lateral hydrostatic pressure of the soil behind it.
Do I need to test my soil pH before using limestone boulders?
Yes. Limestone is highly alkaline. As it weathers, it leaches calcium carbonate into the surrounding soil, raising the pH. If you are landscaping with large rocks made of limestone, avoid planting ericaceous (acid-loving) species like blueberries, hydrangeas, or Japanese maples within a 4-foot radius of the stone.

