
Landscaping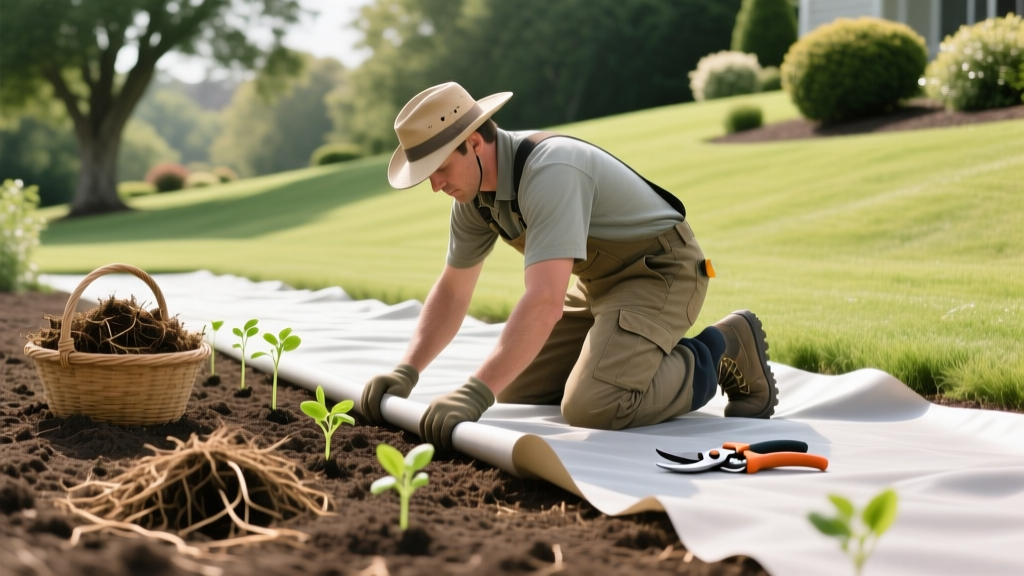
How to Lay Landscape Fabric for Healthy Plant Establishment
Using geotextiles in garden beds is a polarizing topic among horticulturists. When installed incorrectly, landscape fabric can suffocate soil microbiomes, create hydrophobic barriers, and girdle plant stems. However, when you understand how to lay landscape fabric specifically for plant establishment, it serves as a highly effective tool to suppress aggressive weeds during the critical first two to three years of shrub and perennial root development. This guide details the exact material specifications, soil preparation protocols, and installation techniques required to maintain soil health while establishing new planting beds.
Selecting the Right Fabric Weight and Material for Planting Beds
Not all geotextiles are created equal. The two primary categories are woven (slit-film) and non-woven (spunbond or needle-punched). For planting beds where water infiltration and gas exchange are paramount, material selection dictates long-term plant survival.
| Material Type | Composition & Weight | Water Flow Rate | Best Application | 2026 Avg. Cost / Sq Ft |
|---|---|---|---|---|
| Woven Polypropylene | Slit-film, 3.2 oz to 4.1 oz | Moderate (15-30 gpm) | Under gravel, pathways, high-traffic commercial beds | $0.12 - $0.18 |
| Non-Woven Spunbond | Continuous filament, 1.5 oz to 3.0 oz | High (80-120+ gpm) | Planting beds, under organic mulch, drainage zones | $0.18 - $0.28 |
| Needle-Punched | Staple fiber, 4.0 oz+ | Very High (200+ gpm) | French drains, retaining wall backfill, heavy erosion | $0.35 - $0.50 |
For standard shrub and perennial beds, a non-woven spunbond fabric (such as Typar Pro or GroundCover Pro) is the superior choice. Its three-dimensional fiber structure allows water to pass through at high rates, preventing the 'perching' effect where water pools on top of the fabric and runs off into adjacent turf. According to research highlighted by The Garden Professors, non-woven fabrics maintain better long-term soil oxygenation compared to tightly woven slit-films.
Soil Preparation Before Fabric Installation
Once fabric is laid, amending the underlying soil becomes nearly impossible. You must finalize the soil profile before unrolling the material.
Establishment Protocol: Test your soil pH and organic matter content. Incorporate 2 to 3 inches of fully composted pine bark or leaf mold into the top 6 inches of native soil. This builds the fungal-dominant microbiome that woody shrubs require for deep root establishment before the fabric restricts future top-dressing.
- Eradicate Existing Weeds: Do not lay fabric over live perennial weeds like Bermuda grass or nutsedge. Their rhizomes will penetrate the fabric from below. Use a systemic herbicide 14 days prior, or employ soil solarization using clear 6-mil polyethylene for 4-6 weeks during peak summer heat.
- Grade and Slope: Rake the bed to ensure a 1% to 2% slope away from structures. Eliminate all sharp rocks, exposed roots, and debris that could puncture the geotextile under the weight of mulch and foot traffic.
- Install Irrigation: Lay drip irrigation lines (such as Netafim Techline CV with 12-inch emitter spacing) directly on the soil surface before the fabric. Drip lines placed on top of the fabric will lose up to 40% of their water to evaporation and wind drift.
Step-by-Step Installation: How to Lay Landscape Fabric Correctly
Proper tension and securement prevent the fabric from buckling, which creates air pockets where weed seeds can germinate on top of the membrane.
1. Unrolling and Overlapping
Roll the fabric out parallel to the longest dimension of the bed. When multiple widths are required, overlap adjacent sheets by a minimum of 6 inches. Do not rely on edge-to-edge butting; soil settling will pull the seams apart over the first winter freeze-thaw cycle.
2. Securing with Landscape Staples
Standard plastic pegs are insufficient for long-term holding power. Use 11-gauge steel landscape staples (U-pins) measuring at least 6 inches in length.
- Place staples every 3 to 5 linear feet along the seams.
- Place staples every 8 to 10 feet in the interior field of the fabric.
- Ensure the staple crown sits flush with the fabric; protruding metal will tear the material when raking mulch later.
Cutting and Planting Through the Fabric
The most common failure mode in plant establishment is stem girdling and crown rot caused by improper fabric cutting. The traditional 'X-slit' method is fundamentally flawed for long-term plant health.
Warning: Avoid the X-Slit Method
Cutting an 'X' and folding the flaps back creates tension against the plant stem as it grows. As the shrub's caliper expands, the fabric acts as a tourniquet, girdling the vascular tissue and eventually killing the plant. Furthermore, the folded flaps wick moisture away from the root ball.
Cutting an 'X' and folding the flaps back creates tension against the plant stem as it grows. As the shrub's caliper expands, the fabric acts as a tourniquet, girdling the vascular tissue and eventually killing the plant. Furthermore, the folded flaps wick moisture away from the root ball.
The O-Slit (Circle Cut) Technique
Always use the O-slit method for planting through geotextiles:
- Mark the center of the planting location on the fabric.
- Using a sharp utility knife or specialized fabric hole-punch, cut a complete circle that matches the exact diameter of the plant's root ball.
- Remove the circular piece of fabric entirely.
- Dig your hole, set the plant, and backfill. Ensure there is a 1-inch gap between the plant stem and the edge of the fabric hole to allow for trunk flare expansion and prevent moisture trapping against the bark.
Mulching Over Fabric: Depth and Material Choices
Landscape fabric degrades rapidly when exposed to ultraviolet (UV) radiation. Even UV-stabilized commercial fabrics will become brittle and fracture if left exposed to direct sunlight for more than 60 days. Immediate mulching is mandatory.
The University of Minnesota Extension notes that organic mulches placed over fabric will eventually decompose and create a soil layer on top of the fabric, allowing weed seeds to germinate in the mulch itself. To mitigate this, manage your mulch depth and type carefully:
- Double-Shredded Hardwood: Apply 2 to 2.5 inches. Hardwood breaks down slowly, reducing the frequency of top-dressing and minimizing the 'soil-on-fabric' weed issue.
- Pine Bark Nuggets: Apply 3 to 4 inches. The large particle size resists wind displacement and allows excellent water penetration through to the fabric below.
- Avoid Fine Mulches: Materials like pine straw or finely shredded leaves will mat together on top of the fabric, creating a hydrophobic barrier that sheds water away from the root zone.
Long-Term Plant Health and Fabric Maintenance
It is critical to understand that landscape fabric is a temporary establishment aid, not a permanent landscape feature. Most non-woven fabrics have a functional lifespan of 5 to 7 years before they begin to lose tensile strength and clog with fine soil particles.
As the fabric clogs, water infiltration rates drop. Monitor your planting beds annually. If you notice water pooling on the surface during heavy rain events, or if soil moisture probes indicate dry conditions beneath the fabric despite adequate irrigation, the geotextile has reached the end of its permeable lifespan. At this stage, carefully pull the fabric away from established root systems, remove it, and transition to a traditional 3-inch organic mulch layer to maintain weed suppression and soil moisture retention naturally.

