
Landscaping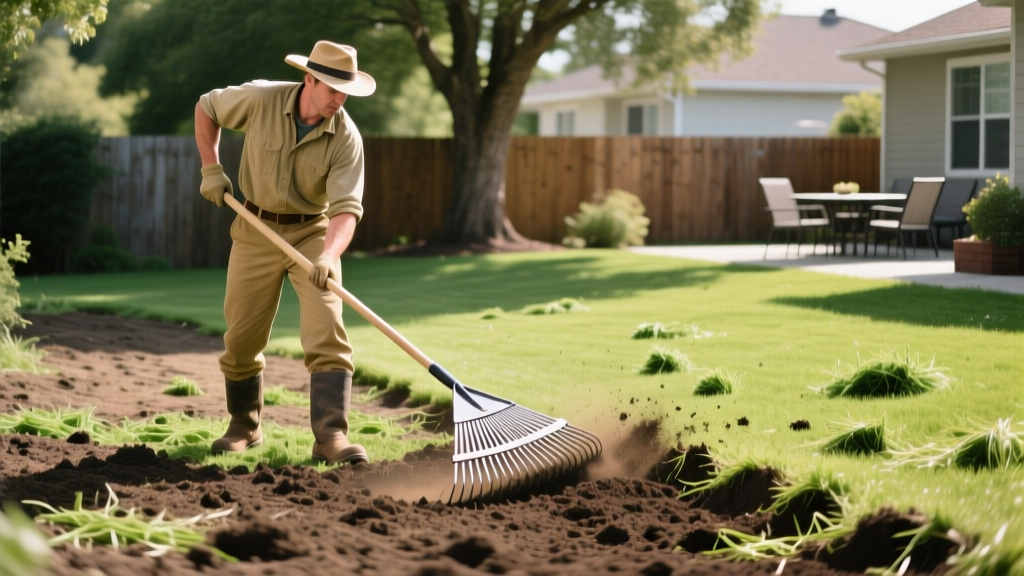
How to Level the Backyard: Step-by-Step Grading Guide
Assessing Your Yard's Slope and Drainage Needs
Before moving a single shovel of dirt, you must establish a precise grading plan. Learning how to level the backyard is rarely about making the terrain perfectly flat; it is about engineering a controlled slope that directs water away from your home's foundation and prevents pooling in low-lying areas. Poor grading is the leading cause of basement flooding and foundation settling.
The IRC Foundation Drainage Rule: According to the International Residential Code (Section R401.3), the ground must slope away from the foundation at a minimum 5% grade (a 6-inch drop over the first 10 feet) to prevent structural water damage. For hardscapes like patios and walkways, a 2% slope (1/4 inch per foot) is the industry standard for adequate runoff without creating a noticeable tilt. Source: Penn State Extension.
To measure your existing slope, drive a stake at the foundation and a second stake 10 feet away. Tie a mason string to the first stake at ground level, attach a line level, and pull it taut to the second stake. Measure the distance from the string down to the ground at the second stake. If the drop is less than 6 inches, you must add fill or cut the high side to achieve the required 5% grade.
Preparation: Calculating Volumes and Stripping Topsoil
Amateur landscapers frequently underestimate the volume of soil required or fail to prepare the sub-base. If you are adding more than 3 inches of fill dirt, you must first strip the existing topsoil and vegetation. Leaving organic matter like grass or roots under your fill dirt will result in decomposition, creating air pockets and severe settling over the next 12 to 24 months.
The Cut and Fill Formula
Calculate your required soil volume using the formula: Length (ft) × Width (ft) × Depth (ft) = Cubic Feet. Divide by 27 to convert to cubic yards. Always add a 15% compaction and waste factor to your final order. For a 20x20 foot area requiring a 4-inch (0.33 ft) fill, you need roughly 5 cubic yards of base material, plus an additional 0.75 yards to account for compaction.
The Core Grading Process: Cut, Fill, and Compact
Once the topsoil is stripped and stockpiled (if you plan to reuse it), you can begin the structural leveling process. This is where the distinction between fill dirt and topsoil becomes critical.
| Material Type | Best Use Case | 2026 Avg. Cost per Yard |
|---|---|---|
| Fill Dirt | Sub-base grading, deep hole filling. Low organic matter, high clay/rock content. Will not support plant life. | $12 - $18 |
| Topsoil | Top 4-6 inches for lawns and garden beds. High organic matter, retains moisture and nutrients. | $35 - $55 |
| Mason Sand | Paver bases, retaining wall backfill. Excellent drainage, compacts tightly but lacks nutrients. | $40 - $60 |
Step 1: Spread Fill in Lifts. Never dump 12 inches of fill dirt and try to compact it all at once. A standard walk-behind vibratory plate compactor (such as the Wacker Neuson WP1550, renting for about $75/day in 2026) can only effectively compact soil in 4-inch to 6-inch layers, known as 'lifts'. Spread your fill dirt in 4-inch layers, spray it lightly with a hose to achieve optimal moisture content (damp, not muddy), and run the plate compactor over each lift in overlapping passes.
Step 2: Establish the Grade. As you approach your final elevation, use a landscaping rake to pull the soil to your laser-level benchmarks. Continuously check your slope with a 4-foot digital level to ensure you are maintaining your 2% or 5% gradient.
Fine-Tuning and Final Grading for Lawns or Hardscapes
Once your structural fill dirt is compacted to the desired sub-grade, it is time to apply the final surface layer. If you are installing a patio, you will now lay your gravel base and mason sand. If you are planting a lawn, you will spread your reserved or newly purchased topsoil.
Expert Insight: Do not over-compact your final layer of topsoil. According to the USDA Natural Resources Conservation Service, excessive soil compaction destroys soil structure, reduces pore space, and prevents grass roots from penetrating deeply. Rake the topsoil to a fine, loose tilth and lightly roll it with an empty lawn roller just to establish a smooth seedbed.
Use a heavy-duty steel landscaping rake (like the 56-inch Bully Tools model) to smooth the topsoil. Remove any rocks larger than a golf ball. If you are laying sod, ensure the final soil level is exactly 1 inch below your desired finished grade to account for the thickness of the sod mat and its root zone.
2026 Cost Breakdown: DIY vs. Professional Grading
Deciding whether to tackle this project yourself or hire a landscape contractor depends on the scale of the earthmoving required. Moving dirt by wheelbarrow is backbreaking work; a skid steer can move a cubic yard in minutes.
| Project Scope | DIY Cost Estimate | Pro Contractor Cost |
|---|---|---|
| Small Patch (10x10 ft, minor leveling) | $150 - $250 (Materials + Tool Rental) | $800 - $1,200 (Minimum call-out fee) |
| Medium Yard (1/8 acre, regrading) | $600 - $900 (Skid steer rental + soil) | $1,800 - $2,800 |
| Full Backyard (1/4 acre, major cut/fill) | $1,500 - $2,500 (Heavy equipment rental) | $3,500 - $6,000+ |
Troubleshooting Common Leveling Mistakes
- Water Pooling Against the Foundation: This occurs when the 'negative grade' is created by settling mulch or soil over time. Fix this by adding compacted clay-based fill dirt directly against the foundation to restore the 5% slope, then cap it with 2 inches of topsoil and mulch.
- Spongy or Uneven Lawn After Leveling: Caused by burying organic debris (tree stumps, thick sod layers) under the fill dirt. The only fix is to excavate the spongy area, remove the decaying matter, and refill with compacted mineral soil.
- Patio Pavers Shifting or Sinking: This happens when the sub-base fill dirt was not compacted in 4-inch lifts, or when mason sand was used as a deep structural base instead of a 1-inch leveling bed. You must pull the pavers, re-compact the sub-base with a plate compactor, and re-lay the sand bed.
Mastering how to level the backyard requires patience and a strict adherence to slope mathematics and soil compaction science. By prioritizing proper drainage gradients and compacting your fill in controlled lifts, you will create a stable, beautiful landscape that protects your home's structural integrity for decades.

