
Landscaping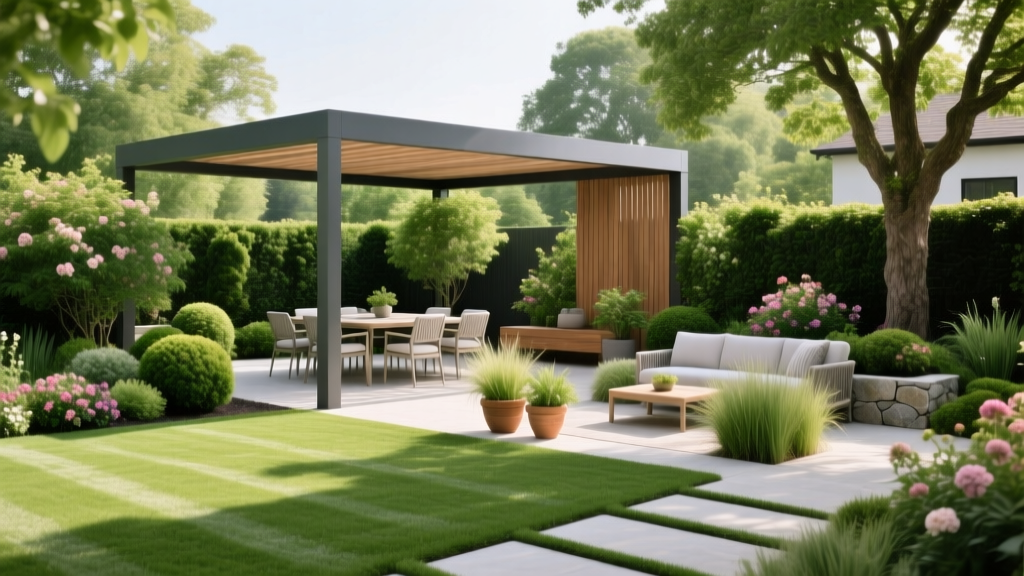
How to Organize Pergola Layouts: A Beginner's Zoning Guide
An empty pergola is merely an architectural frame; transforming it into a functional outdoor room requires strategic spatial organization. Many homeowners make the mistake of pushing all furniture against the posts or overcrowding the center, resulting in awkward traffic flow and unusable square footage. Learning how to organize pergola spaces effectively means treating the structure like an indoor room, applying the same principles of zoning, clearance, and layered utility.
The 3-Zone Framework for Pergola Organization
To maximize utility without creating clutter, divide your pergola footprint into three distinct functional zones. This framework prevents the common beginner error of overlapping dining and lounging activities in a single cramped area.
Zone 1: The Anchor (Primary Function)
The anchor zone dictates the layout of the entire structure. Decide whether your pergola will serve primarily as a dining area or a lounge. If dining, center a rectangular table beneath the midpoint of the overhead beams. If lounging, anchor the space with an L-shaped sectional or two opposing sofas. The anchor zone should occupy no more than 60% of the total pergola footprint to leave adequate room for circulation.
Zone 2: The Transition (Traffic Flow)
Transition zones are the invisible pathways that connect your pergola to the house, pool, or garden. Never place a coffee table or dining chair in a way that blocks a primary transition route. Identify the natural entry and exit points of your yard and align your furniture to create unobstructed corridors.
Zone 3: The Perimeter (Utility and Greenery)
The perimeter zone utilizes the space immediately inside and outside the pergola posts. This area is reserved for vertical planters, hidden storage, privacy screens, and ambient lighting. Keeping bulky utility items in the perimeter zone preserves the open feel of the anchor and transition zones.
Furniture Dimensions and Clearance Rules
Proper organization relies on strict adherence to ergonomic clearances. Failing to account for chair pull-out space or walking width will make your pergola feel claustrophobic, regardless of its actual size.
| Layout Element | Minimum Clearance | Optimal Clearance | Purpose |
|---|---|---|---|
| Dining Chair Pull-Out | 24 inches | 30 inches | Allows seating without scraping chairs against planters or posts. |
| Main Walkway Width | 36 inches | 48 inches | Accommodates two people passing or carrying serving trays. |
| Coffee Table to Sofa | 14 inches | 18 inches | Provides legroom while keeping drinks within easy reach. |
| Table Edge to Pergola Post | 36 inches | 42 inches | Prevents guests from bumping into structural supports when standing. |
| Overhead Fan Clearance | 7 feet (floor to blade) | 8 feet | Ensures safety and optimal air circulation efficiency. |
Overhead Organization: Managing Shade and Canopies
The roof of your pergola offers critical organizational real estate for climate control. Leaving it entirely open exposes users to harsh UV rays, while solid roofing defeats the purpose of the open-air structure. According to the Skin Cancer Foundation, integrating specialized shade structures over pergolas significantly reduces cumulative UV exposure during peak hours.
Shade Sails vs. Retractable Canopies
- Shade Sails: For a modern, low-maintenance look, install high-density polyethylene (HDPE) shade sails. Look for fabrics like Coolaroo 90% UV block cloth. Installation Tip: Never tie sails directly to posts with rope. Use 304-grade stainless steel turnbuckles and D-rings to maintain proper tension and prevent wind-flap tearing.
- Retractable Canopies: If your pergola receives shifting sunlight, a track-mounted retractable canopy (using Sunbrella marine-grade acrylic fabric) allows you to adjust coverage throughout the day. Ensure the track system is rated for local wind loads and features a quick-release mechanism for storm events.
Passive Cooling with Climbing Vines
As noted by the U.S. Department of Energy, landscape shading through vegetation can reduce adjacent indoor temperatures by up to 9°F. For pergolas, train deciduous vines like Clematis or Wisteria over the top beams. They provide dense summer shade and drop their leaves in winter to allow passive solar heating. Use a 1/8-inch 304 stainless steel cable system tensioned between posts to guide vine growth without damaging the wood or metal structure.
Vertical Space and Perimeter Storage Solutions
Because pergolas lack walls, traditional storage is impossible. You must organize gear vertically and utilize dual-purpose perimeter furniture.
Warning: Moisture Traps and Wood Rot
Never place wooden storage chests directly against cedar or redwood pergola posts. The trapped moisture between the two wood surfaces will accelerate rot and invite carpenter ants. Always leave a minimum 2-inch air gap or use composite/resin storage units like the Keter Artisan series ($150–$250) against structural posts.
Vertical Organization Tactics
- Hanging Planter Grids: Mount powder-coated steel grid panels to the inside of the perimeter posts. Use S-hooks to hang lightweight ferns, trailing pothos, or garden tool organizers.
- Privacy Trellises: Attach 4x8-foot cedar lattice panels between posts on the side facing neighboring properties. This creates a visual boundary and a mounting surface for outdoor art or sconce lighting.
- Overhead Racks: For pergolas with a minimum 9-foot ceiling, install a pulley-operated overhead rack to store lightweight items like folded shade sails or seasonal string lights when not in use.
Lighting Placement for Functional Zoning
Lighting organization dictates how the pergola functions after dark. Avoid the beginner mistake of relying on a single bright floodlight. Instead, layer your lighting based on the zones established earlier.
"The goal of outdoor lighting is to illuminate the space, not the fixtures. Keep light sources hidden or diffused to reduce glare and maintain the natural ambiance of the garden."
- Task Lighting (Anchor Zone): If dining, hang a weatherproof chandelier or pendant light directly over the table. Aim for 300–400 lumens with a dimmer switch to adjust for reading or eating.
- Ambient Lighting (Transition Zone): Drape 2700K warm-white LED string lights in a zigzag pattern across the overhead beams. Keep the bulbs at least 7 feet above the floor to prevent head-strikes.
- Accent Lighting (Perimeter Zone): Install low-voltage LED uplights at the base of the structural posts to highlight the architecture and cast dramatic shadows on the canopy above.
Frequently Asked Questions
How do I organize a small 10x10 pergola without it feeling cramped?
In a 10x10 space, abandon the idea of separate dining and lounging zones. Opt for a modular "conversation dining" set that features a slightly higher coffee table that doubles as a dining surface. Keep all storage in the perimeter zone using built-in bench seating with hidden compartments, and use a retractable canopy to maintain clean overhead sightlines.
What is the best way to organize a pergola on a sloped yard?
Level the flooring beneath the pergola using composite decking (like Trex) on adjustable pedestals. Organize the space so the anchor zone sits on the level portion, and use the downhill perimeter zone for tiered retaining wall planters that double as privacy screens. For detailed plant selection that thrives in tiered pergola setups, consult resources like the University of Minnesota Extension.
Can I hang a hammock from my pergola beams?
Only if the pergola was engineered for dynamic load-bearing. Standard decorative pergolas use 4x4 or 6x6 posts that cannot handle the lateral sheer force of a swinging hammock. If you want to organize a hammock zone, ensure the crossbeams are secured with structural lag bolts (not just decorative brackets) and consult a structural engineer to verify the load capacity.

