
Landscaping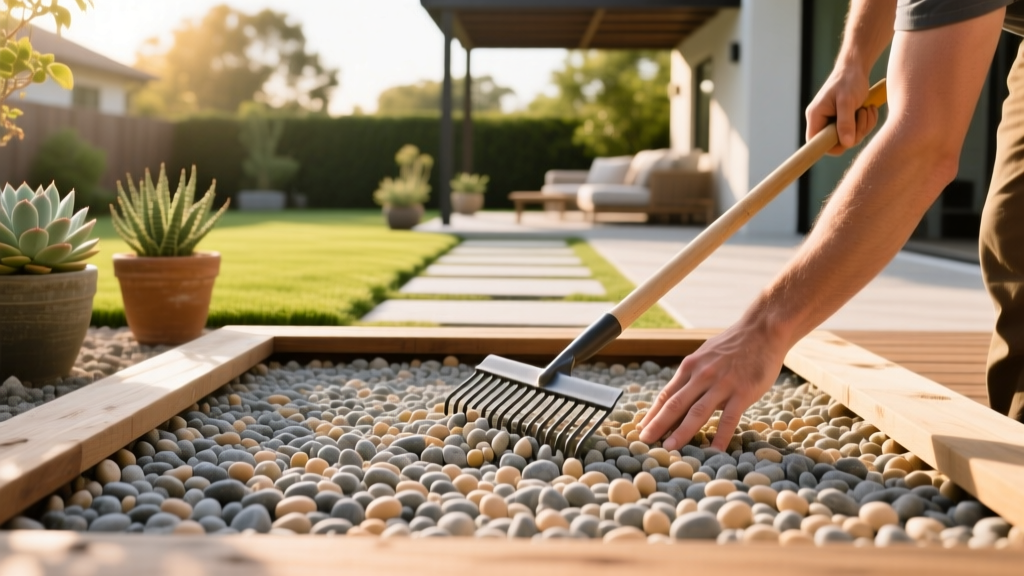
Pea Gravel for Patio: Beginner's Installation & Cost Guide
The Core Problem with Pea Gravel (And How to Solve It)
Pea gravel is aesthetically pleasing, highly permeable, and budget-friendly, but it has one major structural flaw: the stones are naturally rounded. Unlike angular crushed rock that locks together when compacted, 3/8-inch pea gravel behaves like a ball pit underfoot. If you simply dump pea gravel over bare soil, it will migrate into the dirt, create uneven depressions, and allow weeds to penetrate within a single season.
To build a permanent, stable pea gravel for patio space, you must engineer a multi-layer system that separates the gravel from the subsoil, provides a rigid angular base, and physically contains the edges. This guide details the exact material specifications, 2026 pricing, and installation framework required to build a 100-square-foot (10x10) patio that lasts for decades.
Exact Material Specifications & 2026 Cost Breakdown
Many beginner guides suggest using cheap black plastic weed barrier and a hand tamper. This guarantees failure. Below is the professional-grade bill of materials for a 100-square-foot patio, assuming a 4-inch total excavation depth.
| Material | Specification / Brand Example | Quantity (100 sq ft) | Estimated 2026 Cost |
|---|---|---|---|
| Base Rock | 3/4-inch minus crushed angular gravel | 1.5 tons | $65.00 |
| Geotextile Fabric | Woven, 3 oz/sq yd (e.g., DeWitt Sunbelt) | 120 sq ft (overlap) | $85.00 |
| Surface Gravel | 3/8-inch washed pea gravel | 1.2 tons | $70.00 |
| Landscape Edging | 4-inch powder-coated steel (e.g., Col-Met) | 40 linear ft | $180.00 |
| Edging Stakes | 18-inch steel U-stakes | 15 stakes | $35.00 |
| Equipment Rental | Walk-behind vibratory plate compactor | 1 day | $75.00 |
| Total Estimated DIY Cost | $510.00 | ||
⚠️ Critical Warning on Landscape Fabric: Never use non-woven landscape fabric (the fuzzy, felt-like material) under a patio. According to the University of Maryland Extension, non-woven fabrics are designed for French drains and will quickly clog with silt when placed horizontally under gravel, creating a puddling effect on your patio. Always use tightly woven geotextile fabric.
Step-by-Step Installation Framework
Proper execution requires precise depth management. You are excavating 4 to 5 inches total: 2.5 inches for the compacted base, and 2 inches for the loose pea gravel surface.
1. Excavation and Grading
Mark the 10x10 perimeter with spray paint. Excavate to a depth of 4.5 inches. Crucially, you must grade the subsoil to a 1% to 2% slope away from your home's foundation. While pea gravel is highly permeable—and the EPA recognizes permeable aggregates as excellent green infrastructure for stormwater management—you still want subsurface water migrating away from structural foundations.
2. Sub-Base Compaction
Before adding any rock, run a vibratory plate compactor over the bare dirt. A hand tamper only compresses the top 0.5 inches of soil; a plate compactor uses high-frequency vibrations to settle the soil matrix up to 6 inches deep, preventing future subsidence.
3. Install the Perimeter Edging First
Install your 4-inch steel edging before laying the base rock. The top of the edging should sit exactly 2 inches above your final desired gravel surface line. This means the edging will sit roughly flush with the excavated dirt line temporarily. Drive 18-inch steel stakes through the edging loops every 3 feet, ensuring the steel forms a rigid, unyielding wall.
4. Lay and Compact the Angular Base
Spread the 3/4-inch minus crushed rock to a depth of 3 inches. The 'minus' designation means the rock includes stone dust and fines. When wetted lightly and compacted with the plate compactor, these fines act like cement, locking the angular stones into a solid, concrete-like slab. This rigid base is what prevents your patio chairs from sinking into the mud.
5. Deploy the Woven Geotextile
Roll the woven fabric over the compacted base. Overlap seams by at least 6 inches and secure them with landscape staples. Do not pull the fabric drum-tight; leave a slight relaxation so it can conform to the base without tearing under point-loads (like chair legs).
6. Spread the Pea Gravel
Dump the 3/8-inch washed pea gravel over the fabric and rake it to a uniform 2-inch depth. Do not compact the pea gravel. Compacting rounded stones will just crush them or push them through the fabric. The 2-inch depth provides enough cushion for foot traffic while allowing the stones to shift slightly underfoot, which is the signature 'crunch' of a gravel patio.
Edging Solutions: Keeping the Gravel Contained
The most common failure point in any pea gravel for patio project is edge migration. If the barrier is too low or too flexible, the gravel will spill into the surrounding lawn, ruining mower blades and depleting the patio surface.
- Powder-Coated Steel Edging (Best Overall): At roughly $4.50 per linear foot, 4-inch steel edging is rigid, rust-resistant, and virtually invisible once the gravel settles against it. It creates a perfect, crisp boundary.
- Aluminum Edging (Best for Curves): Slightly more expensive ($6.00/ft) but easily bends to form organic, curved patio shapes without kinking. It will not rust, but it is softer than steel and can dent if hit with a string trimmer.
- Mortared Stone Borders (Premium Aesthetic): Using 6-inch cobblestones set in a concrete trench. This costs upwards of $15 per linear foot and requires masonry skills, but it provides a permanent, high-end architectural frame that doubles as seating.
- Pressure-Treated Timber (Not Recommended): While cheap, 4x4 timbers warp, rot over time, and create straight, rigid lines that clash with natural garden aesthetics. Furthermore, modern copper-based wood preservatives can leach into adjacent garden beds.
Long-Term Maintenance & Troubleshooting
A properly built pea gravel patio requires minimal, but specific, maintenance to retain its functionality and appearance.
Pro-Tip for Leaf Removal: Never use a metal rake to clear autumn leaves from pea gravel; you will tear the geotextile fabric beneath. Instead, use a leaf blower on a low-to-medium setting, holding the nozzle at a 45-degree angle to blow leaves off the surface without displacing the top layer of gravel.
Dealing with Depressions and Ruts
If heavy patio furniture creates permanent ruts, the issue is usually an insufficient base layer or a missing stabilizing grid. For high-traffic zones under dining tables, consider installing a geocellular gravel grid (like TRUEGRID or Gravelpave) between the fabric and the pea gravel. These honeycomb-style plastic grids lock the rounded stones in place, eliminating migration entirely while maintaining 100% permeability.
Weed Intrusion
Weeds in a gravel patio rarely come from below if you used woven geotextile. They come from above. Wind-blown topsoil and decomposing leaves create a thin layer of organic matter on top of the gravel, providing a seedbed for dandelions and thistle. Apply a post-emergent organic herbicide (like horticultural vinegar or pelargonic acid formulations) in early spring, and top-dress the patio with a fresh 0.5-inch layer of pea gravel every 3 to 4 years to maintain the 2-inch depth profile.

