
Landscaping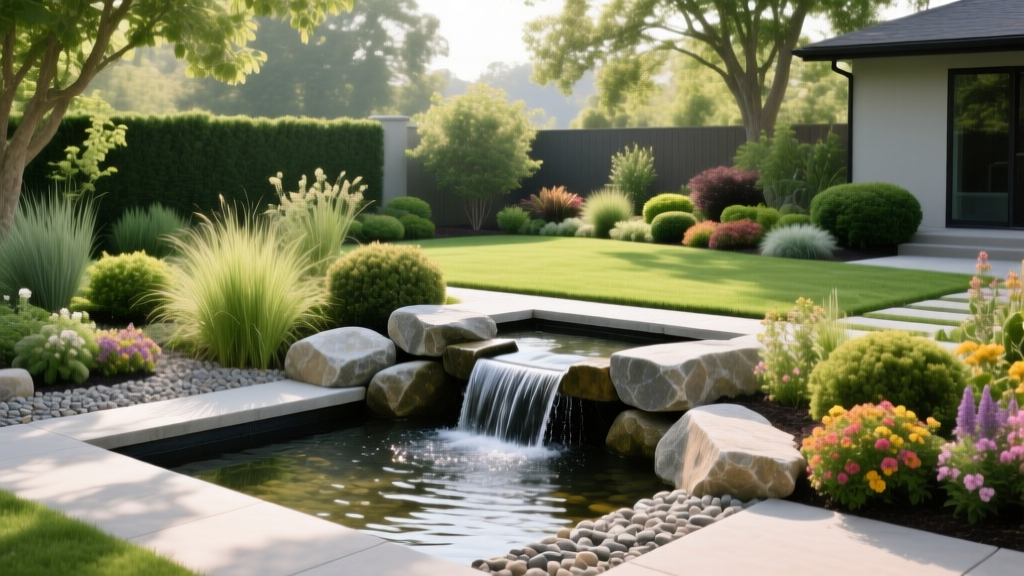
Building Pondless Backyard Water Features: A Step-by-Step Guide
The Engineering Behind Pondless Backyard Water Features
Pondless waterfalls deliver the acoustic and visual benefits of moving water without the ecological liabilities, safety hazards, or heavy maintenance associated with traditional koi ponds. By routing water into a hidden, subterranean reservoir rather than an open basin, these systems eliminate standing water, drastically reducing mosquito breeding and algae blooms. According to the EPA WaterSense program, recirculating closed-loop water features use significantly less water than open ponds due to reduced evaporation surface area and minimized splash loss.
However, building a reliable system requires precise hydraulic calculations and structural foresight. A poorly engineered pondless feature will suffer from rapid water loss, pump burnout, or structural shifting. This guide details the exact specifications, materials, and construction sequences required to build a mid-scale (3-foot to 5-foot drop) pondless waterfall that operates flawlessly for decades.
Material Cost Overview (2026 Estimates)
For a standard 4-foot wide by 5-foot tall backyard waterfall, expect material costs to range between $1,800 and $3,200. This includes the EPDM liner, geotextile underlayment, reservoir matrix blocks, plumbing, a high-efficiency submersible pump, and decorative basalt or granite boulders. Professional installation typically doubles this figure due to heavy machinery and labor requirements.
Hydraulic Sizing: Pump, Basin, and Flow Rates
The most common failure in DIY backyard water features is undersizing the pump or the hidden reservoir. To achieve a visually solid sheet of water rather than a weak trickle, you must push approximately 1,500 Gallons Per Hour (GPH) for every 1 foot of waterfall width.
Furthermore, pump ratings are based on 'zero head' (no vertical lift). You must calculate the Total Dynamic Head (TDH), which accounts for the vertical lift from the reservoir to the top of the waterfall, plus friction loss in the plumbing. For every 10 feet of horizontal pipe run, add 1 foot of equivalent head pressure.
| Waterfall Width | Target Flow (GPH) | Est. Total Dynamic Head | Recommended Pump Model | Minimum Basin Volume |
|---|---|---|---|---|
| 1.5 ft | 2,250 | 6 ft | Aquascape Ultra 2000 | 115 Gallons |
| 2.0 ft | 3,000 | 7 ft | Aquascape Ultra 3000 | 150 Gallons |
| 3.0 ft | 4,500 | 8 ft | Two Ultra 3000s | 225 Gallons |
Note: The basin volume must hold at least 2.5 times the amount of water in transit on the waterfall stream at any given second to prevent the pump from sucking air during startup and shutdown cycles.
Step-by-Step Construction Sequence
Phase 1: Excavation and Vault Placement
Begin by outlining the stream and the hidden reservoir basin using landscaping paint. The reservoir basin should be located at the lowest point of the yard to accommodate natural drainage, but positioned away from heavy tree root systems. Excavate the basin to a depth of 18 to 24 inches. If you live in a region with deep frost lines, you must either dig below the frost line or install a freeze-tolerant vault system that allows water to drain completely out of the plumbing during winter.
Phase 2: Underlayment and EPDM Liner Installation
Never skip the underlayment. Sharp rocks and shifting soil will puncture bare liner within a single season. Lay down an 8 oz non-woven geotextile underlayment over the entire excavated area, overlapping seams by at least 12 inches. Do not use old carpet or woven weed barrier; they rot and fail to protect against hydrostatic pressure.
Next, unroll a 45-mil EPDM rubber pond liner over the geotextile. EPDM remains flexible in sub-zero temperatures and resists UV degradation far better than PVC or HDPE. Allow the liner to sit in the sun for two hours to become pliable before pressing it into the contours of the excavation.
Phase 3: Reservoir Matrix vs. Gravel
Historically, builders filled the hidden basin with 3/4-inch crushed gravel to create a void space for water storage. This is an outdated method. Gravel only offers a 30% void space, meaning a 100-gallon hole filled with gravel only holds 30 gallons of water. Furthermore, gravel traps sediment and organic debris, leading to anaerobic bacterial growth and foul odors.
Modern construction utilizes structural reservoir matrix blocks (such as the Aquascape Patio Pond matrix or equivalent modular crates). These blocks provide a 90% void space, drastically reducing the amount of digging required while keeping the water completely separated from soil and debris. Stack the matrix blocks inside the lined basin, ensuring they sit level on a 2-inch sand base.
Phase 4: Plumbing and Weir Construction
Run flexible PVC (Schedule 40 equivalent) from the pump vault up to the waterfall weir. Flexible PVC resists cracking from ground settling and frost heave. At the top of the waterfall, install a rigid, pre-formed weir box or a perfectly leveled PVC pipe with a precisely cut spillway lip. The weir must be dead-level; a deviation of just 1/8th of an inch will cause water to pool on one side of the waterfall, creating a dry spot on the opposite edge.
Warning: Capillary Action Leaks
The number one cause of unexplained water loss in backyard water features is capillary draw. If soil, mulch, or creeping groundcover touches the edge of the EPDM liner, it will act as a wick, silently pulling water out of the system and into the surrounding yard. The Fix: Always fold the liner edge up and over a 2-inch raised gravel berm, and ensure a 3-inch gap between the water's edge and any topsoil or mulch.
Rock Placement and Stream Engineering
When building the waterfall drops, use dense, non-porous stones like basalt or granite. Avoid limestone or sandstone, which will alter the water's pH and degrade over time, releasing sediment into the pump vault.
- The Core Boulders: Place the largest boulders directly behind the weir lip to create the primary hydraulic drop. Use expanding polyurethane pond foam (specifically formulated for water features, not standard hardware store insulation foam) to seal the gaps between the rocks. This forces the water over the rocks rather than leaking under them.
- Stream Meandering: Build gentle curves into the stream bed. Straight streams look artificial and increase water velocity, leading to splash loss outside the basin.
- Splash Containment: Angle all stream-edge rocks slightly inward (toward the center of the water flow) by about 10 degrees. This catches micro-splashes and redirects them back into the system.
Troubleshooting Common Hydraulic Failures
Even with meticulous planning, backyard water features can exhibit quirks after the initial fill. Consult the Aquascape technical education resources for advanced plumbing schematics, but refer to this diagnostic matrix for immediate field fixes:
| Symptom | Root Cause | Corrective Action |
|---|---|---|
| Pump surges (cycles on and off rapidly) | Basin volume is too small; pump empties the vault faster than the stream drains back. | Add more matrix blocks to the basin or install a secondary overflow vault. |
| Waterfall is thin and weak in the center | Weir lip is not level, or head pressure is miscalculated. | Shim the weir box with stainless steel washers; check pump TDH rating. |
| Rapid water loss (more than 1 inch per day) | Capillary wicking or a punctured liner seam. | Clear mulch from edges; perform a 24-hour static leak test with the pump off. |
Long-Term Maintenance and Water Quality
Because pondless systems lack the biological filtration capacity of a full pond (no massive surface area for beneficial bacteria to colonize), string algae can become an issue in sun-exposed streams. Do not rely on chemical algaecides, which harm surrounding landscaping and degrade the EPDM liner over time.
Instead, install an ionizer system in the pump vault. These devices use a low-voltage current to release trace amounts of copper and zinc ions into the water, effectively inhibiting algae growth without impacting local wildlife or plant life. Replace the copper/zinc anode rod annually. Additionally, empty the pump vault's skimmer net weekly during autumn to prevent decaying leaves from releasing tannins and excess nutrients into the closed-loop system.

