
Landscaping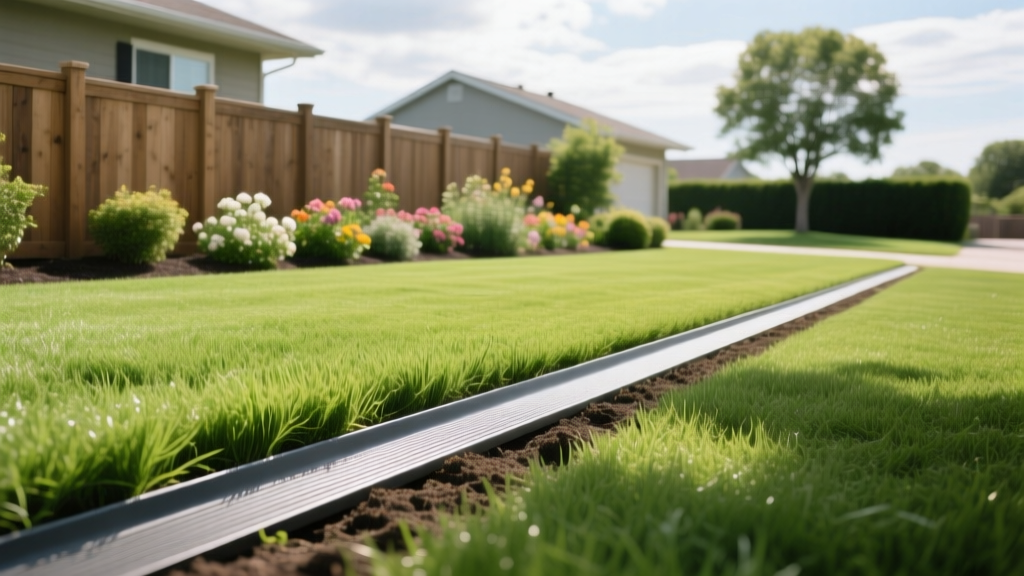
Under Fence Mow Strip Installation: Step-by-Step Lawn Care Guide
Stop wasting twenty minutes every weekend wrestling with a string trimmer along your property line. String trimmers scatter mulch, gouge vinyl siding, and inevitably leave behind uneven, ragged stubble. Worse, the nylon line frequently strikes wooden fence pickets, accelerating rot and forcing premature replacement. The permanent, professional solution is an under fence mow strip—a flush, hardscaped border that allows your mower deck to glide directly beneath the fence, cutting the grass perfectly without secondary trimming.
Installing a mow strip (also known as a mower strip or trench edging) is one of the highest-ROI landscaping upgrades a homeowner can execute. Below is a comprehensive, step-by-step lawn maintenance and construction procedure to build a strip that survives frost heave, blocks invasive grass rhizomes, and maintains a flush grade for decades.
The Hidden Costs of String Trimming Fence Lines
Before breaking ground, it is critical to understand why relying on a string trimmer is a false economy. According to turfgrass management guidelines from the University of Minnesota Turfgrass Science program, repetitive mechanical impact from trimmer lines damages the lower vascular tissue of ornamental plants and accelerates the degradation of wooden and vinyl fence bases.
Time & Cost Audit: 100 Linear Feet of Fence
• Weekly Trimming Time: 10 minutes x 30 weeks = 5 hours per season.
• Trimmer Line & Fuel Cost: ~$45 per season.
• Fence Picket Replacement: 2-3 pickets per year damaged by line strike = ~$60.
• 5-Year Cumulative Cost: $525+ and 25 hours of lost time.
• Mow Strip DIY Cost: ~$450 (one-time, zero ongoing maintenance).
• Weekly Trimming Time: 10 minutes x 30 weeks = 5 hours per season.
• Trimmer Line & Fuel Cost: ~$45 per season.
• Fence Picket Replacement: 2-3 pickets per year damaged by line strike = ~$60.
• 5-Year Cumulative Cost: $525+ and 25 hours of lost time.
• Mow Strip DIY Cost: ~$450 (one-time, zero ongoing maintenance).
Material Selection Matrix: Pavers vs. Poured Concrete vs. Gravel
Not all mow strips are created equal. The material you choose dictates the installation depth, base requirements, and long-term durability. Based on current 2026 hardscaping material costs and National Concrete Masonry Association (NCMA) installation standards, here is how the top three options compare.
| Material | Cost (per sq. ft.) | Frost Heave Resistance | Installation Difficulty |
|---|---|---|---|
| Interlocking Concrete Pavers | $3.00 - $5.50 | Excellent (Flexible base) | Moderate |
| Poured Concrete (4-inch slab) | $8.00 - $12.00 | Poor (Prone to cracking) | High (Requires forming) |
| Crushed Gravel (3/4-inch angular) | $1.50 - $2.50 | Excellent | Low |
Expert Recommendation: Interlocking concrete pavers (such as 4x8 inch Holland stones) offer the best balance of aesthetics, durability, and ease of repair. If a paver settles or cracks, you simply lift it, add base material, and replace it. Poured concrete will inevitably crack along a 100-foot fence line due to soil subsidence and freeze-thaw cycles.
Step-by-Step Installation Procedure
Follow this exact sequence to ensure your under fence mow strip remains flush with the soil grade and prevents grass from creeping underneath.
Step 1: Dimensioning and Trenching
Measure your mower deck. A standard push mower is 21 inches wide; a zero-turn might be 42 to 60 inches. Your mow strip must be the width of your mower deck plus 3 inches to allow for overlap and prevent the wheels from slipping off the edge. For a standard 21-inch push mower, dig a 24-inch wide trench.
- Depth Calculation: Paver thickness (typically 2.375 inches) + Base material (3 inches) = 5.375 inches total depth.
- Execution: Use a flat transfer spade to cut the grass edge cleanly. Remove all topsoil and organic matter until you reach compact subsoil.
Step 2: Installing the Rhizome Barrier
Grasses like Bermuda, Zoysia, and Kentucky Bluegrass spread via aggressive underground rhizomes. If you do not block them, they will grow under your pavers and push them upward.
Critical Warning: Install a 4-inch deep, 14-gauge steel or heavy-duty polyethylene lawn edging barrier on the lawn side of your trench before adding gravel. Drive it into the soil with a rubber mallet so the top sits exactly 0.5 inches below the final soil grade. This creates an impenetrable vertical wall against rhizome invasion.
Step 3: Base Preparation and Compaction
Do not use sand or pea gravel for your base. Sand holds moisture and washes out; pea gravel is round and will not lock together. You must use 3/4-inch crushed angular gravel (ASTM No. 57 stone).
- Spread a 3-inch layer of the crushed stone across the trench.
- Use a manual hand tamper or a rented vibratory plate compactor to compress the stone until it is rigid and flat.
- Add a final 0.5-inch layer of coarse concrete sand (ASTM C33) to allow for minor leveling adjustments.
Step 4: Laying the Pavers and Jointing
Lay your concrete pavers tightly together, directly against the fence line. Ensure the top of the pavers sits exactly 0.25 inches above the surrounding soil grade. This slight elevation prevents soil and mulch from washing over the pavers during heavy rain, while still allowing the mower blade to cut the grass cleanly at the edge.
Sweep polymeric sand (such as Alliance Gator Maxx) into the joints. Polymeric sand contains binding agents that harden when misted with water, locking the pavers together and preventing ants from nesting in the joints. Mist the area lightly with a garden hose nozzle set to 'shower' to activate the polymers without washing the sand out.
Preventing Common Failure Modes
Even well-planned mow strips can fail if edge cases are ignored. Here is how to troubleshoot the three most common issues:
1. Frost Heave in Northern Climates
If you live in USDA Hardiness Zones 3 through 6, the ground freezes deeply. A 3-inch gravel base is insufficient. You must excavate an additional 3 inches (6 inches total base depth) and ensure the crushed stone extends 4 inches beyond the paver edges to distribute the frost load.
2. Paver Settling Near Fence Posts
Fence post holes are often backfilled with loose dirt that settles over time. When trenching near a post, pack the void tightly with crushed stone and tamp it aggressively. If the soil under a post is too loose, the adjacent pavers will sink, creating a tripping hazard and a scalping point for your mower.
3. Mower Deck Scalping
If your mower is consistently cutting the grass too short (scalping) where it meets the mow strip, your strip is installed too high. The golden rule of hardscape-to-turf grading is that the hardscape should never exceed 0.5 inches above the soil line. If scalping occurs, remove the pavers, scrape away 0.5 inches of the sand bedding layer, and relay them.
Ongoing Lawn Maintenance Procedures
Once installed, the under fence mow strip requires minimal, but specific, maintenance to remain functional.
"When mowing over a flush paver strip, always ensure your mower's anti-scalp wheels are adjusted to glide over the hardscape. This protects your mower blade from striking the concrete edge, which can dull the steel and chip the pavers over time."
- Spring Inspection: Check for polymeric sand washout. If heavy winter rains have eroded the joints, sweep in fresh standard jointing sand and re-apply a liquid polymeric sand sealer.
- Fall Cleanup: Use a leaf blower to clear debris from the paver joints. Wet, decaying leaves trapped in the joints will break down into organic soil, providing a seedbed for weeds to root directly into your mow strip.
- Weed Control: If dandelions or crabgrass manage to sprout in the joints, do not pull them manually, as this will dislodge the binding sand. Instead, apply a targeted, non-selective herbicide (like a 2% glyphosate solution) directly to the weed crown using a sponge applicator to avoid drift onto your lawn.
By executing this procedure with precision, you transform a high-maintenance, frustrating yard boundary into a clean, architectural feature that pays for itself in saved time and preserved fencing within the first two mowing seasons.

