
Landscaping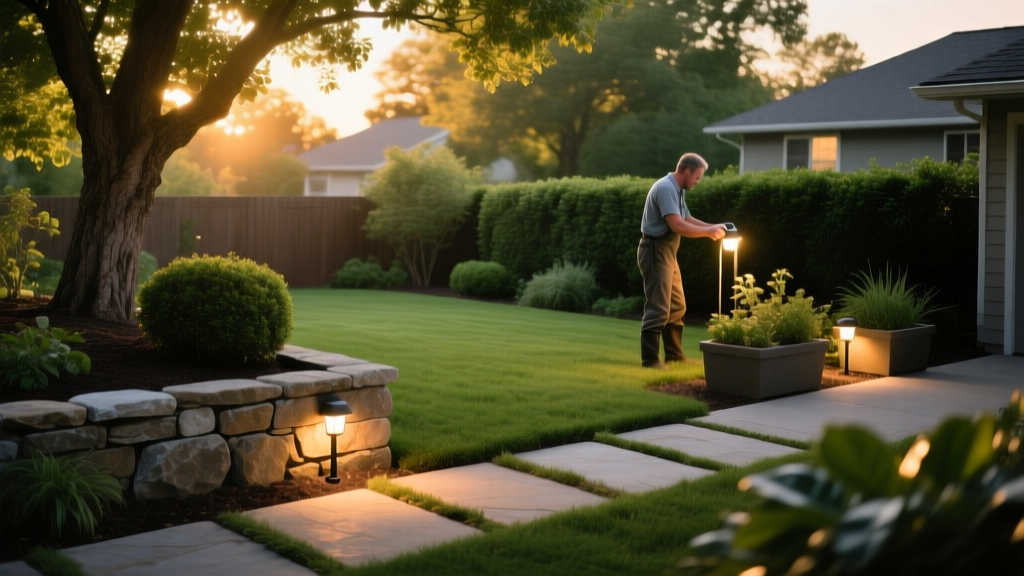
Where to Place Landscape Lighting to Fix Glare and Dark Spots
Most DIY landscape lighting projects fail not because of cheap fixtures, but because of poor spatial planning. Homeowners frequently purchase multi-packs of path lights and space them symmetrically, creating a harsh, flat environment that resembles an airport runway. Professional lighting design relies on shadow, depth, and layered illumination. Understanding exactly where to place landscape lighting is the difference between a yard that feels inviting and one that causes eye strain.
Diagnosing the 3 Most Common Landscape Lighting Failures
Before adjusting fixtures, you must identify the specific visual failure in your current layout. According to the Association of Outdoor Lighting Professionals (AOLP), amateur installations typically suffer from three distinct placement errors:
- The Runway Effect: Symmetrical, tightly spaced path lights (e.g., 4 feet apart on both sides of a walkway) create a rigid, unnatural tunnel of light. This destroys the organic feel of a garden and wastes lumens.
- Hotspot Glare: If you can see the LED diode or the bright center of the bulb from your primary viewing angles (the patio, the kitchen window, or the street), the fixture is improperly placed or lacks a baffle. Glare causes pupil constriction, making the surrounding yard look darker than it actually is.
- The Black Hole Perimeter: Illuminating only the immediate patio area while leaving the yard boundaries in total darkness shrinks the perceived size of your property at night. The eye needs a focal point in the distance to establish spatial depth.
Where to Place Landscape Lighting: Zone-by-Zone Solutions
Pathways and Walkways (The Staggered Offset)
To fix the runway effect, abandon symmetry. Place path lights in a staggered, alternating pattern. Space fixtures 10 to 14 feet apart, and offset them 12 to 18 inches from the edge of the hardscape. This placement casts long, sweeping shadows across the walkway, guiding the eye naturally without creating a rigid border. For standard 4-foot-wide paths, use 2-watt to 3-watt LED fixtures (approximately 150 to 200 lumens) with a 120-degree spread to ensure the light reaches the center of the path without spilling excessively into adjacent mulch beds.
Trees and Canopies (Uplighting vs. Moonlighting)
Tree lighting requires different placements based on the trunk and canopy structure. For uplighting trees with trunks wider than 10 inches, place two brass well lights or directional MR16 fixtures 18 to 24 inches away from the base of the trunk. Aim them upward at a 15-degree angle to graze the bark texture. Never place the fixture flush against the trunk, as this will blow out the highlights and flatten the bark's natural ridges.
For flat, uninteresting patios that lack overhead structure, use moonlighting. Mount a 20-watt directional fixture 20 to 30 feet high in a mature tree, aiming it downward through the branches. The leaves will break the beam, casting dappled, natural-looking shadows on the ground below. Always use stainless steel lag screws with neoprene washers and leave a 2-inch gap between the mount and the bark to allow for trunk growth without girdling the tree.
Retaining Walls and Architectural Features
When lighting vertical surfaces, you must choose between grazing and washing. Grazing highlights texture (like stacked stone or brick) and requires placing the fixture just 6 to 12 inches away from the wall, aiming straight up. Washing provides even, broad illumination for smooth surfaces or painted stucco and requires placing the fixture 18 to 24 inches away from the wall, tilted at a 30-degree angle. Placing a wash light too close to a smooth wall will reveal every imperfection and create a harsh, hot-spilled gradient.
Beam Angle and Placement Matrix
Selecting the correct beam angle is just as critical as physical placement. A narrow beam placed too far away will look like a laser pointer, while a wide beam placed too close will cause light trespass into your neighbor's yard.
| Feature Type | Fixture Distance | Beam Angle | Wattage / Lumens | Color Temp (Kelvin) |
|---|---|---|---|---|
| Narrow Columnar Trees | 12 - 18 inches from trunk | 10° - 15° | 3W / 200 lm | 2700K |
| Broad Canopy Trees | 24 - 36 inches from trunk | 35° - 40° | 5W / 350 lm | 2700K |
| Stacked Stone Walls | 6 - 10 inches (Grazing) | 20° - 24° | 4W / 250 lm | 3000K |
| Smooth Stucco Walls | 18 - 24 inches (Washing) | 60° - 90° | 5W / 350 lm | 3000K |
| Moonlighting (Down) | 20 - 30 ft high in canopy | 40° - 60° | 10W - 20W | 4000K |
Technical Fixes: Color Temperature, Lumens, and Voltage Drop
Even with perfect physical placement, incorrect technical specifications will ruin the design. The U.S. Department of Energy recommends careful consideration of color temperature and energy efficiency in outdoor environments to minimize light pollution and ecological disruption.
Color Temperature Rules: Stick to 2700K (warm white) for wood, brick, and organic garden beds to enhance natural tones. Use 3000K (neutral white) for concrete, stone, and modern architectural hardscapes. Reserve 4000K (cool white) exclusively for moonlighting downlights, as the cooler tone mimics natural moonlight. Mixing color temperatures within the same sightline creates a chaotic, disjointed visual experience.
⚠️ Diagnosing Voltage Drop: If fixtures at the end of your run appear dim or flicker, you are experiencing voltage drop. Standard 12-gauge wire loses approximately 1 volt per 100 feet at a 50-watt load. If your transformer outputs 12V, the fixture at the end of a 100-foot run will only receive 11V, causing LEDs to malfunction or shift color. To fix this, upgrade to 10-gauge or 8-gauge wire for main runs, or use a multi-tap transformer (like the WAC Lighting SST-300M) and connect long runs to the 14V or 15V terminals to compensate for the drop.
Step-by-Step Mockup: Testing Before You Trench
Never dig trenches or pour concrete based on daytime assumptions. Lighting placement must be validated in total darkness. Follow this mockup protocol to finalize your layout:
- Acquire Temporary Power: Connect a spare 12V multi-tap transformer to a long, heavy-duty 120V outdoor extension cord. Run the cord from your garage or an exterior GFCI outlet to the work zone.
- Stake the Fixtures: Insert your brass or composite fixtures into the soil at your planned coordinates. Do not worry about concealing the wires during this phase.
- The 9 PM Sightline Test: Wait until at least one hour after sunset. Walk the perimeter of your property, then stand at your primary indoor viewing angles (kitchen sink, living room sofa, second-story balcony).
- Check for Glare and Spill: Shield your eyes with your hand. If the light source hits your eye directly, move the fixture further back into the mulch bed, tilt it down, or install a silicone glare guard/shroud.
- Verify Shadow Depth: Look at the trees and walls. If the shadows are pitch black and harsh, your fixtures are too close or the beam angle is too narrow. Adjust the distance and re-aim until the shadows have soft, graduated edges.
By treating landscape lighting as an exercise in shadow management rather than just bulb placement, you eliminate glare, establish visual depth, and create a professional-grade environment that enhances both safety and curb appeal.

