
Lawn Care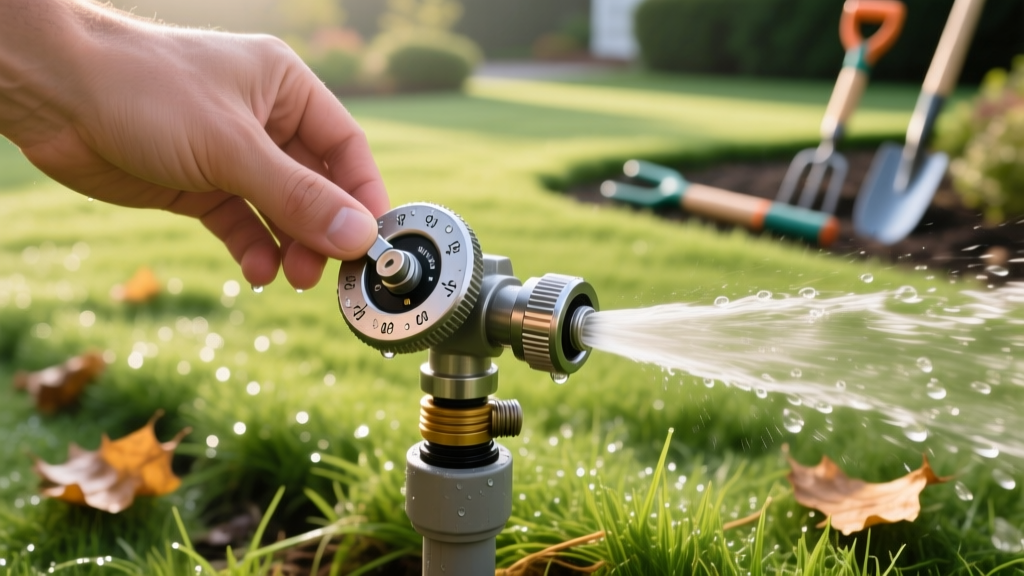
How to Adjust a Hunter Sprinkler Head: Arc, Radius & Flow Guide
Precision Irrigation: Why Hunter Head Adjustments Matter
Hunter Industries manufactures some of the most durable residential and commercial irrigation components on the market, but even premium hardware fails to perform if calibrated incorrectly. A misaligned rotor or poorly tuned spray nozzle can waste up to 30% of your outdoor water usage through runoff, overspray onto hardscapes, and dry spots that trigger unnecessary additional watering cycles. According to the EPA WaterSense program, an improperly adjusted irrigation system can waste thousands of gallons annually, driving up utility costs and promoting shallow root growth in turfgrass.
Whether you are dealing with a gear-driven PGP-Ultra rotor throwing water onto your driveway or an MP Rotator failing to reach the back of a garden bed, adjusting the arc, radius, and flow requires specific techniques. This guide details the exact mechanical adjustments for Hunter's most popular 2026 residential models, providing the measurements and tool requirements needed to achieve head-to-head coverage without stripping internal gears.
Identifying Your Hunter Sprinkler Model
Before making adjustments, identify the specific head type. Hunter categorizes its primary residential lines into rotors (gear-driven, rotating streams) and sprays (fixed pattern or multi-stream nozzles). Using the wrong adjustment tool or technique is the leading cause of stripped adjustment sockets and cracked risers.
| Model | Type | Primary Adjustment Tool | Arc Range | Avg. Cost (2026) |
|---|---|---|---|---|
| Hunter PGP-Ultra | Rotor | Hunter Plastic Wrench (#133400) | 50° – 360° | $14 – $18 |
| Hunter I-20 | Rotor | Hunter Plastic Wrench / Hex Key | 50° – 360° | $18 – $24 |
| Hunter Pro-Spray | Spray Body | Flathead Screwdriver | Fixed (Nozzle Dependent) | $6 – $10 |
| Hunter MP Rotator | Multi-Stream Nozzle | Fingers / MP Rotator Tool | 90° – 360° | $8 – $12 |
Step-by-Step: Adjusting Hunter Rotor Heads (PGP-Ultra & I-20)
Rotor heads rely on an internal gear drive to sweep a single or multiple streams of water across a designated arc. The Hunter PGP-Ultra and I-20 models share a similar adjustment architecture, featuring a through-the-top arc adjustment socket and a central radius reduction screw.
1. Setting the Fixed Left Start Point
Hunter rotors utilize a 'fixed left start' mechanism. This means the left edge of the watering arc is mechanically locked as the zero-degree reference point.
- Grip the top of the rotor turret and rotate it all the way to the right (clockwise) until it stops.
- Rotate the turret all the way to the left (counter-clockwise) until it stops. This physical stop is your fixed left start point.
- If the left edge is spraying onto a sidewalk, you must physically dig up the sprinkler body and rotate the entire PVC swing joint or flexible pipe below ground to reorient the left stop. You cannot adjust the left stop via the top turret.
2. Adjusting the Arc (Right Stop)
Once the left start is set, adjust the right stop to define the total arc.
- Insert the Hunter plastic adjustment wrench into the arc adjustment socket (the larger of the two top sockets).
- To increase the arc: Turn the wrench clockwise. Each full 360-degree turn of the wrench increases the arc by 90 degrees.
- To decrease the arc: Turn the wrench counter-clockwise.
- The PGP-Ultra and I-20 support arcs from 50° to 360°. If you need an arc smaller than 50°, you must swap the internal nozzle or replace the head with a dedicated spray body.
Warning: Radius Reduction Limits
Never force the radius reduction screw past its factory-set counter-clockwise stop. Forcing the screw will strip the internal nylon gear, causing the head to continuously rotate 360 degrees without stopping. If stripped, the internal gear assembly ($7 replacement part) or the entire head must be replaced.
Never force the radius reduction screw past its factory-set counter-clockwise stop. Forcing the screw will strip the internal nylon gear, causing the head to continuously rotate 360 degrees without stopping. If stripped, the internal gear assembly ($7 replacement part) or the entire head must be replaced.
3. Reducing or Increasing the Radius
If the water stream is overshooting your lawn and hitting a fence, reduce the throw distance.
- Locate the radius reduction screw at the top center of the nozzle turret.
- Insert a flathead screwdriver or the hex end of the Hunter wrench.
- Turn clockwise to reduce the radius. The PGP-Ultra allows up to a 25% reduction in throw distance.
- Turn counter-clockwise to increase the radius back to the nozzle's maximum factory distance.
- Pro Tip: Reducing the radius by more than 15% often distorts the water stream, causing it to droop and lose uniformity. If you need a shorter throw, swap the internal nozzle (e.g., downsize from a 3.0 GPM nozzle to a 2.0 GPM nozzle) rather than choking the screw.
Calibrating Hunter Spray Heads and MP Rotators
Spray heads operate under different hydraulic principles than rotors. They emit a continuous fan of water and require lower dynamic pressure to prevent misting and wind drift.
Standard Pro-Spray Nozzles
Hunter Pro-Spray bodies accept standard female-threaded nozzles. To adjust the pattern (quarter, half, or full circle), simply grip the top of the nozzle and twist it to the desired mechanical stop. To adjust the radius, locate the tiny set screw in the center of the nozzle and turn it clockwise with a small flathead screwdriver to reduce the throw.
MP Rotator Nozzles
The MP Rotator emits multiple rotating streams and is highly sensitive to pressure. University extension irrigation audits consistently show that MP Rotators perform optimally only when pressure is regulated to exactly 40 PSI at the head.
- Arc Adjustment: Grip the top ring of the MP Rotator. Rotate the entire top section left until it clicks (this sets the left edge). Then, rotate just the outer grip ring to the right to set the right edge arc.
- Distance Adjustment: Use the MP Rotator tool or a small screwdriver on the set screw located on the top edge. Turning clockwise reduces the distance up to 25%.
Pressure Diagnostics: The Hidden Culprit of Poor Coverage
If you have correctly adjusted the arc and radius but the sprinkler head is still misting, fogging, or failing to rotate, your system pressure is likely outside the operational threshold. High pressure atomizes water droplets, making them susceptible to wind evaporation, while low pressure prevents gear-driven rotors from cycling.
| Head Type | Ideal Dynamic Pressure | Symptoms of High Pressure | Hardware Solution |
|---|---|---|---|
| Standard Spray | 30 PSI | Fogging, misting, blown seals | Install Pro-Spray PRS30 Stem ($8) |
| MP Rotator | 40 PSI | Stuck streams, 'donut' dry spots | Install Pro-Spray PRS40 Stem ($8) |
| PGP / I-20 Rotor | 45 – 60 PSI | Misting, gear slippage | Install inline pressure regulator |
To test pressure, attach a pitot tube or a standard hose-bib pressure gauge to a test port on your valve manifold. If your static pressure exceeds 65 PSI, you must install a master pressure regulator at the point of connection to protect your PVC lateral lines and sprinkler seals from catastrophic blowouts.
Troubleshooting Decision Tree
When physical adjustments fail to resolve coverage issues, use this diagnostic flow to identify mechanical or hydraulic failures:
- Symptom: Rotor will not rotate, but water flows.
- Cause: Debris blocking the internal filter or turbine.
- Fix: Pull the riser up, unscrew the cap, and remove the 100-mesh stainless steel filter screen. Flush it with clean water. Check the nozzle orifice for small pebbles.
- Symptom: Sprinkler head leaks at the base when off.
- Cause: Worn rubber riser seal or low-head drainage.
- Fix: If the head is at the bottom of a slope, replace it with a Hunter Pro-Spray equipped with a Check Valve (CV) to hold back up to 7 feet of head pressure.
- Symptom: Arc adjustment wrench spins freely without clicking.
- Cause: Stripped arc adjustment socket or broken internal gear train.
- Fix: The internal gear assembly is destroyed. Dig up the head, unscrew the body from the swing joint, and install a new PGP-Ultra or I-20 body.
Efficiency Data Point: Upgrading standard spray nozzles to Hunter MP Rotators and properly adjusting the arc overlap reduces outdoor water consumption by an average of 30%, according to independent landscape audit data. The ROI on swapping nozzles typically pays for itself in municipal water savings within 14 months.
Properly calibrating your irrigation hardware ensures that every drop of water lands precisely where it is needed. By matching the adjustment technique to the specific Hunter model and verifying system pressure, you eliminate dry spots, prevent hardscape runoff, and maintain a deeply rooted, drought-resilient lawn.

