
Lawn Care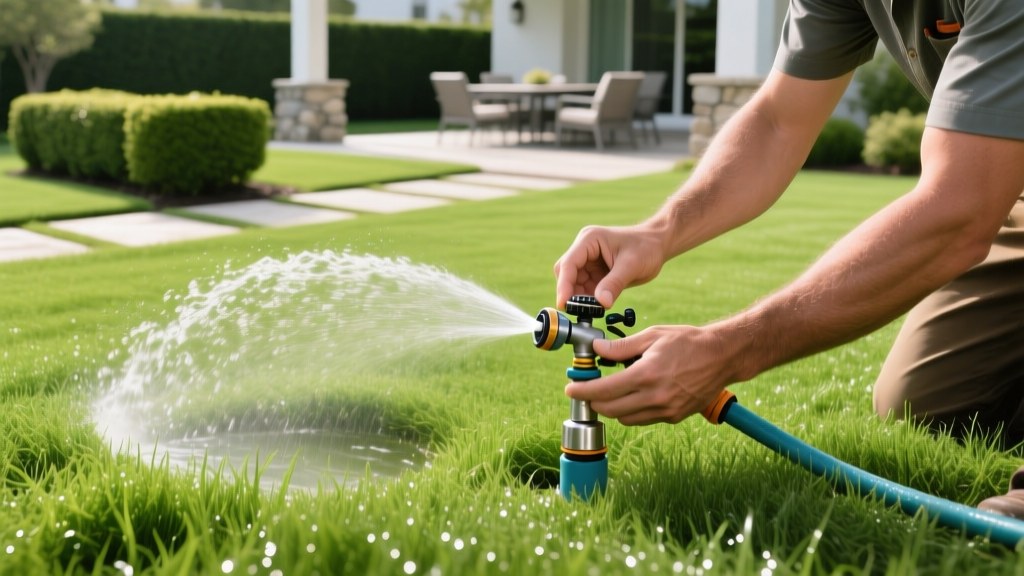
How to Adjust Rotating Sprinkler Heads for Perfect Lawn Coverage
Knowing how to adjust rotating sprinkler heads is one of the highest-ROI maintenance tasks a homeowner can perform. A misaligned rotor wastes hundreds of gallons of water annually by watering sidewalks and driveways, while an under-rotating head leaves expensive turf to wither in the summer heat. Whether you are dealing with gear-driven models like the Hunter PGP-Ultra or the Rain Bird 5000 Plus, precise calibration of the arc and radius is essential for uniform coverage and water conservation.
Identifying Your Rotor Mechanism
Before grabbing an adjustment tool, you must identify the internal mechanism of your sprinkler. The adjustment process differs drastically between the two primary rotor types found in residential irrigation systems.
| Feature | Gear-Driven Rotors (e.g., Hunter PGP, Rain Bird 5000) | Impact Rotors (e.g., Orbit, older Rain Bird brass/plastic) |
|---|---|---|
| Mechanism | Internal sealed water turbine turns a gear drive | Water stream physically strikes a swinging metal/plastic arm |
| Arc Adjustment | Internal dial using a specialized hex key or wrench | External metal collars and friction pins on the base |
| Radius Adjustment | Central screw on top of the nozzle turret | Deflector screw on the front of the nozzle stream |
| Maintenance Need | Low (sealed gears); requires filter cleaning | High (exposed pivot points); requires debris clearing |
| Average Replacement Cost | $10 - $16 per head | $8 - $14 per head |
The 'Fixed Left Stop' Gotcha: Adjusting the Arc
The most common mistake homeowners make when learning how to adjust rotating sprinkler heads on gear-driven models is attempting to turn the arc dial without first setting the physical left stop. On almost all modern gear-driven rotors, the left boundary is fixed relative to the internal gear assembly. If you skip this step, your sprinkler will inevitably water the street or your neighbor's property.
Step-by-Step Arc Calibration
- Find the Fixed Left Stop: Turn the sprinkler turret clockwise by hand until you feel a hard, mechanical resistance. This is the fixed left stop.
- Align the Left Boundary: While holding the turret at that left stop, physically rotate the entire sprinkler body (or pull up the riser and twist it) so the nozzle points exactly to the left edge of your desired watering zone.
- Set the Right Stop: Insert the manufacturer's adjustment tool (or a flathead screwdriver, depending on the model) into the arc adjustment socket on top of the turret. Turn the tool clockwise to increase the arc or counter-clockwise to decrease it. The turret will rotate as you turn the tool.
- Test the Sweep: Turn on the irrigation zone. The head should rotate from your fixed left edge, sweep across the lawn, and stop exactly at your newly set right edge before reversing.
Pro Tip: Never force the adjustment tool past the mechanical stops at 50° or 360°. Forcing the dial will strip the internal plastic gears, requiring a complete teardown of the turret or a full head replacement.
Calibrating the Radius and Throw Distance
Once your arc is dialed in, you must adjust the radius to prevent overspray onto hardscapes. The radius screw is located in the center of the nozzle turret, directly above the water outlet.
The 25% Reduction Rule
Turning the radius screw clockwise lowers a small deflector shield into the water stream, breaking the trajectory and shortening the throw distance. However, there is a strict physical limit to this adjustment.
- Safe Adjustment: You can safely reduce the throw distance by up to 25% (usually 4 to 5 full turns of the screw) without degrading the spray pattern.
- The Fogging Danger Zone: If you tighten the screw beyond 25%, the water stream hits the deflector at a severe angle. This causes 'fogging'—atomizing the water into a fine mist that immediately blows away in light winds, destroying your distribution uniformity (DU).
- The Correct Fix for Large Reductions: If you need to reduce the radius by more than 25%, do not use the screw. Instead, unscrew the nozzle and swap it for a lower GPM (gallons per minute) model. For example, replacing a 3.0 GPM nozzle with a 1.5 GPM nozzle will halve the radius while maintaining a solid, wind-resistant stream.
Troubleshooting Common Rotor Failures
Even perfectly adjusted heads will fail if internal components are compromised. Before digging up your irrigation lines, check these three common failure points.
1. The Head Won't Rotate (or Stutters)
Cause: Grit, sand, or mineral scale has bypassed the valve and lodged in the rotor's internal filter screen or gear drive.
Fix: Use a specialized rotor pull-up tool (or gently grip the riser with channel-lock pliers padded with a rag) to pull the riser up. Unscrew the cap on top of the turret to reveal the 1-inch cylindrical filter screen. Rinse the screen in a bucket of water. If the screen is torn, replace it (a 10-pack costs about $6 online).
2. Leaking at the Base of the Riser
Cause: The rubber wiper seal or O-ring surrounding the riser has dried out, cracked, or accumulated debris, preventing it from sealing against the internal casing.
Fix: Do not replace the entire $14 sprinkler body. Purchase a manufacturer-specific seal kit (e.g., Hunter PGP Seal Kit, approx. $3.50). Pull the riser, slide off the old rubber seal and plastic retainer ring, and slide the new ones on. This takes less than two minutes and saves you from having to re-grade the soil around a newly dug-up head.
3. The Arc Dial Spins Freely (Stripped Gears)
Cause: The plastic arc adjustment mechanism inside the turret has been stripped, usually from forcing the tool past the 360° stop or from UV degradation over a decade of use.
Fix: You can replace the internal gear assembly without cutting PVC pipes. Unscrew the top cap, pull out the entire internal gear drive cartridge, and press in a replacement cartridge (e.g., Hunter Part #458200, approx. $6).
Maximizing Irrigation Efficiency and Compliance
Properly adjusting your rotors is not just about lawn aesthetics; it is a critical component of municipal water compliance and environmental stewardship. According to EPA WaterSense, outdoor water use accounts for nearly 30% of total household water consumption, with a significant portion lost to evaporation and runoff from misaligned sprinklers.
'Watering the lawn in the early morning (between 4 AM and 8 AM) minimizes evaporation loss and reduces the risk of fungal diseases. However, this schedule is only effective if your rotating sprinkler heads are properly adjusted to prevent water from pooling on impermeable surfaces like driveways, which carries fertilizers and pesticides directly into storm drains.' — University of Minnesota Extension
By taking 15 minutes per zone to set the fixed left stops, dial in the right arcs, and respect the 25% radius reduction rule, you ensure that every drop of water is applied precisely where your turf's root zone can utilize it. Pair these mechanical adjustments with a smart irrigation controller equipped with local weather ET (evapotranspiration) data to automate your watering schedule based on real-time seasonal demands.

