
Lawn Care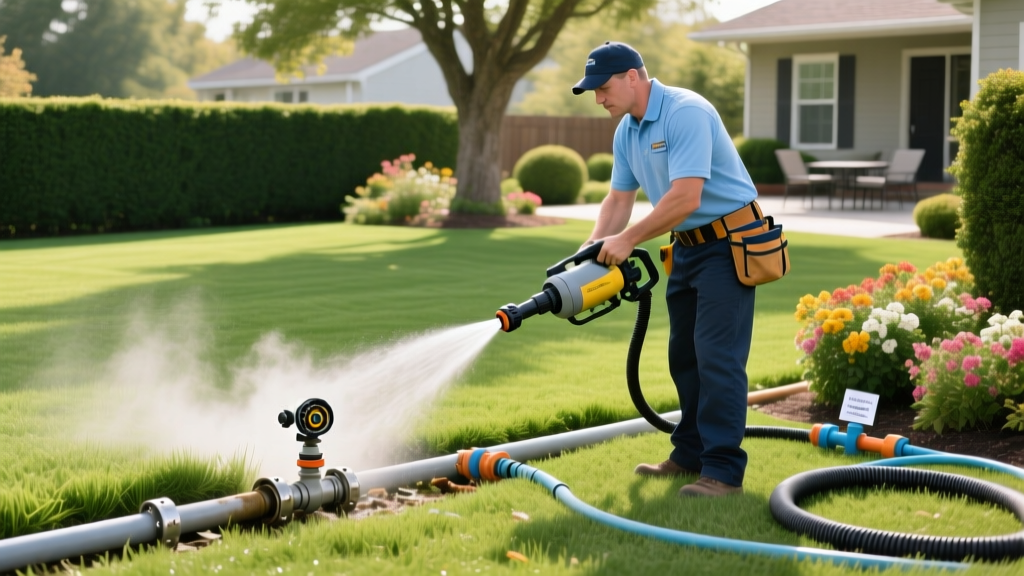
Air Compressor Sprinkler Winterization: PSI, CFM & Blowout Guide
A failed irrigation blowout doesn't just mean a broken pipe; it means thousands of dollars in landscape destruction and emergency spring repairs. Proper air compressor sprinkler winterization relies on a precise balance of air volume and pressure to evacuate water from the mainlines, lateral pipes, and sprinkler heads before the first hard freeze. While many homeowners focus entirely on pressure, it is actually air volume that dictates a successful blowout. This guide details the exact engineering specifications, equipment requirements, and step-by-step protocols to winterize your system safely and effectively.
The Physics of a Blowout: Why CFM Matters More Than PSI
The most common mistake in DIY air compressor sprinkler winterization is confusing pressure (PSI) with volume (CFM). PSI (Pounds per Square Inch) is the force that overcomes friction and pushes the water out. However, CFM (Cubic Feet per Minute) is the actual volume of air that creates the sweeping velocity required to carry the water through the pipes and out of the nozzles.
If you use a standard 3-gallon pancake compressor that generates 150 PSI but only delivers 2.5 CFM, the air will simply atomize the water and blow past it. The water will pool in the low spots of your lateral lines, freeze, expand, and crack the pipe. To properly clear a pipe, the air must fill the entire cross-section of the pipe and push the water as a solid slug.
CFM and PSI Requirements by Pipe Size
The required air volume scales exponentially with the diameter of your mainline. Refer to the matrix below to determine the minimum compressor output required for your specific system architecture.
| Mainline Pipe Size | Minimum CFM Required | Max Safe PSI (Poly Pipe) | Max Safe PSI (PVC Sch 40) |
|---|---|---|---|
| 1/2 Inch | 5 CFM | 50 PSI | 80 PSI |
| 3/4 Inch | 10 CFM | 50 PSI | 80 PSI |
| 1 Inch | 16 CFM | 50 PSI | 80 PSI |
| 1.5 Inch | 32 CFM | 50 PSI | 80 PSI |
Warning: The Poly Pipe Limit. If your system uses black polyethylene (poly) pipe rather than white PVC, you must never exceed 50 PSI during a blowout. Poly pipe becomes brittle in cold temperatures, and the dynamic shock of compressed air can cause catastrophic shattering at pressures that PVC would easily tolerate.
Selecting Your Air Compressor for Sprinkler Winterization
Choosing the right equipment is non-negotiable. According to Penn State Extension, using undersized compressors is the leading cause of incomplete winterization. Here is how to match the compressor to your system size.
Small Systems (Under 6 Zones, 1/2" to 3/4" Mainline)
For small residential systems, a high-capacity electric portable compressor is sufficient. The California Air Tools 10020C (2.0 HP, 6.4 CFM @ 40 PSI, priced around $360) is a benchmark model for DIYers. It provides enough continuous volume to clear 1/2-inch lines and short runs of 3/4-inch lines. Ensure it is paired with a 3/8-inch inner diameter rubber air hose; using a narrow 1/4-inch hose will choke the CFM output right at the connection point.
Medium to Large Systems (8+ Zones, 1" Mainline)
A 1-inch mainline requires a minimum of 16 CFM. Standard electric compressors cannot deliver this without massive tank buffers. You will need a gas-powered wheelbarrow compressor, such as the NorthStar 9 HP Honda GX270 (24 CFM @ 100 PSI, approx. $1,300). These units feature continuous-duty pumps that won't overheat during a 45-minute blowout cycle.
Commercial or Estate Systems (1.5"+ Mainlines)
For 1.5-inch or 2-inch mainlines requiring 32+ CFM, you must rent a tow-behind diesel compressor, such as a Sullair 185 (185 CFM). These rent for $150 to $250 per day from commercial equipment yards. Do not attempt to blow out a 1.5-inch mainline with a smaller compressor; you will only atomize the water and guarantee a freeze break.
The 7-Step Air Compressor Sprinkler Winterization Protocol
Follow this exact sequence to ensure complete water evacuation while maintaining safe operating pressures. As noted in the Rain Bird Winterization Guide, the order of operations protects both the pipes and the backflow preventer.
- Shut Off and Isolate: Turn off the main water supply to the irrigation system. Open the test cocks on the backflow preventer to 45 degrees and shut off the inlet and outlet ball valves.
- Connect the Air Supply: Attach your air hose to the designated blowout port. Critical Rule: The blowout port must be equipped with a quarter-turn brass ball valve. Never use a gate valve or hose bib; opening them slowly can cause water hammer, sending a shockwave through the PVC that shatters fittings.
- Set the Pressure Regulator: Adjust the compressor's output regulator to 50 PSI for poly systems or 80 PSI for PVC systems. Lock the regulator dial if possible to prevent vibration from creeping the pressure higher during operation.
- Activate the Furthest Zone: Using the irrigation controller, manually start the zone furthest from the compressor connection. This ensures the air travels through the maximum length of the mainline, clearing it first.
- Open the Air Valve Slowly: With the zone running and the sprinkler heads popped up, slowly open the ball valve at the blowout port. You will hear a rush of air as the water slug is pushed out.
- Monitor the Nozzle Output: Watch the sprinkler heads. Initially, heavy streams of water will shoot out, followed by a sputtering mix of air and water. Once the heads produce a fine, consistent mist, the zone is clear.
- Enforce the 2-Minute Limit: Never run air through a dry zone for more than two minutes. Moving air creates friction heat. Prolonged blowing on dry PVC can melt the interior of the pipe, creating a plastic residue that will clog your sprinkler nozzles next spring.
Pro Tip: Always wear ANSI Z87.1 rated safety glasses and hearing protection during the blowout. If a lateral line fails under pressure, PVC shrapnel can eject from the soil at high velocities. Furthermore, the decibel level of air escaping through rotor nozzles routinely exceeds 95 dB.
Critical Failure Modes & Troubleshooting
Even with the correct CFM and PSI, specific system designs can trap water. Identify these edge cases before the temperature drops below 32°F.
- Check Valve Traps: If your system has check valves built into the sprinkler heads (common on sloped properties to prevent low-head drainage), the air pressure must overcome the spring tension of the check valve to push the water out. If a head isn't popping up fully during the blowout, the water is trapped. You may need to manually disassemble the nozzle and pull the check valve out for the winter.
- Undrained Low Spots: Air blowouts cannot defy gravity. If a lateral line dips into a valley and rises again, the air will simply blow over the top of the pooled water. These low spots require manual drainage via installed drain valves or physical excavation to blow out the trap.
- Master Valve Isolation: If your system utilizes a master valve, ensure it is manually overridden or bypassed during the blowout. If the master valve closes between zones while the compressor is running, the sudden deadhead will spike the PSI and blow the pressure regulator off the hose.
Danger: The Friction Heat Meltdown. It is a documented phenomenon in irrigation engineering that compressed air moving at high velocities through dry PVC pipes generates immense friction heat. Operators have inadvertently melted the inside of Schedule 40 PVC pipes, causing the plastic to sag and block the pipe interior. Always cycle through zones rapidly and never leave the air running on a single zone once the misting stops.
Post-Blowout: Backflow and Valve Drainage
The air compressor only clears the pipes downstream of the backflow preventer. The backflow device itself, along with the main shut-off valves, must be manually drained to prevent freeze damage to the brass castings.
After the final zone is cleared, shut off the air compressor and bleed the pressure from the hose. Open the test cocks on the backflow preventer fully. If your backflow device has manual drain ports at the base, open them. For atmospheric vacuum breakers (AVBs), you must unscrew the outlet drain plug. Finally, wrap the brass backflow body and the main shut-off valves in insulating foam covers or self-adhering foam tape to protect them from ambient winter moisture and extreme thermal cycling.
By adhering to strict CFM requirements, respecting PSI limits, and following a methodical zone-by-zone protocol, your air compressor sprinkler winterization will ensure your irrigation infrastructure survives the harshest freezes without a single cracked fitting.

